
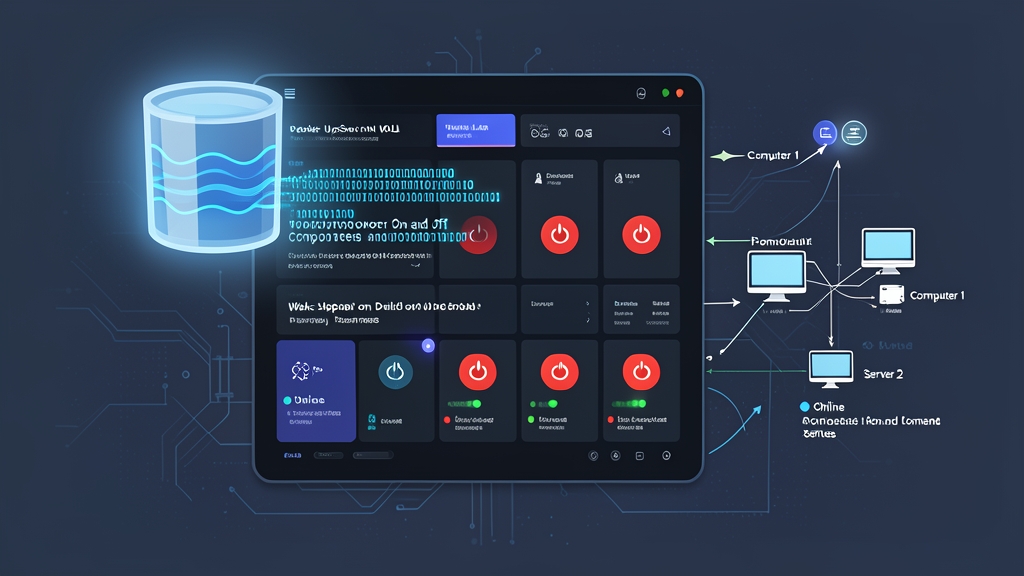
Running a HomeLab means you have multiple machines — a NAS, a media server, maybe an old workstation running VMs. The annoying part? Walking over to physically power them on whenever you need them. Wake-on-LAN (WoL) solves that, but the raw CLI tooling is clunky for day-to-day use. That’s where UpSnap comes in.
I’ve been managing five nodes in my home lab using UpSnap for the past several months, and the difference in workflow is noticeable. This guide walks you through how to get it running on Docker — including the network quirks that trip most people up the first time.
Approach Comparison: How Do People Usually Handle Wake-on-LAN?
Before committing to any tool, it helps to understand what your options actually are. There are three common approaches to managing WoL in a HomeLab:
1. Raw CLI Tools (etherwake / wakeonlan)
Quick and direct. You SSH into a machine on the same network and run:
wakeonlan AA:BB:CC:DD:EE:FF
# or
etherwake -i eth0 AA:BB:CC:DD:EE:FF
It works, but there are friction points: you need to remember MAC addresses, the machine sending the packet must be on the same subnet, and there’s zero status feedback. You fire the magic packet and hope the machine boots.
2. Home Assistant Integration
If you’re already running Home Assistant (which an earlier article on this blog covers), it has a built-in WoL integration. You define devices in configuration.yaml and can trigger them from automations or the dashboard.
That said, Home Assistant is a heavy stack to run just for WoL. Configuration gets spread across YAML files, and the network packet still needs to come from the right interface.
3. UpSnap — Dedicated WoL Web Dashboard
UpSnap is a lightweight, self-hosted web application built specifically for Wake-on-LAN management. It stores your devices, lets you wake and ping them from a browser, and shows real-time status. The backend is Go (fast, low memory — typically under 50MB RAM at runtime), and the frontend is a clean SvelteKit UI.
Runs as a single Docker container. UpSnap uses PocketBase as an embedded database, so there’s no external DB to manage.
Pros and Cons
CLI Tools
- Pros: Zero setup, available on any Linux machine, scriptable
- Cons: No web UI, no ping status, requires SSH access to send packets, easy to forget MAC addresses, no history or audit trail
Home Assistant WoL Integration
- Pros: Great if you already have Home Assistant, supports automations, integrates with other smart home events
- Cons: Heavy if you don’t need the rest of HA, configuration is spread across YAML files, not purpose-built for server management
UpSnap
- Pros: Purpose-built for this exact task, lightweight (~30MB image), clean UI, real-time ping status, cron-based scheduled wakeups, authentication built-in, single container deployment
- Cons: No mobile app (browser only), WoL packet must still reach the broadcast domain — Docker networking needs careful setup
Recommended Setup
Run UpSnap on a machine that stays on 24/7 — your router, a Raspberry Pi, a NAS, or a small always-on node. That machine becomes the WoL relay: it receives your request via the web UI and fires the magic packet to the target machine’s subnet.
Here’s the detail most guides skip: the Docker container needs host networking (network_mode: host), or it must be on the same Layer 2 network as the machines you want to wake. Wake-on-LAN magic packets are broadcast-based — they don’t route across subnets. A container on a bridged network simply cannot reach your physical machines.
Host networking is slightly less isolated than a bridge, but on a trusted home network that tradeoff is a non-issue. This setup has been rock-solid across five nodes for months.
Implementation Guide
Step 1: Enable Wake-on-LAN on Target Machines
Make sure the machines you want to wake actually have WoL enabled. Two steps: BIOS and OS.
BIOS: Enter BIOS/UEFI settings → look for “Wake on LAN”, “Power On by PCI-E”, or similar → enable it.
Linux (check current status):
sudo apt install ethtool   # if not installed
sudo ethtool eth0 | grep Wake
You want to see Wake-on: g. If it shows d, enable it:
sudo ethtool -s eth0 wol gThat setting resets on reboot. To make it stick, add a NetworkManager dispatcher script. On Ubuntu:
cat /etc/NetworkManager/dispatcher.d/99-wol
#!/bin/sh
ethtool -s eth0 wol g
Step 2: Collect MAC Addresses
Get the MAC address of each machine’s network interface:
ip link show eth0
# Look for the "link/ether" line: link/ether aa:bb:cc:dd:ee:ff brd ff:ff:ff:ff:ff:ff
Write these down — you’ll need them when adding devices in UpSnap.
Step 3: Create the Docker Compose File
On your always-on machine, create a directory and a compose file:
mkdir -p ~/homelab/upsnap
cd ~/homelab/upsnap
nano docker-compose.yml
services:
upsnap:
image: ghcr.io/seriousm4x/upsnap:4
container_name: upsnap
network_mode: host
restart: unless-stopped
volumes:
- ./data:/app/pb_data
environment:
- TZ=Asia/Tokyo
# Optional: set the network interface for WoL packets
# - UPSNAP_SCAN_RANGE=192.168.1.0/24
# - UPSNAP_INTERVAL=@every 5mKey points about this configuration:
network_mode: host— essential. Without this, WoL packets won’t reach your physical machinesghcr.io/seriousm4x/upsnap:4— pin to major version 4 to avoid unexpected breaking changes./data:/app/pb_data— persists the PocketBase database (your device list, users, settings) across container restartsTZ— set to your timezone so scheduled wakeups fire at the right local time
Step 4: Start the Container
docker compose up -d
docker compose logs -f upsnap
Watch the logs for a line like Server started at http://0.0.0.0:8090. UpSnap runs on port 8090 by default.
Step 5: Initial Setup
Navigate to http://<your-host-ip>:8090 in your browser. First visit triggers an admin account creation prompt. Use a strong password — this dashboard can wake machines on your network, so you don’t want it open to anyone who stumbles onto the port.
After logging in, go to Settings and configure:
- Network interface: select the interface connected to the same subnet as your target machines (e.g.,
eth0,enp3s0) - Ping interval: how often UpSnap checks if machines are online (default 5 minutes is fine)
Step 6: Add Your Devices
Click Add Device and fill in:
- Name: human-readable label (e.g., “NAS”, “Gaming PC”, “Dev Server”)
- IP address: static IP or DHCP reservation of the target machine
- MAC address: from Step 2
- Port: 9 (standard WoL port) — usually fine to leave as-is
Save the device. UpSnap starts pinging it immediately and shows its status (Online / Offline) in the dashboard.
Step 7: Test Wake-on-LAN
Shut down one of your target machines. Wait for UpSnap to show it as Offline. Then click the power button icon — UpSnap sends the magic packet and starts polling. Within 30–60 seconds (depending on POST time), the machine should come back online and the status dot flips green.
Optional: Scheduled Wake-ups
UpSnap supports cron-style schedules per device. To wake your build server every weekday at 8am:
- Open the device settings
- Under Schedule, enable it and set the cron expression:
0 8 * * 1-5
Machines that only need to run during work hours can stay off the rest of the time. No manual intervention, no electricity wasted overnight.
Optional: Reverse Proxy with HTTPS
To access UpSnap from outside your local network, put it behind a reverse proxy — Nginx Proxy Manager or Traefik both work well here. Since UpSnap uses network_mode: host, it binds directly to port 8090 on the host. Proxy to http://127.0.0.1:8090.
If you’re exposing this to the internet, add authentication at the proxy level too. UpSnap has built-in auth, but anything that can remotely power on hardware deserves more than one layer of access control.
Troubleshooting Common Issues
Machine won’t wake up
- Confirm WoL is enabled in both BIOS and OS (
ethtooloutput showsg) - Confirm the UpSnap container is using
network_mode: host - Confirm the correct network interface is selected in UpSnap settings
- Try sending a manual packet from the host:
wakeonlan <MAC>— if that works but UpSnap doesn’t, it’s an interface selection issue in UpSnap
Devices always show Offline even when running
- UpSnap uses ICMP ping to check status — make sure the target machine allows ping (not blocked by firewall)
- On UFW:
sudo ufw allow in proto icmp
Wire it all up and you get a clean, purpose-built dashboard showing every HomeLab machine at a glance. One click to wake any of them — from your phone, your laptop, or anywhere with a browser. No more trips to the server rack.