
Why UPS Monitoring Is Not Optional for a Serious HomeLab
Running a Proxmox node — or a cluster — without UPS monitoring is like having a smoke detector with dead batteries. The hardware is there, but it won’t save you when it counts. I learned this the hard way when a brief power flicker took down my NAS mid-write, corrupting a ZFS dataset that took half a day to recover.
Believe me — getting UPS monitoring right is one of those skills that separates a serious HomeLab from an expensive pile of hardware waiting to die. The question isn’t whether to monitor your UPS. It’s how. And the answer depends entirely on your setup.
Three Approaches to UPS Monitoring
HomeLab environments have three realistic options, each built around a different philosophy.
Option 1: Vendor Software (APC PowerChute, Eaton IPP, CyberPower Panel)
Most consumer UPS units ship with vendor-specific monitoring software. APC has PowerChute, Eaton has Intelligent Power Protector, CyberPower has PowerPanel. These tools connect via USB or serial, monitor battery status, and trigger shutdowns.
On Windows desktops they work fine. On Linux servers and Proxmox, the story gets messier. PowerChute Business Edition requires a license and runs a Java daemon with notoriously inconsistent Linux support.
CyberPower’s PowerPanel for Linux hasn’t seen a meaningful update in years. More critically: none of these tools coordinate multi-machine shutdowns. With a three-node Proxmox cluster plus a NAS, vendor software won’t shut them down in any particular order — or at all, for the machines not physically connected to the UPS.
Option 2: apcupsd (Single-Machine USB Direct)
apcupsd is a mature daemon that talks directly to APC UPS units (and some compatible brands) over USB. It’s simpler than NUT, easy to configure, and handles single-machine shutdown cleanly. The configuration lives in one file and the shutdown scripting is straightforward.
The limitation shows up the moment you have more than one machine. apcupsd does include a network component, but its access controls are minimal, status reporting is limited, and the client/server model is tacked on rather than designed in. For a single Proxmox node and nothing else, apcupsd gets the job done. Add a second machine and NUT becomes the better tool.
Option 3: Network UPS Tools (NUT) in Server/Client Mode
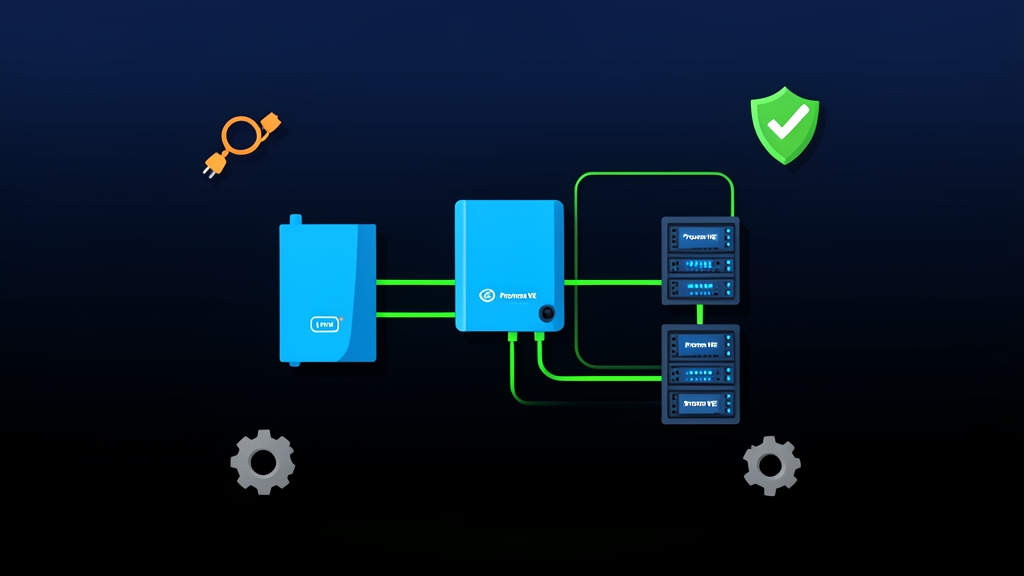
NUT separates the problem into distinct layers: a driver that talks to the hardware, a server (upsd) that exposes UPS status over the network, and clients (upsmon) that subscribe and trigger shutdowns. One machine owns the USB connection. Every other machine on the network gets real-time UPS data without needing physical hardware access.
That architecture was designed from day one for multi-machine environments. It shows in the feature set: 170+ supported UPS models, ACL-based access control, and native Proxmox integration. NUT is also actively maintained — something that can’t be said for most vendor alternatives.
Pros and Cons Breakdown
Vendor Software
- Pros: Works out of the box with supported hardware, GUI available on Windows
- Cons: Linux support varies wildly, often requires Java, no multi-node coordination, vendor lock-in
apcupsd
- Pros: Simple config, excellent APC hardware compatibility, low overhead
- Cons: Mostly APC-only, weak multi-machine story, basic network protocol
NUT
- Pros: Supports 170+ UPS models across all major vendors, built-in multi-machine coordination, ACL access control, native Proxmox support, actively maintained
- Cons: More configuration files to manage, slightly steeper learning curve for the server/client model, no built-in GUI
Recommended Setup: NUT Server on Proxmox, Clients Everywhere
For a typical HomeLab, the architecture looks like this:
- NUT Server: The Proxmox node physically connected to the UPS via USB. Runs
upsdand the UPS driver. - NUT Clients: Every other machine — additional Proxmox nodes, TrueNAS, any VM host you care about. Each runs
upsmonin client mode, polling the server. - Shutdown order: Clients shut down first, server last. The server holds the USB connection and needs to issue the UPS power-off command after everything else is down.
Running a single-node setup? Run both server and client on the same machine. Same principle, just simpler.
Implementation Guide
Step 1: Install NUT on the Proxmox Host
SSH into your Proxmox node and install the full NUT package set:
apt update
apt install nut nut-client nut-server -y
Step 2: Detect Your UPS Hardware
Connect the UPS via USB, then run the auto-detection scan:
nut-scanner -UYou’ll get a configuration block like this:
[nutdev1]
    driver = "usbhid-ups"
    port = "auto"
    vendorid = "0764"
    productid = "0501"
    product = "CP1500"
    serial = "XXXXXXXXXXXXX"
    bus = "001"
Copy that block into /etc/nut/ups.conf and rename nutdev1 to something meaningful:
nano /etc/nut/ups.conf[homelab-ups]
driver = usbhid-ups
port = auto
desc = "CyberPower CP1500 HomeLab"
vendorid = 0764
productid = 0501Step 3: Configure the NUT Server Mode
Set the operating mode — netserver for multi-machine setups, standalone for single-node:
nano /etc/nut/nut.confMODE=netserverTell upsd to accept connections from the network:
nano /etc/nut/upsd.confLISTEN 0.0.0.0 3493Create user accounts for client authentication:
nano /etc/nut/upsd.users[upsmon_local]
password = strongpassword1
upsmon master
[upsmon_remote]
password = strongpassword2
upsmon slaveStep 4: Configure upsmon on the Server Node
nano /etc/nut/upsmon.confMONITOR homelab-ups@localhost 1 upsmon_local strongpassword1 master
MINSUPPLIES 1
SHUTDOWNCMD "/sbin/shutdown -h +0"
POWERDOWNFLAG /etc/killpower
POLLFREQ 5
POLLFREQALERT 5
HOSTSYNC 30
DEADTIME 15Step 5: Start and Enable NUT Services
systemctl enable nut-server nut-monitor
systemctl start nut-server nut-monitor

# Verify the driver loaded and the UPS is talking
upsc homelab-ups@localhost
A successful response shows battery charge, load percentage, input voltage, and status. Watch the ups.status field: OL means On Line (utility power present), OB means On Battery, and LB means Low Battery — shutdown is imminent.
Step 6: Set Up Client Nodes
On each additional machine (other Proxmox nodes, TrueNAS, etc.), install only the client package:
apt install nut-client -ySet the mode to netclient:
nano /etc/nut/nut.confMODE=netclientConfigure monitoring, pointing at the NUT server’s IP address:
nano /etc/nut/upsmon.confMONITOR [email protected] 1 upsmon_remote strongpassword2 slave
MINSUPPLIES 1
SHUTDOWNCMD "/sbin/shutdown -h +0"
POLLFREQ 5
POLLFREQALERT 5
HOSTSYNC 30
DEADTIME 15systemctl enable nut-monitor
systemctl start nut-monitorStep 7: Test the Shutdown Sequence
Don’t skip this step. Before trusting any of this in production, simulate a power failure. NUT has a built-in mechanism for exactly that:
# Run on the NUT server
upsmon -c fsd
This sends a Forced Shutdown signal to all connected clients. Your client nodes should start shutting down within 5–10 seconds. The server node follows last. If POWERDOWNFLAG is configured, NUT will attempt to cut power to the UPS outlet after everything is off — which prevents machines from rebooting on partial battery when utility power returns.
If behavior isn’t what you expect, check the logs:
journalctl -u nut-server -f
journalctl -u nut-monitor -f
A Few Details That Actually Matter
HOSTSYNC is easy to overlook and expensive to get wrong. It controls how long the server waits for slave nodes to acknowledge the shutdown command before proceeding on its own. Set it too low and clients may still be flushing disk writes when the server powers off. 30 seconds is a solid default; bump it to 60 if you’re running VMs with heavy I/O.
Proxmox passes ACPI shutdown signals to VMs automatically when the host shuts down. That still takes time — Windows guests in particular can take 20–30 seconds just to begin shutting down gracefully. Factor that into your HOSTSYNC window, not just your Linux VMs.
On the firewall side: NUT listens on port 3493/tcp. Lock it down to the specific IPs of your client nodes. There’s no reason to expose it to the whole subnet.
Once this is running cleanly, you’ve built something that actually holds under real failure conditions — not a theoretical plan, but infrastructure that fires when the lights go out.