
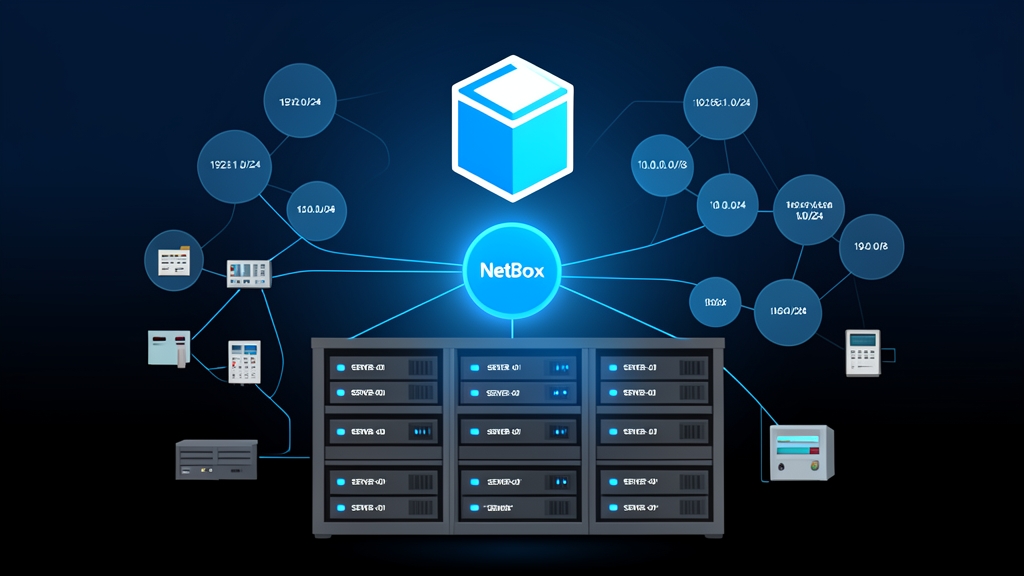
Spreadsheets and sticky notes stop working the moment your lab expands beyond two mini PCs and an ISP router. You shouldn’t have to guess which VLAN carries iSCSI storage, which physical port on your switch feeds Proxmox, or what IPs remain unassigned in your server subnet. A dedicated source of truth solves that friction permanently.
NetBox has become the de facto standard for open-source Data Center Infrastructure Management (DCIM) and IP Address Management (IPAM). By deploying it with Docker Compose, you can stand up the entire stack—PostgreSQL, Redis caching, worker queues, and the web interface—in under five minutes while consuming less than 1.8 GB of RAM at idle.
Quick start (5 min)
The community-maintained netbox-docker repository provides the most reliable deployment method. Verify that Docker Engine 24+ and the Docker Compose plugin are installed on your host, then clone the release branch:
git clone -b release https://github.com/netbox-community/netbox-docker.git
cd netbox-docker
Expose NetBox on your preferred host port by creating a compose override file. Here, port 8000 forwards traffic directly to NetBox’s internal port 8080:
cat <<'EOF' > docker-compose.override.yml
services:
  netbox:
    ports:
      - "8000:8080"
EOF
Fetch the container images and launch the environment in the background:
docker compose pull
docker compose up -d
Initial database migrations usually take between 60 and 90 seconds. Monitor progress with docker compose logs -f netbox until Gunicorn starts serving requests, then generate your administrator credentials:
docker compose exec netbox /opt/netbox/netbox/manage.py createsuperuserComplete the username, email, and password prompts. Head to http://<your-server-ip>:8000 in your browser to sign in.
Deep dive
NetBox documents your intended state, not live telemetry. Tools like Prometheus, Zabbix, or Uptime Kuma report what is currently online. NetBox records what ought to be plugged in, configured, and addressed.
Organizing Sites and IPAM
Build your hierarchy starting from the Organization and IPAM dashboards:
- Sites: Create a primary location, such as
HomeLab-PrimaryorBasement-Rack. Every physical device, rack, and prefix anchors to a site. - VRFs: If you isolate IoT or untrusted lab traffic through dedicated routing tables, configure them here. Standard flat networks can stay on the default Global VRF.
- Prefixes: Add your CIDR blocks. Set up realistic tiers like
10.10.10.0/24(Management, VLAN 10),10.10.20.0/24(Servers & VMs, VLAN 20), and10.10.50.0/24(IoT, VLAN 50). NetBox automatically generates real-time utilization bars so you can see address exhaustion before it happens. - IP Addresses: Reserve static allocations for gateway routers (e.g.,
10.10.10.1/24), Pi-hole DNS instances, and hypervisor management ports. Flag each address explicitly as Active, Reserved, or DHCP pool space.
Building Racks and Placing Devices
A digital rack view helps you manage thermal spacing and physical rack units (RU) without crawling behind your desk:
- Manufacturers & Device Types: Add your hardware vendors (Dell, Ubiquiti, Mikrotik, Raspberry Pi). Under Device Types, define exact models such as a Dell PowerEdge R730xd (2U), a UniFi USW-Pro-24-PoE (1U), or an 8U desktop rack frame.
- Device Roles: Assign functional tags with color accents: Routers in red, Managed Switches in blue, Compute Nodes in green, and Storage NAS in orange.
- Racks: Head to Organization > Racks. Enter your rack height (e.g., 12U, 18U, or 42U) to generate an interactive rack face diagram.
- Mounting Hardware: Add a device, assign its starting RU, and select front or rear orientation. NetBox immediately plots the equipment onto the visual rack elevation.
Mapping Interfaces and Cables
With hardware in place, map your interconnections. Pick your core switch, populate its interfaces (such as ports 1/0/1 through 1/0/24 plus two 10GbE SFP+ cages), and link them directly to your TrueNAS and Proxmox NICs. NetBox checks media compatibility on the fly, flagging errors if you try patching an RJ45 copper jack directly into an optical fiber port without an SFP transceiver module.
Advanced usage
Querying the REST API with Python
Every resource in NetBox is accessible via the built-in REST API (documented under /api/docs/). You can query prefixes dynamically or pull inventory into Ansible playbooks.
Install the official Python wrapper:
pip install pynetboxThis snippet queries NetBox for the next unassigned static IP inside your server subnet:
import pynetbox

NB_URL = "http://10.10.10.5:8000"
NB_TOKEN = "0123456789abcdef0123456789abcdef01234567"

nb = pynetbox.api(NB_URL, token=NB_TOKEN)

# Retrieve the target server prefix
prefix = nb.ipam.prefixes.get(prefix="10.10.20.0/24")

if prefix:
    # Find the next available unallocated IP address
    available_ips = prefix.available_ips.list()
    if available_ips:
        print(f"Next available IP: {available_ips[0]['address']}")
    else:
        print("Subnet is fully allocated.")
else:
    print("Prefix not found.")
Custom Fields and Config Contexts
If default schemas fall short, add Custom Fields under the Customization tab. Track asset tags, MAC addresses for wake-on-LAN, purchase costs, or warranty expiration dates across all physical nodes.
Config Contexts allow you to attach hierarchical JSON or YAML dictionaries to specific sites or device roles. You might define global NTP servers (0.pool.ntp.org, 1.pool.ntp.org) and local search domains (home.arpa) across all compute servers. Provisioning scripts can consume these data blobs directly when deploying Terraform or Cloud-init templates.
Event-Driven Webhooks
NetBox fires instant webhook payloads on object updates. Under Operations > Webhooks, create a rule that notifies an automation endpoint whenever an IP marked “Active” is saved. This allows external scripts to generate forward and reverse DNS records on your internal BIND9 or PowerDNS server immediately.
Practical tips
Automate Your PostgreSQL Backups
NetBox stores your authoritative infrastructure records. If the database corrupts without a backup, you will spend hours re-entering patch cords and IP assignments by hand. A small automated dump script protects you from hardware failures or botched image updates.
Place this shell script in your backup routine (for instance, via cron at 02:00 every night):
#!/usr/bin/env bash
set -euo pipefail

BACKUP_DIR="/opt/backups/netbox"
TIMESTAMP=$(date +"%Y%m%d_%H%M%S")
COMPOSE_DIR="/opt/netbox-docker"

mkdir -p "${BACKUP_DIR}"

# Stream a compressed pg_dump directly from the database container
docker compose --project-directory "${COMPOSE_DIR}" exec -T postgres \
  pg_dump -U netbox netbox | gzip > "${BACKUP_DIR}/netbox_${TIMESTAMP}.sql.gz"

# Purge backups older than 14 days
find "${BACKUP_DIR}" -type f -name "netbox_*.sql.gz" -mtime +14 -delete
Scope Realistically at the Start
Don’t try to document every IoT smart bulb and patch cable during your first weekend. Start with the core backbone: your firewall, managed switches, hypervisors, and top-level subnets. Once you trust those records, expand gradually into VLAN tags, patch panels, storage arrays, and virtual machines.
Maintain Single-Source Discipline
Documentation decays fast when updates get deferred. Make it a hard rule: record the new static IP or cable change in NetBox before touching the terminal or rack. Holding to that workflow keeps your homelab predictable, stable, and ready to scale.