Quick Start (5 Min)
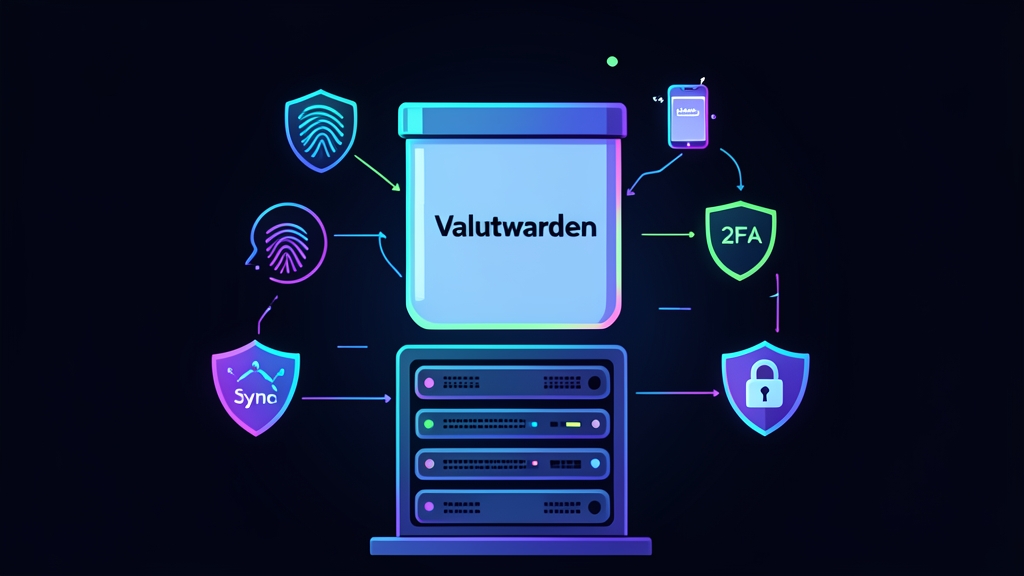
Managing credentials across multiple devices gets messy fast as your homelab grows. Vaultwarden solves this problem cleanly. It re-implements the Bitwarden server API in Rust, slashing resource usage down to roughly 30MB of RAM compared to the 3GB to 4GB required by the official .NET and MSSQL stack.
Grab this production-ready docker-compose.yml file to deploy Vaultwarden with persistent storage and real-time push sync enabled:
services:
  vaultwarden:
    image: vaultwarden/server:latest
    container_name: vaultwarden
    restart: unless-stopped
    environment:
      - WEBSOCKET_ENABLED=true
      - SIGNUPS_ALLOWED=true
    volumes:
      - ./vw-data:/data
    ports:
      - 8080:80
      - 3012:3012
Bring up the container from your terminal:
mkdir -p ~/vaultwarden && cd ~/vaultwarden
# Save the configuration above into docker-compose.yml
docker compose up -d
docker compose logs -f vaultwarden
Check the logs. Once the engine boots, navigate to http://<your-server-ip>:8080 in your browser. Register your primary admin account immediately before opening any ports to external networks.
Deep Dive
Why Choose Vaultwarden Over Official Bitwarden?
Official Bitwarden targets enterprise infrastructure. It relies on a dozen microservice containers, an expensive Microsoft SQL Server instance, and heavy memory reserves. In contrast, Vaultwarden packages every required service into a single compiled Rust binary.
By default, it uses an embedded SQLite engine with WAL mode enabled, though you can plug in PostgreSQL or MariaDB if your workload demands it. Even a $35 Raspberry Pi 4 with 2GB of RAM can handle a library of 5,000 passwords across 10 concurrent active users without latency spikes.
The HTTPS Requirement and Web Crypto API
Try logging into a remote Vaultwarden instance over plain HTTP, and the web app will immediately fail with cryptographic errors. This behavior is deliberate. Modern browsers enforce a secure context requirement on the native crypto.subtle Web Crypto API.
Without TLS, client browsers refuse to derive encryption keys from your master password. You can satisfy this requirement using a lightweight reverse proxy like Caddy to terminate SSL via Let’s Encrypt certificates automatically:
vault.homelab.local {
    reverse_proxy vaultwarden:80

    # WebSocket reverse proxy rules for instant push updates
    reverse_proxy /notifications/hub vaultwarden:3012
    reverse_proxy /notifications/hub/negotiate vaultwarden:80
}
Architecture and Real-Time Synchronization
Vaultwarden uses two network pathways to maintain full compatibility with upstream Bitwarden apps:
- Port 80: Powers standard REST API endpoints, user authentication flows, static web vault assets, and encrypted vault reads and writes.
- Port 3012: Listens for WebSocket connections. When you update an entry on your desktop extension, this socket immediately triggers a delta push to your phone and tablet, eliminating manual sync clicks.
Advanced Usage
Securing the Admin Dashboard with Argon2id
Vaultwarden provides an emergency maintenance dashboard at /admin to configure server variables and manage user invites. Leaving this endpoint protected by a plain text password in your Compose file is a major security risk. Generate a salted cryptographic hash using Vaultwarden’s built-in utility instead:
docker run --rm -it vaultwarden/server:latest /vaultwarden hash --preset owaspThe CLI will output an Argon2id string formatted like this:
$argon2id$v=19$m=65536,t=3,p=4$q+...$aK...Insert this hash into your docker-compose.yml file. While editing, turn off open registrations to lock out unwanted users:
    environment:
      - WEBSOCKET_ENABLED=true
      - SIGNUPS_ALLOWED=false
      - ADMIN_TOKEN='$$argon2id$$v=19$$m=65536,t=3,p=4$$q+...$$aK...'
      - INVITATIONS_ALLOWED=true
      - DOMAIN=https://vault.homelab.local
Note: Escape each dollar sign by doubling it (
$$) in Docker Compose files. Otherwise, the Compose engine tries to interpolate the string as an unset system variable.
Hardening Authentication: 2FA and Hardware Keys
Once you sign in, go to Account Settings > Security > Two-step Login. Vaultwarden supports standard TOTP authenticators such as Aegis and Ente Auth, alongside hardware security tokens like Yubikeys using FIDO2 and WebAuthn.
WebAuthn requires strict origin validation. Your DOMAIN variable must match the exact HTTPS URL you enter in your browser’s address bar, including the scheme and port if non-standard.
Practical Tips
Atomic Database Backups Without Downtime
Never copy active SQLite database files like db.sqlite3 with raw commands like cp. You risk capturing uncommitted journal transactions from WAL files, which corrupts the resulting backup snapshot. Instead, invoke the SQLite online backup API via host CLI tools:
#!/usr/bin/env bash
set -euo pipefail

BACKUP_DIR="/opt/backups/vaultwarden"
DATA_DIR="${HOME}/vaultwarden/vw-data"
TIMESTAMP=$(date +"%Y%m%d_%H%M%S")
mkdir -p "${BACKUP_DIR}"

# Safely dump an atomic SQLite snapshot without stopping the container
sqlite3 "${DATA_DIR}/db.sqlite3" ".backup '${BACKUP_DIR}/vault_${TIMESTAMP}.sqlite3'"

# Archive cryptographic keys and file attachments
tar -czf "${BACKUP_DIR}/data_${TIMESTAMP}.tar.gz" -C "${DATA_DIR}" attachments rsa_key.pem

# Purge archives older than 14 days
find "${BACKUP_DIR}" -type f -mtime +14 -delete
This script executes in under 200 milliseconds on modest systems. Run it nightly at 03:00 via cron, and mirror the backup directory offsite to an encrypted storage target such as Backblaze B2 or a remote TrueNAS server.
Connecting Official Bitwarden Client Apps
You can use standard, unmodified Bitwarden apps across iOS, Android, macOS, Linux, and Windows. To link your client to your self-hosted server:
- Open the Bitwarden extension or native mobile application.
- Click the Settings gear on the login screen before typing credentials.
- Enter your domain in the Server URL field:
https://vault.homelab.local. - Save the setting, enter your email and master password, and complete your 2FA prompt.
Your vault entries now sync instantly through your private server, with zero telemetry or plain text credentials leaving your home network.