Context & Why: The HomeLab Inventory Blindspot
Most homelabs start small. You pick up a refurbished Lenovo ThinkCentre Tiny or an old Dell OptiPlex to run Pi-hole and a few Docker containers. Before long, that modest setup multiplies. You find yourself managing a three-node Proxmox cluster, an enterprise PoE switch, a DAS disk shelf, and drawers full of DDR4 ECC sticks and spare PCIe NICs. Digital assets pile up just as fast, from hypervisor licenses and domain renewals to internal TLS certificates.
Then reality hits. A drive throws SMART errors at 2:00 AM, or a hypervisor node drops offline. Suddenly, you are digging through outdated spreadsheets and Discord notes. Which node holds that 32GB Micron module? Did the warranty on that refurbished 1.92TB enterprise SSD expire last month? What was the purchase date?
Flat spreadsheets quickly break down. They cannot map relational links between parent chassis, swappable components, and software seats.
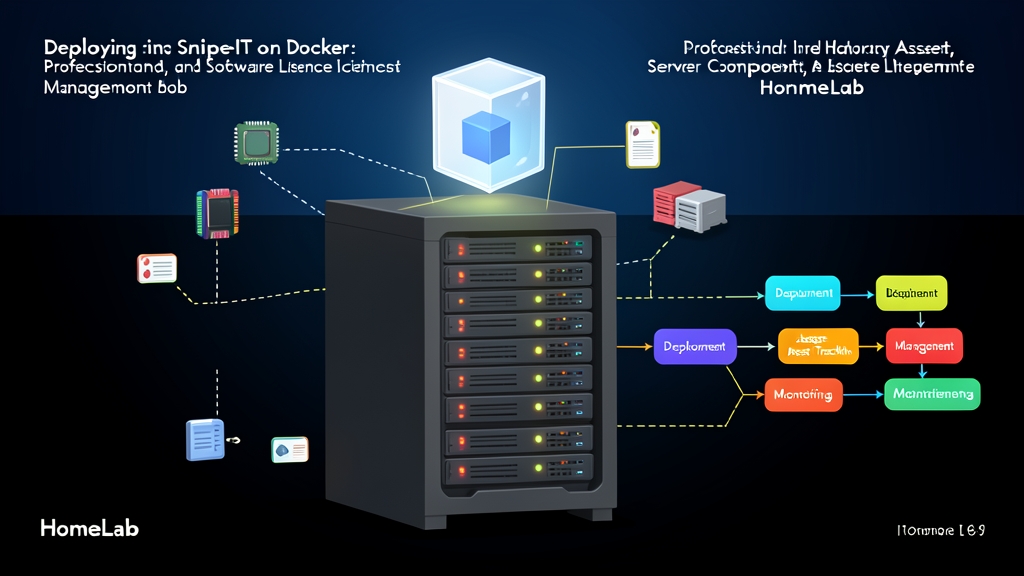
Data centers handle this with dedicated IT Asset Management (ITAM) software. Snipe-IT is an open-source, web-based ITAM platform built specifically to track hardware lifecycles, swappable modules, consumable supplies, and maintenance histories. Running Snipe-IT in Docker Compose gives you a clean, self-hosted inventory hub without the enterprise bloat.
Treating your lab like production means knowing what hardware you own, where it lives, and when it is due for replacement.
Installation: Setting Up Snipe-IT with Docker Compose
We deploy Snipe-IT as a two-tier stack using Docker Compose. The first container runs the official Snipe-IT application service on Apache and PHP. The second runs a MariaDB 10.11 instance for relational data storage.
1. Prepare the Directory Structure
Create a dedicated directory on your Docker host for persistent application volumes and backups:
mkdir -p ~/snipe-it/data ~/snipe-it/dumps
cd ~/snipe-it
2. Generate the Application Encryption Key
Snipe-IT requires a 32-character base64 application key (APP_KEY). This key encrypts sensitive data in the database, including password fields and license keys. Generate it using the official image before bringing up the stack:
docker run --rm snipe/snipe-it:latest php artisan key:generate --show
Save the output string (formatted as base64:...). You will paste it into your environment configuration next.
3. Create the Environment Configuration
Create an .env file in your ~/snipe-it working directory. Replace the sample values with your generated key, your homelab subnet IP (such as 192.168.1.50), and strong database passwords:
cat <<'EOF' > ~/snipe-it/.env
# Application Settings
APP_ENV=production
APP_DEBUG=false
APP_KEY=base64:PASTE_YOUR_GENERATED_KEY_HERE=
APP_URL=http://192.168.1.50:8080
APP_TIMEZONE=UTC
APP_LOCALE=en-US

# Database Settings
DB_CONNECTION=mysql
DB_HOST=snipe-db
DB_PORT=3306
DB_DATABASE=snipeit
DB_USERNAME=snipeit
DB_PASSWORD=SecureAppPass_2026!

# MariaDB Root Password
MYSQL_ROOT_PASSWORD=RootSecretPass_2026!

# Notifications (Set to 'log' or provide your SMTP relay credentials)
MAIL_DRIVER=log

# Session Lifetime in Minutes (12000 = ~8 days)
SESSION_LIFETIME=12000
EXPIRE_ON_CLOSE=false
EOF
4. Define the Docker Compose Manifest
Write your docker-compose.yml file. We include named volumes for persistent storage, an isolated bridge network, and an explicit MariaDB healthcheck so the application container waits for the database to accept queries:
cat <<'EOF' > ~/snipe-it/docker-compose.yml
services:
  snipe-db:
    image: mariadb:10.11
    container_name: snipeit-db
    restart: unless-stopped
    env_file: .env
    environment:
      MYSQL_DATABASE: ${DB_DATABASE}
      MYSQL_USER: ${DB_USERNAME}
      MYSQL_PASSWORD: ${DB_PASSWORD}
      MYSQL_ROOT_PASSWORD: ${MYSQL_ROOT_PASSWORD}
    volumes:
      - db_data:/var/lib/mysql
    healthcheck:
      test: ["CMD", "mariadb-admin", "ping", "-h", "localhost", "-u", "root", "-p${MYSQL_ROOT_PASSWORD}"]
      interval: 10s
      timeout: 5s
      retries: 5
      start_period: 20s
    networks:
      - snipeit-net

  snipe-app:
    image: snipe/snipe-it:latest
    container_name: snipeit-app
    restart: unless-stopped
    depends_on:
      snipe-db:
        condition: service_healthy
    env_file: .env
    ports:
      - "8080:80"
    volumes:
      - snipe_data:/var/lib/snipeit
      - snipe_dumps:/var/lib/snipeit/dumps
    networks:
      - snipeit-net

volumes:
  db_data:
  snipe_data:
  snipe_dumps:

networks:
  snipeit-net:
    driver: bridge
EOF
5. Launch the Stack
Spin up both containers in detached mode:
docker compose up -d
Follow container logs to watch the initial database migration process:
docker compose logs -f snipe-app
The web server is ready when the log shows Apache/2.4... configured -- resuming normal operations.
Configuration: First Boot and Asset Modeling
Open http://192.168.1.50:8080 in your browser to view the setup assistant.
1. Complete the Initial Web Setup
- Pre-Flight Check: Verify that all PHP extensions, storage directories, and writable paths display green checkmarks. Click Next: Create Database Tables.
- Create Database Tables: Snipe-IT automatically generates the required schema. Click Next: Create User.
- Admin Account & Branding: Enter a site title (such as
Lab Ops Inventory). Add your administrative username, email, and a secure password.
2. Model Categories for Hardware and Components
Snipe-IT makes a clean distinction between Assets and Components. Assets are standalone devices with unique identities, like a 1U chassis or a managed switch. Components are modular parts installed inside those assets, like memory modules, SSDs, and PCIe cards.
- Categories (Settings > Categories): Build distinct groups such as
Rack Servers,Network Switches, andStorage Components. For swappable parts, set the category type directly to Component. - Status Labels (Settings > Status Labels): Track deployment stages accurately. Useful defaults include
Active / In Rack(Deployable),Cold Spare / Shelf(Deployable),Bench Testing(Pending), andDefective / RMA(Undeployable). - Asset Models (Settings > Asset Models): Enter concrete hardware specs (for example,
Dell PowerEdge R730xd,Minisforum MS-01, orUbiquiti USW-Pro-24-PoE). Attach custom fieldsets for CPU socket types, expansion lanes, and power supply wattages.
3. Check In and Relate Hardware
Start by creating your primary host under Assets > Create New (for example, pve-node-01 with serial 4HK9Z22 and MAC address 00:1E:67:D2:AB:34). Next, go to Components > Create New and add your memory kit: Samsung 32GB DDR4 2666MHz ECC RDIMM with a total quantity of 4.
Click Check Out on the component and assign all four units to pve-node-01.
When you shuffle hardware down the road, simply check the RAM modules out to a different machine. Snipe-IT logs every migration date and maintainer note automatically.
4. Organize Software Licenses
Open Licenses > Create New. Add subscriptions and keys for Proxmox VE community tiers, domain registrations, and OS product keys. Set seat counts (for example, 2 CPU sockets or 10 active VMs) and check out seats to the machines running them. Snipe-IT flags upcoming expiration dates before services lapse.
Verification & Monitoring: Health, Backups, and Maintenance
An inventory tool is only useful if the underlying data survives drive failures and routine container updates.
1. Inspect Running Services and Healthchecks
Verify that both containers report a healthy status:
docker compose ps
Query the database daemon directly to confirm it accepts connections:
docker exec -it snipeit-db mariadb-admin ping -u root -p
2. Automate Daily Database Backups
Never rely on local container volumes as your only safety net. Write a host-level backup script that dumps the MariaDB database and archives uploaded asset receipts and photos:
cat <<'EOF' > ~/snipe-it/backup-snipeit.sh
#!/usr/bin/env bash
set -euo pipefail

BACKUP_DIR="/var/backups/snipe-it"
TIMESTAMP=$(date +"%Y%m%d_%H%M%S")
mkdir -p "${BACKUP_DIR}"

# Source DB credentials from the local .env file
export $(grep -E '^(DB_DATABASE|DB_USERNAME|DB_PASSWORD)=' ~/snipe-it/.env | xargs)

# Dump database directly from the running container
docker exec snipeit-db mariadb-dump -u "${DB_USERNAME}" -p"${DB_PASSWORD}" "${DB_DATABASE}" \
  | gzip > "${BACKUP_DIR}/snipeit_db_${TIMESTAMP}.sql.gz"

# Archive uploaded invoice receipts and asset photos
docker run --rm \
  -v snipe_data:/source:ro \
  -v "${BACKUP_DIR}:/backup" \
  alpine tar -czf "/backup/snipeit_data_${TIMESTAMP}.tar.gz" -C /source .

# Retain the last 30 days of archives
find "${BACKUP_DIR}" -type f -name "snipeit_*.*" -mtime +30 -delete

echo "[$(date)] Backup completed successfully: ${TIMESTAMP}"
EOF
chmod +x ~/snipe-it/backup-snipeit.sh
Add a nightly cron job by editing your user crontab with crontab -e:
0 3 * * * /home/ubuntu/snipe-it/backup-snipeit.sh >> /var/log/snipeit-backup.log 2>&1
3. Streamline Audits with Barcodes
Snipe-IT generates QR codes and 1D barcodes out of the box. Go to Settings > Barcodes and select QRcode or Code 128. You can print labels onto standard Avery sheets, stick them onto server caddies and switch faceplates, and scan them with your smartphone during physical rack maintenance.
A ten-second scan pulls up complete hardware specs, firmware revisions, and warranty details right at the rack.