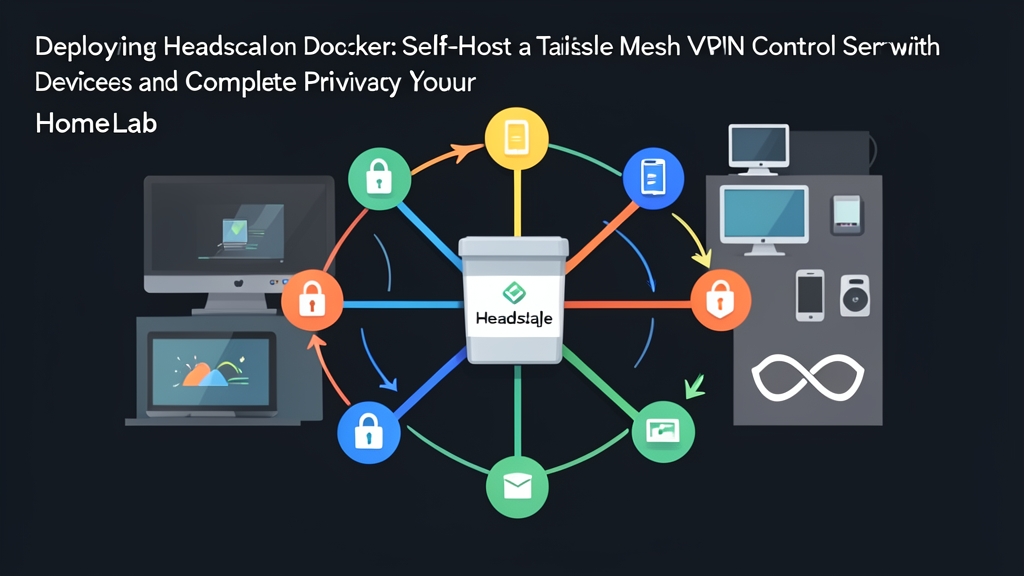
The Real-World Problem: Scaling Private Mesh Networks Behind CGNAT
Accessing servers across home labs, colocation racks, and mobile devices is rarely straightforward. Most residential ISPs push subscribers behind Carrier-Grade NAT (CGNAT) without a routable IPv4 address. Others hand out dynamic IPs that rotate without warning. The classic workaround—opening router ports and pointing Dynamic DNS at your gateway—leaves internal management interfaces exposed to continuous mass-scanning from internet bots within minutes.
Things get brittle fast as a homelab grows. A simple setup with two Proxmox nodes quickly balloons to 30+ endpoints once you add staging containers, off-site TrueNAS backups, and remote laptops. Static site-to-site tunnels break the moment an ISP reassigns an IP lease. Maintaining firewall punch-lists across three separate physical locations quickly turns into an administrative sinkhole.
Root Cause Analysis: Why Traditional VPNs and Managed SaaS Hit Roadblocks
Homelabs outgrow typical remote access patterns because of three fundamental architectural bottlenecks:
- Hub-and-spoke bandwidth chokepoints: Traditional OpenVPN or centralized WireGuard tunnels route all traffic through a single primary server. When your home gigabit connection drops or experiences a 30 Mbps ISP upload throttle, remote clients lose access to each other entirely—even if both clients sit on high-speed datacenter links.
- WireGuard mesh configuration fatigue: WireGuard delivers incredible raw throughput (often over 850 Mbps on gigabit links), but it does not manage topology. Adding your 20th device requires generating keypairs and manually updating configurations across all 19 existing peers. One misplaced endpoint IP breaks the route.
- SaaS coordination limits: Tailscale solved mesh coordination by combining WireGuard with STUN NAT traversal and DERP relay fallbacks. However, Tailscale’s SaaS tier imposes boundaries. Their free plan limits accounts to 3 users and 100 devices. It requires an external OAuth provider (Google, GitHub, Microsoft) and hosts your routing topology maps on proprietary infrastructure outside your control.
Solutions Compared: WireGuard, Managed Tailscale, and Headscale
Here is how the three main approaches compare when connecting distributed homelab infrastructure:
| Criteria | Pure WireGuard | Official Tailscale (SaaS) | Self-Hosted Headscale |
|---|---|---|---|
| Architecture | Manual Mesh or Hub/Spoke | Coordinated Mesh | Coordinated Mesh (Open Source) |
| NAT Traversal | Manual port forwarding required | Automated (STUN/DERP) | Automated (STUN/DERP) |
| Resource Footprint | Kernel module (<10 MB RAM) | Client daemon (~40 MB RAM) | Server daemon (~35-60 MB RAM) |
| Device Limits | Unlimited (manual maintenance) | Capped on free tiers (100 nodes) | Unlimited |
| Privacy & Control | 100% self-contained | Coordination metadata on SaaS | 100% self-hosted on your hardware |
| Client Compatibility | Standard WireGuard app | Official Tailscale client | Official Tailscale client (custom login URL) |
Official Tailscale is effortless to start with. Headscale gives you that same zero-config NAT-punching mesh, but lets you retain total ownership over identity, access tokens, and topology logs.
The Best Approach: Production-Ready Headscale Deployment on Docker
A bare-bones $4/month VPS (1 vCPU, 1 GB RAM) running Debian 12 or Ubuntu 24.04 provides more than enough horsepower for Headscale. Running Headscale inside Docker behind a reverse proxy isolates runtime state, simplifies upgrades, and automates TLS certificate handshakes.
Step 1: Directory Structure and Base Configuration
Create dedicated directories on your host to persist database files and configuration templates:
sudo mkdir -p /opt/headscale/config
sudo mkdir -p /opt/headscale/data
cd /opt/headscale
Download the official sample configuration file directly from the Headscale repository:
sudo wget -O config/config.yaml https://raw.githubusercontent.com/juanfont/headscale/main/config-example.yamlOpen config/config.yaml and adjust the core network values. Define your public domain, internal listening interfaces, and the CGNAT subnet allocated to your mesh peers:
server_url: https://headscale.example.com:443
listen_addr: 0.0.0.0:8080
metrics_listen_addr: 127.0.0.1:9090

ip_prefixes:
  - 100.64.0.0/10
  - fd7a:115c:a1e0::/48

derp:
  server:
    enabled: false
  urls:
    - https://controlplane.tailscale.com/derpmap/default
  auto_update_enabled: true
  update_frequency: 24h

database:
  type: sqlite
  sqlite:
    path: /var/lib/headscale/db.sqlite

dns:
  magic_dns: true
  base_domain: mesh.internal
  nameservers:
    list:
      - 1.1.1.1
      - 1.0.0.1
Step 2: Setting Up Docker Compose
Create a docker-compose.yml file in /opt/headscale/. Bind container ports strictly to localhost so your reverse proxy handles ingress traffic safely:
services:
  headscale:
    image: headscale/headscale:0.23.0
    container_name: headscale
    restart: unless-stopped
    volumes:
      - /opt/headscale/config:/etc/headscale
      - /opt/headscale/data:/var/lib/headscale
    ports:
      - "127.0.0.1:8080:8080"
      - "127.0.0.1:9090:9090"
    command: headscale serve
Bring up the container and verify initialization logs:
docker compose up -d
docker compose logs -f headscale
Step 3: Reverse Proxy and TLS Termination
Tailscale clients communicate with Headscale over HTTPS using long-lived WebSockets and gRPC streams. Never expose plain port 8080 to the public web. If you use Caddy, handling automatic TLS takes only three lines in your Caddyfile:
headscale.example.com {
    reverse_proxy 127.0.0.1:8080
}
If you prefer Nginx, configure the virtual host to forward upgrade headers explicitly:
server {
    server_name headscale.example.com;
    listen 443 ssl http2;

    ssl_certificate /etc/letsencrypt/live/headscale.example.com/fullchain.pem;
    ssl_certificate_key /etc/letsencrypt/live/headscale.example.com/privkey.pem;

    location / {
        proxy_pass http://127.0.0.1:8080;
        proxy_http_version 1.1;
        proxy_set_header Upgrade $http_upgrade;
        proxy_set_header Connection "upgrade";
        proxy_set_header Host $host;
        proxy_redirect off;
        proxy_buffering off;
        proxy_set_header X-Real-IP $remote_addr;
        proxy_set_header X-Forwarded-For $proxy_add_x_forwarded_for;
        proxy_set_header X-Forwarded-Proto $scheme;
    }
}
Step 4: Creating Users and Pre-Auth Keys
Headscale groups nodes under distinct users. Create your first administrative namespace:
docker exec -it headscale headscale users create homelab-adminInteractive logins work fine on personal workstations. For headless nodes, generate a reusable pre-authentication key instead:
docker exec -it headscale headscale preauthkeys create --user homelab-admin --reusable --expiration 720hStore the returned 48-character token securely. You can embed it directly into your Ansible playbooks or cloud-init templates.
Step 5: Registering Nodes with the Official Tailscale Client
Headscale works seamlessly with official Tailscale binaries on Linux, macOS, iOS, Android, and Windows. To register a headless Linux host using your pre-auth key, run:
sudo tailscale up --login-server https://headscale.example.com --authkey <YOUR_PREAUTH_KEY>If you prefer interactive authentication without a pre-auth token, omit the key argument:
sudo tailscale up --login-server https://headscale.example.comThe terminal will display a registration URL. Copy that link, extract the node key parameter, and validate the machine on your Headscale server:
docker exec -it headscale headscale nodes register --user homelab-admin --key <MACHINE_KEY_FROM_TERMINAL>Hands-On Tips & Operational Best Practices
- Automate atomic SQLite backups: Headscale records state in
/opt/headscale/data/db.sqlite. Do not copy this file with standardcpcommands while the container is running. Instead, trigger safe point-in-time snapshots with a nightly cron task:sqlite3 /opt/headscale/data/db.sqlite ".backup '/backup/headscale-$(date +%F).sqlite'". - Bridge legacy LAN subnets: Printers, IP cameras, and smart power strips cannot run VPN daemons. Turn a local Raspberry Pi or mini PC into a gateway with
tailscale up --login-server https://headscale.example.com --advertise-routes=192.168.1.0/24. Then, approve the route on Headscale usingdocker exec -it headscale headscale routes enable -r <ROUTE_ID>. - Configure collision-free MagicDNS: Use internal suffixes such as
mesh.internal. This guarantees automatic node-to-node name resolution (e.g.,grafana.mesh.internal) without interfering with real external domains. - Pin container tags: Avoid deploying
headscale:latest. Database migrations occur between minor releases. Pin tags to specific releases likeheadscale:0.23.0so you can review changelogs and schema changes before updating. - Test direct peer connectivity: Check your routing performance using
tailscale statusandtailscale ping <DESTINATION_IP>. Direct UDP hole-punching typically yields round-trip latencies under 20ms over broadband. If traffic falls back to a DERP relay, verify that your client firewalls permit outbound UDP on port 41641.