Quick Start (5 Min)
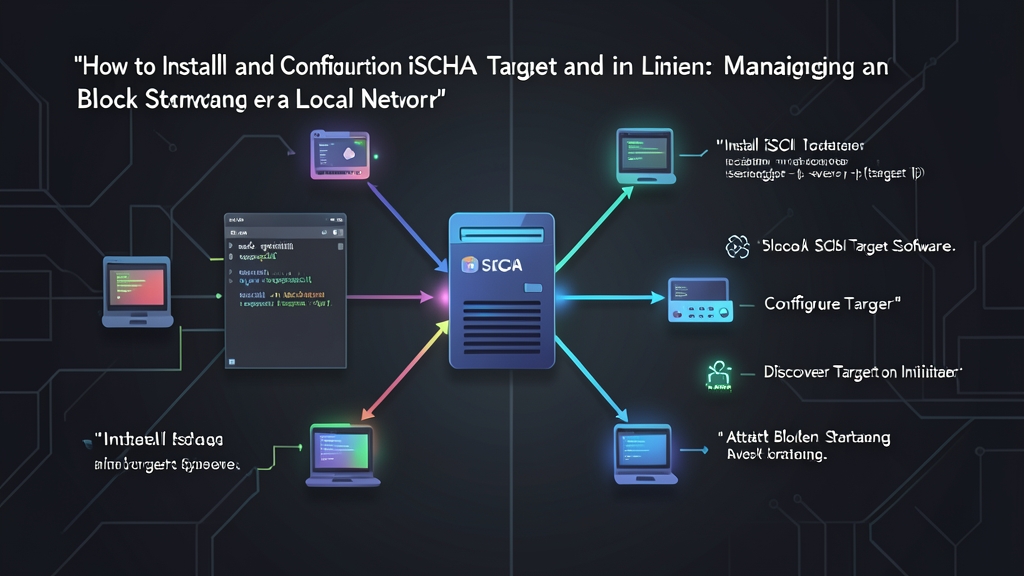
iSCSI transports SCSI storage commands across standard TCP/IP networks. While NFS and Samba share filesystem-level files and folders, iSCSI delivers raw, unformatted blocks directly to your server. The client treats the remote disk like local hardware—assigning it a device node like /dev/sdb—and lets you format it with ext4, XFS, or ZFS.
Every iSCSI deployment involves two core roles:
- Target: The storage server exporting raw disks, LVM logical volumes, or file-backed disk images.
- Initiator: The client machine that logs into the Target and mounts the exposed block storage.
Here is a working minimal deployment on Ubuntu 24.04 and Debian 12:
1. Target Server (IP: 192.168.10.50):
sudo apt update && sudo apt install -y targetcli-fb
sudo targetcli
# Run these commands inside targetcli:
> cd /backstores/fileio
> create name=disk01 file_or_dev=/var/storage_disk01.img size=10G
> cd /iscsi
> create iqn.2026-10.com.itfromzero:storage.target01
> cd iqn.2026-10.com.itfromzero:storage.target01/tpg1/luns
> create /backstores/fileio/disk01
> cd ../acls
> create iqn.2026-10.com.itfromzero:client01
> exit
2. Initiator Client (IP: 192.168.10.60):
sudo apt update && sudo apt install -y open-iscsi
echo "InitiatorName=iqn.2026-10.com.itfromzero:client01" | sudo tee /etc/iscsi/initiatorname.iscsi
sudo systemctl restart iscsid
sudo iscsiadm -m discovery -t sendtargets -p 192.168.10.50
sudo iscsiadm -m node -T iqn.2026-10.com.itfromzero:storage.target01 -p 192.168.10.50 --login
lsblk --scsi
The lsblk --scsi command will print your newly attached disk, ready to format and mount.
Deep Dive
Understanding iSCSI Qualified Names (IQN)
Every node on an iSCSI network needs a globally unique identifier called an IQN. These strings follow a strict format defined by RFC 3720:
iqn.yyyy-mm.naming-authority:unique-nameiqn: The required type designator prefix.2026-10: The year and month your organization registered its domain name.com.itfromzero: Your reversed internet domain name.storage.target01: Any string you choose to label this specific storage pool or host.
Configuring the Target Server with LIO
Linux uses the Linux-IO (LIO) kernel subsystem for high-performance iSCSI target emulation. You manage LIO through the targetcli interactive shell. For production workloads, back your storage with a dedicated LVM logical volume rather than a loopback file image to bypass filesystem buffering overhead.
In this example, we map an existing 20 GB volume (/dev/vg_storage/lv_iscsi) on our storage server:
sudo targetcliWithin the shell, create a block-level backstore linked to the LVM volume:
cd /backstores/block
create name=iscsi_block01 dev=/dev/vg_storage/lv_iscsi
Define the target endpoint and its Target Portal Group (TPG):
cd /iscsi
create iqn.2026-10.com.itfromzero:target.dbdata
Bind the storage backstore to LUN 0 under that target group:
cd /iscsi/iqn.2026-10.com.itfromzero:target.dbdata/tpg1/luns
create /backstores/block/iscsi_block01
Set an Access Control List (ACL). Only an initiator matching this exact string can establish a session:
cd /iscsi/iqn.2026-10.com.itfromzero:target.dbdata/tpg1/acls
create iqn.2026-10.com.itfromzero:initiator.dbnode1
exit
Open port 3260 in your firewall to allow incoming initiator connections:
sudo ufw allow 3260/tcpConfiguring the Initiator
Head to the client machine (192.168.10.60). Configure the client IQN so it matches the ACL entry you created on the server:
echo "InitiatorName=iqn.2026-10.com.itfromzero:initiator.dbnode1" | sudo tee /etc/iscsi/initiatorname.iscsi
sudo systemctl restart iscsid open-iscsi
sudo systemctl enable iscsid open-iscsi
Send a discovery probe to locate available LUNs on the target:
sudo iscsiadm -m discovery -t sendtargets -p 192.168.10.50The command returns the detected target IQN. Log in to attach the storage:
sudo iscsiadm -m node -T iqn.2026-10.com.itfromzero:target.dbdata -p 192.168.10.50 --loginVerify that the kernel detected the new disk:
lsblk --scsi
dmesg | grep -i scsi | tail -n 10
You will see a new SCSI device, such as /dev/sdb.
Formatting and Persistent Mounting
Format the disk with ext4. Setting reserved blocks to 1% preserves usable capacity on large drives:
sudo mkfs.ext4 -m 1 /dev/sdb
sudo mkdir -p /mnt/iscsi_storage
sudo mount /dev/sdb /mnt/iscsi_storage
Find the drive UUID to configure a reliable boot mount:
sudo blkid -s UUID -o value /dev/sdbAppend the entry to /etc/fstab. The _netdev parameter is mandatory; it prevents systemd from mounting the partition before the network stack is up:
UUID=3a7b4c81-8e3d-49f2-b710-d8a1c93f0b22 /mnt/iscsi_storage ext4 defaults,_netdev 0 2Verify your mount syntax without rebooting:
sudo umount /mnt/iscsi_storage
sudo mount -a
df -h /mnt/iscsi_storage
Advanced Usage
Enforcing CHAP Authentication
IQN ACLs verify client identities, but they do not stop unauthorized network sniffers from injecting commands. Challenge-Handshake Authentication Protocol (CHAP) adds mutual cryptographic proof during session setup.
Enable authentication on the target server:
sudo targetcli
cd /iscsi/iqn.2026-10.com.itfromzero:target.dbdata/tpg1
set attribute authentication=1
cd acls/iqn.2026-10.com.itfromzero:initiator.dbnode1
set auth userid=db_backup_user
set auth password=K8s_Vol_Storage_Pass99!
exit
Configure matching credentials on the initiator in /etc/iscsi/iscsid.conf:
node.session.auth.authmethod = CHAP
node.session.auth.username = db_backup_user
node.session.auth.password = K8s_Vol_Storage_Pass99!
Reload the initiator daemon, log out, and re-login to verify credentials:
sudo systemctl restart iscsid
sudo iscsiadm -m node -T iqn.2026-10.com.itfromzero:target.dbdata --logout
sudo iscsiadm -m node -T iqn.2026-10.com.itfromzero:target.dbdata --login
Expanding Volumes Online
One major advantage of block storage is non-disruptive capacity expansion. When you need extra space, you can grow the underlying LVM slice and client filesystem without unmounting the disk or pausing applications.
- Expand the volume by 10 GB on the Target server:
sudo lvextend -L +10G /dev/vg_storage/lv_iscsi - Rescan the SCSI bus on the Initiator to detect the new capacity:
sudo iscsiadm -m node -RCheck
lsblk /dev/sdb. The drive will reflect the new 30 GB size. - Grow the ext4 filesystem live while remaining online:
sudo resize2fs /dev/sdb
Practical Tips
Network storage introduces latency and failure modes you never see on physical SATA or PCIe buses. A single network disruption can cause I/O hangs across your application tier.
Production Best Practices
- Never omit
_netdevin/etc/fstab: Without this option, systemd attempts to mount the partition before networking starts. The mount times out after 90 seconds, dumping the machine into emergency mode during reboot. - Isolate storage on a dedicated VLAN: Standard iSCSI traffic is unencrypted. Route iSCSI over a separate physical NIC or dedicated 802.1Q VLAN (e.g., VLAN 100 on subnet
10.10.100.0/24). This prevents bulk backups from saturating production web traffic. - Enable Jumbo Frames (MTU 9000): Standard 1500-byte Ethernet packets generate high CPU interrupt rates under heavy I/O. Enabling 9000 MTU across all switches, targets, and initiators reduces packet headers, improving sequential throughput on 10 GbE links from ~850 MB/s to over 1.1 GB/s.
- Prevent multi-initiator data corruption: Standard filesystems (ext4, XFS) maintain internal block caches and assume exclusive disk ownership. Connecting two machines to the same LUN simultaneously with ext4 will corrupt the filesystem within seconds. If multiple nodes must access the same target, use a clustered filesystem like OCFS2 or GFS2.
- Always tear down sessions cleanly: Never pull a network cable or reboot the target while an initiator has open files. Always unmount the volume before logging out of the session:
sudo umount /mnt/iscsi_storage
sudo iscsiadm -m node -T iqn.2026-10.com.itfromzero:target.dbdata --logout