Carrying a pocket full of USB sticks between server racks gets old fast. If you manage five or ten physical nodes, writing ISO images one by one wastes hours. Flash drives get misplaced, corrupted, or damaged through repeated wear.
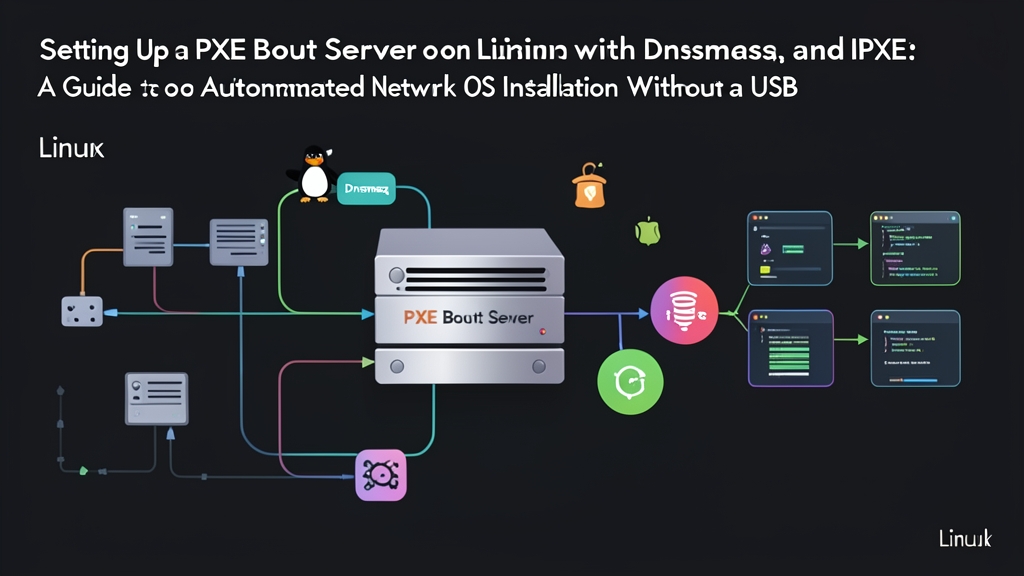
Network booting eliminates that friction. A Preboot Execution Environment (PXE) server streams operating system installers straight to bare-metal hardware over your LAN. When you pair Dnsmasq (a lightweight DHCP and TFTP daemon) with iPXE (an open-source bootloader with HTTP and HTTPS support), you get a fast, central provisioning server without replacing your core router.
Quick start (5 minutes)
This walkthrough uses Debian 12 or Ubuntu 22.04/24.04 LTS. We configure Dnsmasq as a ProxyDHCP server. This mode injects network boot instructions into the broadcast domain while leaving your primary router completely in charge of IP allocation.
1. Install Dnsmasq
sudo apt update
sudo apt install -y dnsmasq wget
2. Create the TFTP root and grab iPXE binaries
Modern environments need to support both legacy BIOS nodes and modern 64-bit UEFI firmware:
sudo mkdir -p /var/lib/tftpboot
cd /var/lib/tftpboot

# Download pre-built upstream iPXE bootloaders
sudo wget http://boot.ipxe.org/undionly.kpxe
sudo wget http://boot.ipxe.org/ipxe.efi
sudo chmod -R 755 /var/lib/tftpboot
3. Configure Dnsmasq as ProxyDHCP
Drop this configuration into /etc/dnsmasq.d/pxe.conf. Adjust 192.168.1.50 to your server’s static IP and 192.168.1.0 to match your subnet:
# /etc/dnsmasq.d/pxe.conf

# Turn off DNS services to avoid port 53 conflicts
port=0

# Enable the internal TFTP server
enable-tftp
tftp-root=/var/lib/tftpboot

# Listen in ProxyDHCP mode on your local subnet
dhcp-range=192.168.1.0,proxy

# Inspect DHCP option 93 (Client System Architecture)
dhcp-match=set:bios,option:client-arch,0
dhcp-match=set:efi-x86_64,option:client-arch,7
dhcp-match=set:efi-x86_64,option:client-arch,9

# Hand out bootloaders based on detected firmware
dhcp-boot=tag:bios,undionly.kpxe,,192.168.1.50
dhcp-boot=tag:efi-x86_64,ipxe.efi,,192.168.1.50

# Advertise PXE services to network clients
pxe-service=tag:bios,X86PC,"Network Boot (BIOS)",undionly.kpxe
pxe-service=tag:efi-x86_64,X86-64_EFI,"Network Boot (UEFI)",ipxe.efi
4. Restart and test the daemon
sudo systemctl restart dnsmasq
sudo systemctl status dnsmasq
Plug a target test box into the same switch. Open its boot selection menu (usually F12, F11, or Del during POST), select the onboard NIC, and watch the iPXE shell banner appear.
Under the hood
Knowing how the protocol exchange operates makes troubleshooting fast when a client hangs during network initialization.
ProxyDHCP in action
Standard PXE requires editing DHCP Option 66 (Next-Server IP) and Option 67 (Bootfile Name) on your main gateway. Consumer ISP modems and cheap unmanaged routers rarely let you modify these fields.
ProxyDHCP bypasses that restriction. Your main router still leases normal IP details over UDP port 67. Simultaneously, Dnsmasq monitors UDP port 4011 for DHCPDISCOVER packets stamped with the PXEClient vendor class. Dnsmasq answers with a secondary packet that contains only the TFTP address and bootfile pointer. The client merges both packets seamlessly.
Why chainloading matters
Built-in network card firmware is primitive. Most factory ROMs speak only basic TFTP. Because TFTP relies on small 512-byte blocks and waits for an acknowledgment on every single packet, transfer speeds crawl at 1 to 2 MB/s. Transferring a modern 2.4 GB Linux installation ISO across TFTP can take upwards of 25 minutes on a gigabit link.
Chainloading fixes this throughput bottleneck:
- The client NIC downloads the lightweight (~350 KB) iPXE binary via TFTP in under a second.
- iPXE initializes and takes control of the physical network interface.
- iPXE fetches OS kernels, initrd archives, and cloud-init images over HTTP at full line speed (112 MB/s on Gigabit ethernet). That same 2.4 GB ISO pulls down in under 25 seconds.
Serving automated OS installations
With iPXE active, you can point machines to an interactive, HTTP-hosted boot menu that kicks off automated unattended installs.
1. Deploy Nginx and an iPXE script
Install a standard web server:
sudo apt install -y nginxCreate a script menu at /var/www/html/boot.ipxe:
#!ipxe

set server_ip 192.168.1.50
set base_url http://${server_ip}

:menu
menu Network Boot Menu
item --gap --             ---------------- Distributions ----------------
item ubuntu24            Ubuntu 24.04 LTS (Automated Autoinstall)
item debian12            Debian 12 Bookworm (Netboot)
item --gap --             ---------------- Utilities -------------------
item shell               Drop to iPXE Shell
item reboot              Reboot Machine
choose --timeout 10000 --default ubuntu24 target && goto ${target}

:ubuntu24
echo Loading Ubuntu 24.04 installer kernel...
kernel ${base_url}/ubuntu/vmlinuz ip=dhcp url=${base_url}/ubuntu/noble-live-server-amd64.iso autoinstall ds=nocloud-net;s=${base_url}/ubuntu/
initrd ${base_url}/ubuntu/initrd
boot

:debian12
echo Loading Debian 12 installer kernel...
kernel http://deb.debian.org/debian/dists/bookworm/main/installer-amd64/current/images/netboot/debian-installer/amd64/linux initrd=initrd.gz
initrd http://deb.debian.org/debian/dists/bookworm/main/installer-amd64/current/images/netboot/debian-installer/amd64/initrd.gz
boot

:shell
shell

:reboot
reboot
2. Prevent boot loops with tag matching
When iPXE starts, it issues its own DHCP request. Without filtering, Dnsmasq will keep handing it the initial TFTP binary over and over. Update /etc/dnsmasq.d/pxe.conf so Dnsmasq recognizes iPXE and hands it the HTTP script instead:
# Detect if the requester is already running iPXE
dhcp-userclass=set:ipxe,iPXE

# Direct iPXE clients to the web menu
dhcp-boot=tag:ipxe,http://192.168.1.50/boot.ipxe

# Deliver raw binaries only to initial hardware requests
dhcp-boot=tag:!ipxe,tag:bios,undionly.kpxe,,192.168.1.50
dhcp-boot=tag:!ipxe,tag:efi-x86_64,ipxe.efi,,192.168.1.50

# Suppress PXE menu prompts for clients already inside iPXE
pxe-service=tag:!ipxe,tag:bios,X86PC,"Network Boot (BIOS)",undionly.kpxe
pxe-service=tag:!ipxe,tag:efi-x86_64,X86-64_EFI,"Network Boot (UEFI)",ipxe.efi
Reload the service with sudo systemctl restart dnsmasq. Reboot your client, and it will jump directly from hardware PXE into the Nginx-hosted menu.
Field notes and troubleshooting
Running rogue DHCP options on a production network can disrupt entire office subnets. Verify your configuration in an isolated test environment before connecting production gear.
- Validate with a bridged QEMU virtual machine: Test your Dnsmasq setup locally before touching real hardware:
# Boot an x86_64 guest via PXE over a bridged interface (br0) qemu-system-x86_64 -m 2048 -boot n \ -netdev bridge,id=net0,br=br0 \ -device virtio-net-pci,netdev=net0 - Trace network packets live: If a target machine freezes at “Searching for DHCP server…”, trace incoming packets on your server:
sudo tcpdump -i eth0 -n "port 67 or port 68 or port 69 or port 4011"You should see an initial broadcast on port 67, an immediate reply on port 4011, and subsequent TFTP read requests (RRQ) on port 69.
- Verify local firewall rules: Confirm that your host firewall allows UDP ports 67, 69, and 4011, along with TCP port 80 for Nginx:
sudo ufw allow 67/udp sudo ufw allow 69/udp sudo ufw allow 4011/udp sudo ufw allow 80/tcp - Watch out for UEFI Secure Boot: Upstream precompiled
ipxe.efifiles are not signed by the standard Microsoft UEFI CA key. If your target motherboard halts with a security violation error, disable Secure Boot in UEFI setup or sign the binary using your enterprise Machine Owner Key (MOK).