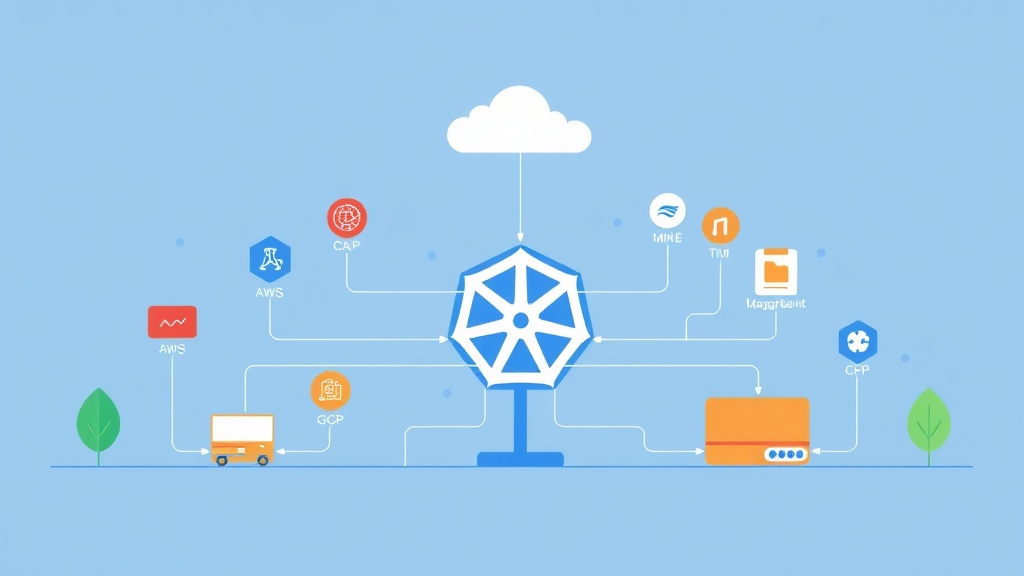
The Problem with Managing Multiple Kubernetes Clusters by Hand
If you have ever maintained more than two Kubernetes clusters — say, one for development, one for staging, and one for production — you already know how quickly things get messy. Each cluster gets created slightly differently. Upgrades happen on different schedules. Someone manually provisions nodes on AWS using eksctl, while another team uses Terraform on GCP, and the bare-metal setup is a collection of Ansible playbooks that nobody fully understands anymore.
What you end up with is a snowflake fleet: clusters that look similar on the surface but are inconsistent underneath. Rolling out a Kubernetes version upgrade becomes a week-long project instead of an afternoon task. Onboarding a new cluster for a new region requires copying and tweaking scripts that were never designed to be reused.
Cluster API (CAPI) exists precisely to solve this. It brings Kubernetes-native declarative management to clusters themselves — the same GitOps-friendly, reconciliation-loop approach you already use for your workloads, now applied to the infrastructure that runs those workloads.
Core Concepts You Need to Know First
Management Cluster vs. Workload Cluster
CAPI introduces a two-tier model:
- Management Cluster: A dedicated Kubernetes cluster that runs the CAPI controllers. This is the control plane for your fleet. It watches for
Cluster,MachineDeployment, and other CAPI custom resources, then reconciles the real infrastructure to match. - Workload Cluster: The clusters your applications actually run on. These are created, upgraded, and deleted by the management cluster based on the YAML manifests you apply.
Think of the management cluster as your cluster factory. You describe what you want, and it builds it.
Infrastructure Providers
CAPI is provider-agnostic. Each cloud or platform has its own provider that translates CAPI resources into real infrastructure calls:
- CAPA — Cluster API Provider AWS
- CAPG — Cluster API Provider GCP
- CAPM3 — Cluster API Provider Metal3 (bare-metal via BMC/IPMI)
The core CAPI controllers handle the generic lifecycle logic (machine health checks, rolling upgrades, scaling), while the infrastructure provider handles the actual API calls to create VMs, load balancers, and networks.
Key Resource Types
When you create a workload cluster with CAPI, you define these resources in YAML:
Cluster— The top-level object referencing infrastructure and control planeAWSCluster/GCPCluster— Provider-specific network and VPC configurationKubeadmControlPlane— Manages the control plane nodes (etcd + API server + scheduler)MachineDeployment— Manages worker node groups (like a Deployment, but for machines)AWSMachineTemplate/GCPMachineTemplate— Defines the machine spec (instance type, image, disk)
Hands-On: Setting Up CAPI and Provisioning Your First Cluster
Step 1: Install clusterctl
clusterctl is the CLI tool for initializing providers and generating cluster manifests.
# Install clusterctl (Linux/macOS)
curl -L https://github.com/kubernetes-sigs/cluster-api/releases/download/v1.7.3/clusterctl-linux-amd64 -o clusterctl
chmod +x clusterctl
sudo mv clusterctl /usr/local/bin/

# Verify
clusterctl version
Step 2: Prepare Your Management Cluster
Use any existing Kubernetes cluster (even a local kind cluster works for testing). You need at least Kubernetes 1.26.
# Create a local management cluster with kind (for testing)
kind create cluster --name capi-management
export KUBECONFIG=$(kind get kubeconfig --name capi-management)
Step 3: Initialize the AWS Provider (CAPA)
First set your AWS credentials as environment variables, then run clusterctl init to install the controllers:
export AWS_REGION=ap-northeast-1
export AWS_ACCESS_KEY_ID=<your-key-id>
export AWS_SECRET_ACCESS_KEY=<your-secret>

# Install clusterawsadm to bootstrap IAM resources
clusterawsadm bootstrap iam create-cloudformation-stack

# Export the credentials as base64 for the controller
export AWS_B64ENCODED_CREDENTIALS=$(clusterawsadm bootstrap credentials encode-as-profile)

# Initialize CAPA on the management cluster
clusterctl init --infrastructure aws
For GCP, the equivalent command is:
export GCP_B64ENCODED_CREDENTIALS=$(cat sa-key.json | base64 | tr -d '\n')
clusterctl init --infrastructure gcp
Step 4: Generate a Cluster Manifest
Instead of writing YAML from scratch, clusterctl generate cluster produces a ready-to-use manifest based on templates from the provider:
export AWS_SSH_KEY_NAME=my-key-pair
export AWS_CONTROL_PLANE_MACHINE_TYPE=t3.medium
export AWS_NODE_MACHINE_TYPE=t3.medium

clusterctl generate cluster dev-cluster \
  --infrastructure aws \
  --kubernetes-version v1.30.0 \
  --control-plane-machine-count 1 \
  --worker-machine-count 2 \
  > dev-cluster.yaml
Open dev-cluster.yaml and inspect it. You will see all the resource types mentioned earlier. This single file describes your entire cluster — control plane nodes, worker nodes, VPC settings, and the Kubernetes version.
Step 5: Apply and Watch the Cluster Come Up
kubectl apply -f dev-cluster.yaml

# Watch provisioning status
clusterctl describe cluster dev-cluster
CAPI will call the AWS API to create a VPC, subnets, security groups, and EC2 instances. The entire process typically takes 8–12 minutes. Once ready, get the kubeconfig for your new workload cluster:
clusterctl get kubeconfig dev-cluster > dev-cluster.kubeconfig
export KUBECONFIG=dev-cluster.kubeconfig
kubectl get nodes
Step 6: Upgrading the Kubernetes Version
This is where CAPI really shines. Upgrading a cluster is a single field change in your YAML — no SSH, no rolling manual procedures.
# Edit the KubeadmControlPlane resource
kubectl patch kcp dev-cluster-control-plane \
  --type merge \
  -p '{"spec":{"version":"v1.31.0"}}'
CAPI rolls out new control plane nodes running 1.31.0 one at a time, waits for each to become healthy, and then terminates the old ones. Worker nodes follow the same rolling strategy through the MachineDeployment. I have applied this approach in production and the results have been consistently stable — even across major minor version bumps, CAPI handles the sequencing correctly without manual intervention.
To upgrade workers:
kubectl patch machinedeployment dev-cluster-md-0 \
  --type merge \
  -p '{"spec":{"template":{"spec":{"version":"v1.31.0"}}}}'
Step 7: Scaling Worker Nodes
Scaling is just changing the replicas field on a MachineDeployment:
# Scale out to 5 workers
kubectl scale machinedeployment dev-cluster-md-0 --replicas=5

# Or patch it declaratively
kubectl patch machinedeployment dev-cluster-md-0 \
  --type merge \
  -p '{"spec":{"replicas":5}}'
Step 8: Deleting a Cluster
Deleting is just as clean. CAPI handles teardown in the correct order — workers first, then control plane, then infrastructure:
kubectl delete cluster dev-clusterThis triggers the provider to delete all AWS resources associated with the cluster, including EC2 instances, load balancers, and the VPC (if CAPI created it). No leftover orphan resources.
Using the Same Workflow on Bare-Metal (Metal3)
The bare-metal provider (CAPM3) works with BareMetalHost objects that represent physical machines enrolled via their BMC (Baseboard Management Controller). Once hosts are registered, the workflow is identical — you write a Cluster manifest referencing Metal3Cluster and Metal3MachineTemplate, apply it, and CAPI provisions the cluster using PXE boot and cloud-init:
# Initialize Metal3 provider
clusterctl init --infrastructure metal3

# Generate cluster manifest for bare-metal
clusterctl generate cluster prod-baremetal \
  --infrastructure metal3 \
  --kubernetes-version v1.30.0 \
  --control-plane-machine-count 3 \
  --worker-machine-count 6 \
  > prod-baremetal.yaml
Putting It Together: A GitOps-Friendly Fleet
The real power of CAPI comes when you store your cluster manifests in Git and use a tool like Flux or ArgoCD to sync them to your management cluster. Your entire cluster fleet — dev on AWS, staging on GCP, and production on bare-metal — becomes a set of YAML files in a repository. Creating a new environment is a git commit. Upgrading 10 clusters is a version bump in a Kustomize overlay. Decommissioning a cluster is a file deletion.
This pattern eliminates the tribal knowledge problem. Any engineer on the team can read the repository and understand exactly what clusters exist, what version they run, and how many nodes they have. The management cluster enforces the desired state continuously, so configuration drift becomes much harder to accumulate.
Where to Go From Here
Start small: spin up a kind management cluster locally and create a test workload cluster using the Docker infrastructure provider (CAPD) — no cloud credentials needed. Once you understand the resource model, move to AWS or GCP with real machines. Then add Machine Health Checks to automatically replace unhealthy nodes, and wire up ClusterClass (a newer CAPI feature) to create reusable cluster templates that your teams can self-service without writing raw YAML every time.
The learning curve for CAPI is steeper than eksctl or GKE Autopilot, but the payoff is a consistent, auditable, and automated approach to managing cluster infrastructure that scales as your fleet grows.