Picking the Right Backup Tool: Kopia vs. the Alternatives
After running a HomeLab for a few years, I’ve gone through the usual backup tool carousel — Duplicati first (the web UI was nice until database corruption hit), then Restic (solid but CLI-only), and eventually landed on Kopia. The right choice depends on how much terminal friction you can tolerate and whether a web UI actually matters to your workflow.
Here’s how the three main contenders stack up for self-hosted environments:
- Duplicati — Easiest to set up, has a web UI out of the box. The catch is a well-known SQLite corruption bug that surfaces after long jobs or interrupted runs — especially on anything running several hours or crashing mid-sync. Restores can fail silently, with no indication until you actually need the data. For critical backups, that’s a hard no.
- Restic — Rock solid, excellent deduplication, widely trusted in the sysadmin community. The downside is it’s purely CLI. No web interface, no built-in scheduling, no server mode. Fine for scripted setups, but adds friction when you want visibility across your HomeLab services.
- Kopia — The modern option that combines the best of both: Restic-level reliability and deduplication, plus a proper web UI and server mode. It runs as a background service you can query through a browser or CLI, supports multiple storage backends, and encrypts everything client-side before it leaves your machine.
Velero fits if you’re on Kubernetes — cluster-level snapshot backup, completely different category from general directory backup.
Kopia: What It Gets Right and Where It Falls Short
Strengths
- End-to-end encryption — All data is encrypted client-side with AES-256-GCM before it reaches the destination. The storage backend never sees plaintext. That’s what matters when you’re pushing to cloud storage you don’t fully control — your B2 account gets compromised, the attacker walks away with encrypted blobs they can’t read.
- Content-addressable deduplication — Kopia breaks files into variable-length chunks and stores each unique chunk exactly once across all snapshots. Back up 100GB of Docker volumes where 60% is duplicated across time? You store roughly 40GB. This compounds over weeks of daily snapshots.
- Multiple backends in one tool — S3-compatible (AWS, MinIO, Cloudflare R2), Backblaze B2, local filesystem, SFTP, WebDAV, Google Cloud Storage, Azure Blob. No need for different tools per destination.
- Server mode with REST API and Web UI — Browse snapshots, trigger backups, monitor deduplication ratios, and manage policies without touching the terminal. Accessible from any browser on your local network.
- Compression — Optional zstd compression on top of deduplication. Particularly effective on logs, config files, and database dumps.
Weaknesses
- Repository lock-in — Kopia’s repository format is proprietary to Kopia. You can’t open a Kopia repo with Restic or any other tool. Migrating away means re-uploading everything from scratch.
- Documentation gaps for advanced scenarios — The official docs are solid for common cases. For custom retention tuning, maintenance scheduling, or edge-case recovery, though, you’re digging through GitHub issues and the Discord.
- No built-in alerting — Kopia goes silent when a backup fails. Wire that up externally: a cron wrapper that checks the exit code and fires a Telegram or email alert is good enough. Without it, you won’t know about failed jobs until you open the UI.
- Younger ecosystem — Kopia is production-ready but newer than Restic. When something unusual breaks, there are fewer Stack Overflow answers and community posts to reference.
Recommended Setup for HomeLab
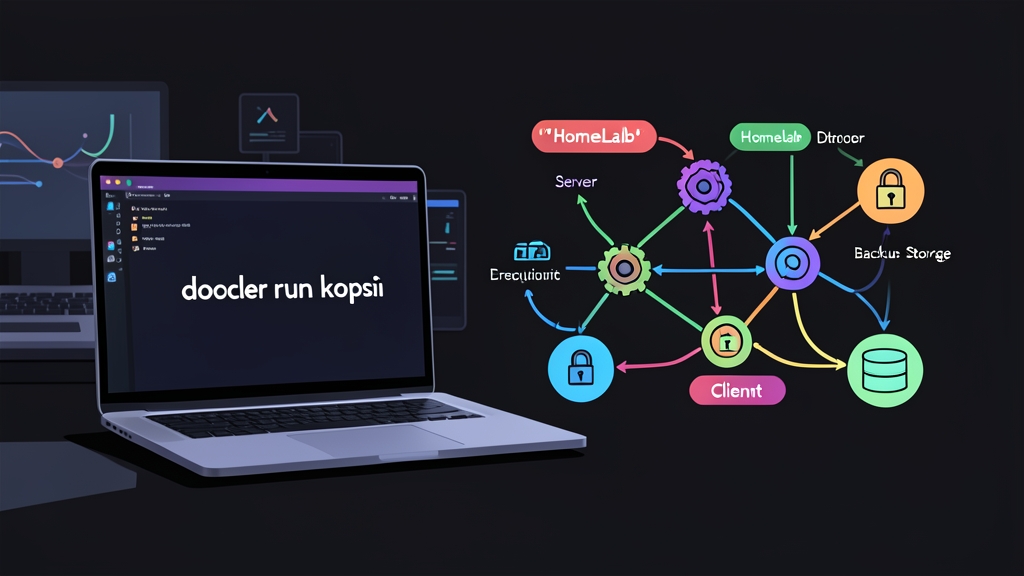
This setup has run on my HomeLab for over a year without a single corrupted repository — Kopia in Docker, backing up to a local NAS and Backblaze B2 for offsite redundancy. A few design decisions keep it reliable:
- Run Kopia in server mode inside Docker — expose the web UI on a local port only, access it through Tailscale or an SSH tunnel, never publicly.
- Use two repositories — one local (fast restores, no egress cost) and one cloud (offsite disaster recovery). Different passwords, same source data.
- Mount Docker volumes directly into the Kopia container as read-only sources. For databases, dump first, then back up the dump file.
- Separate backup and maintenance schedules — backups run every few hours, garbage collection and compaction run weekly. Mixing them causes unnecessary overhead.
Deploying Kopia on Docker: Step-by-Step
1. Create the Docker Compose File
Create a working directory and add docker-compose.yml:
version: "3.8"

services:
  kopia:
    image: kopia/kopia:latest
    container_name: kopia
    restart: unless-stopped
    ports:
      - "51515:51515"
    volumes:
      - /opt/kopia/config:/app/config
      - /opt/kopia/cache:/app/cache
      - /opt/kopia/logs:/app/logs
      - /mnt/nas/backups:/backups        # Local backup destination
      - /opt/appdata:/data:ro            # Source data (read-only)
    environment:
      - KOPIA_PASSWORD=your-strong-repo-password
      - TZ=Asia/Tokyo
    command:
      - server
      - start
      - --insecure
      - --address=0.0.0.0:51515
      - --server-username=admin
      - --server-password=your-ui-password
Adjust /opt/appdata to wherever your Docker volumes and application data live. The :ro flag on the source mount is intentional — Kopia only reads from it.
2. Initialize the Repository
Start the container, then initialize your backup repository:
# Start the container
docker compose up -d

# Initialize a local filesystem repository
docker exec -it kopia kopia repository create filesystem \
  --path=/backups/kopia-repo \
  --password=your-repo-password

# Or initialize a Backblaze B2 repository for offsite
docker exec -it kopia kopia repository create b2 \
  --bucket=your-bucket-name \
  --key-id=your-b2-key-id \
  --key=your-b2-application-key \
  --password=your-repo-password
The repository password is the encryption key for all your data. Store it somewhere physically separate from your server — a password manager entry plus a printed copy in a different room is the minimum. Lose it, and your backups are permanently unrecoverable. Kopia has no backdoor.
3. Reconnect After a Container Rebuild
If the container is recreated and loses its config state, reconnect to the existing repository:
docker exec -it kopia kopia repository connect filesystem \
  --path=/backups/kopia-repo \
  --password=your-repo-password
4. Create a Backup Policy
Policies define retention and compression settings for a source path:
# Set policy for the data directory
docker exec -it kopia kopia policy set /data \
  --compression=zstd \
  --keep-latest=10 \
  --keep-hourly=24 \
  --keep-daily=7 \
  --keep-weekly=4 \
  --keep-monthly=6

# Trigger the first snapshot manually
docker exec -it kopia kopia snapshot create /data
5. Schedule Automatic Backups
Kopia server mode doesn’t auto-schedule snapshots out of the box. A simple cron job on the host handles this cleanly:
# Edit the host crontab
crontab -e

# Run backup every 6 hours
0 */6 * * * docker exec kopia kopia snapshot create /data >> /var/log/kopia-backup.log 2>&1

# Weekly full maintenance (garbage collection + compaction)
0 3 * * 0 docker exec kopia kopia maintenance run --full >> /var/log/kopia-maintenance.log 2>&1
6. Access the Web UI
Open http://your-homelab-ip:51515 in a browser and log in with the credentials set in your compose file. The dashboard shows snapshot history and storage usage. Drill into any snapshot to browse individual files — useful for spot-checking a restore without pulling everything down.
Treat port 51515 as internal-only. Access it through Tailscale, WireGuard, or an SSH tunnel (ssh -L 51515:localhost:51515 user@homelab-host) rather than exposing it directly.
7. Restore from a Snapshot
# List available snapshots
docker exec -it kopia kopia snapshot list /data

# Restore a specific snapshot by its ID
docker exec -it kopia kopia snapshot restore \
  k9a8b7c6d5e4f3a2b \
  /restore-target

# Mount a snapshot for browsing without full restore
docker exec -it kopia kopia mount k9a8b7c6d5e4f3a2b /mnt/kopia-mount
A Few Things to Know Before You Commit
Test your restores before you need them. Schedule a monthly drill — restore to a temporary directory and verify file integrity. A backup system you’ve never recovered from is theoretical protection at best.
Don’t judge the deduplication stats on day one. Fresh repositories show 0%. After a week of daily snapshots on a stable dataset, 70–80% is typical — the numbers only mean something once you’ve built up some history.
For databases in Docker (PostgreSQL, MySQL, MongoDB), always dump to a file before backing up. Kopia doesn’t understand database internals — backing up a live data directory risks capturing mid-write inconsistencies. Run pg_dump or mysqldump into a directory Kopia watches, then back up that directory instead.