Context & Why: Eliminating Indexer Sprawl in Your HomeLab
Running a self-hosted media server usually starts small. You install Jellyfin, add Sonarr for TV shows, and deploy Radarr for movies. Before long, you pull in Lidarr for music and Bazarr for subtitles. That is when tracker maintenance turns into a grind.
Say you add five indexers across four distinct *arr apps. That means entering API keys, tuning rate limits, and picking category IDs 20 separate times. When a private tracker rotates its domain or introduces Cloudflare challenges, you are forced to retrace those exact steps through every single dashboard.
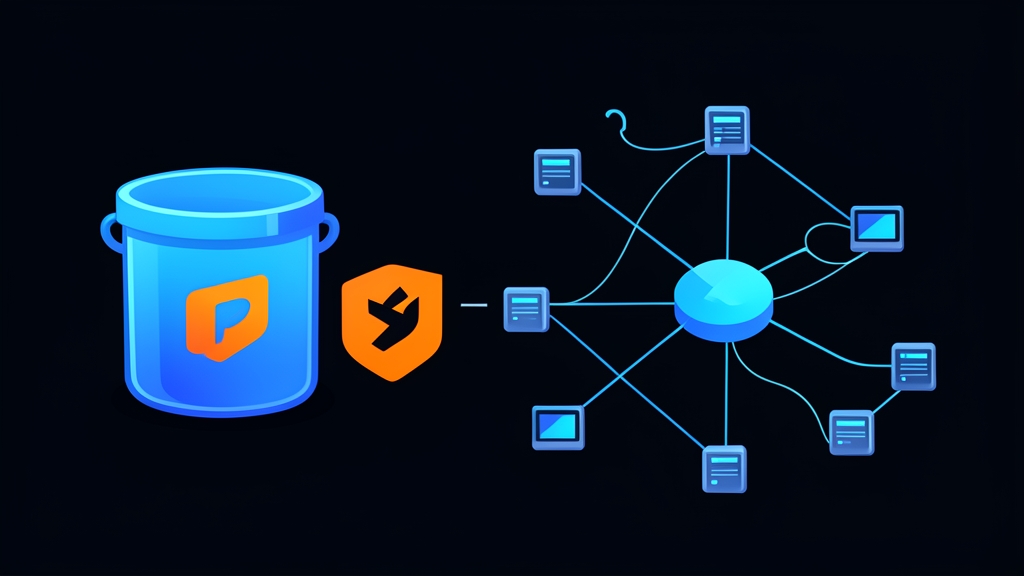
Prowlarr fixes this mess. Acting as a central proxy and configuration hub, it sits squarely between your indexers and downstream services. You define a tracker once in Prowlarr. Seconds later, Prowlarr pushes that configuration to Sonarr, Radarr, and Lidarr through their REST APIs. If an indexer goes down or updates, you fix it in one spot. Done.
Installation: Deploying Prowlarr via Docker Compose
Containerizing Prowlarr keeps your host clean and simplifies migrations. We’ll use the LinuxServer.io image on a custom Docker bridge network so Prowlarr can communicate directly with your other services via container names.
1. Prepare Directory Structure and Network
Create a home for Prowlarr’s SQLite database and config files, then grab your user’s UID and GID to prevent permission errors with Docker volumes:
# Create directory for persistent config data
mkdir -p ~/homelab/prowlarr/config
cd ~/homelab/prowlarr

# Check your current user ID and group ID
id
# Example output: uid=1000(homelab) gid=1000(homelab)

# Create a shared bridge network if it doesn't already exist
docker network create media-network 2>/dev/null || true
2. Define Docker Compose Specification
Create a docker-compose.yml file in your directory:
services:
  prowlarr:
    image: lscr.io/linuxserver/prowlarr:latest
    container_name: prowlarr
    environment:
      - PUID=1000
      - PGID=1000
      - TZ=America/New_York
    volumes:
      - ./config:/config
    ports:
      - "9696:9696"
    networks:
      - media-network
    restart: unless-stopped

networks:
  media-network:
    external: true
3. Launch the Container
Bring the stack up in the background and tail the initialization logs:
docker compose up -d

# Follow startup logs to verify the database schema initializes
docker compose logs -f prowlarr
Look for the line showing Listening on http://0.0.0.0:9696/. Once ready, head to http://<your-server-ip>:9696 in your browser.
Configuration: Indexers, FlareSolverr, and Automated Sync
1. Add and Test Your First Indexers
Inside the Prowlarr dashboard:
- Click Indexers on the left, then click Add Indexer (+ icon).
- Pick your provider—whether that is a Usenet indexer like Newznab/NinjaCentral or a torrent tracker like 1337x.
- Enter your passkey or API token, then click Test.
- A green checkmark means Prowlarr connected, verified the endpoint, and fetched capabilities. Click Save.
2. Bypassing Cloudflare Challenges with FlareSolverr
Public torrent trackers often put up Cloudflare Turnstile or JavaScript challenges that drop automated curl requests. FlareSolverr bypasses these by launching a headless Chromium browser to solve the challenge and pass back working session cookies. Add it straight to your docker-compose.yml:
  flaresolverr:
    image: ghcr.io/flaresolverr/flaresolverr:latest
    container_name: flaresolverr
    environment:
      - LOG_LEVEL=info
      - TZ=America/New_York
    ports:
      - "8191:8191"
    networks:
      - media-network
    restart: unless-stopped
Run docker compose up -d to spin it up. In Prowlarr, navigate to Settings > Indexers, click + under Proxies, and choose FlareSolverr. Set the host to http://flaresolverr:8191 with a 60-second timeout, then save. Prowlarr will now automatically route anti-bot challenges through FlareSolverr.
3. Connect Downstream Applications via API
This is where the automation pays off. Instead of configuring each *arr tool manually, link them to Prowlarr:
- Go to Settings > Apps and click the + button.
- Select your target app (e.g., Sonarr or Radarr).
- Set Sync Level to Full Sync. When enabled, Prowlarr manages the full lifecycle of your indexers—adding new ones, updating definitions, and deleting dead trackers automatically.
- Set Prowlarr Server to
http://prowlarr:9696. Because both containers share themedia-networkbridge, Docker’s internal DNS resolves this hostname directly. - Set Radarr/Sonarr Server to its container URI (e.g.,
http://sonarr:8989). - In Sonarr or Radarr, copy the API key from Settings > General > Security > API Key and paste it into Prowlarr.
- Click Test. Once confirmed, hit Save.
Switch over to Sonarr or Radarr and check Settings > Indexers. Your trackers will be listed immediately, flagged with a lock icon showing they are centrally managed by Prowlarr.
Verification & Monitoring: Health Checks and Query Performance
1. Verify Downstream Sync Status
Trigger an explicit sync to ensure Prowlarr and downstream apps are talking smoothly. Navigate to System > Tasks, then click the run button beside Application Indexer Sync. Monitor the output from your terminal:
# Inspect the application logs during sync
docker exec -it prowlarr tail -n 50 /config/logs/prowlarr.txt
Look for [Info] Radarr: Updating indexers and confirmation that all definitions synced without HTTP 401 or 403 errors.
2. Monitor Latency and Tracker Failures
Prowlarr actively tracks performance across every connected provider. You can spot failing trackers before they disrupt automated downloads:
- System > Status: Flags indexers hitting HTTP 429 rate limits, DNS lookup timeouts, or consecutive connection drops.
- System > Logs: Shows raw payloads and debugging data whenever an API query fails.
- History tab: Breaks down query response times (e.g., 280ms for private trackers vs. 2400ms for heavily loaded public sites) and displays how many grab candidates each indexer returned.
3. Automate Docker Container Health Checks
Add a native health check to ensure Docker restarts the container if the Mono/.NET runtime hangs:
    healthcheck:
      test: ["CMD", "curl", "-f", "http://localhost:9696/ping"]
      interval: 30s
      timeout: 10s
      retries: 3
      start_period: 40s
Re-run docker compose up -d to apply the health check. Your media stack now has a resilient, single source of truth for all content queries—saving you from endless manual maintenance across multiple dashboards.