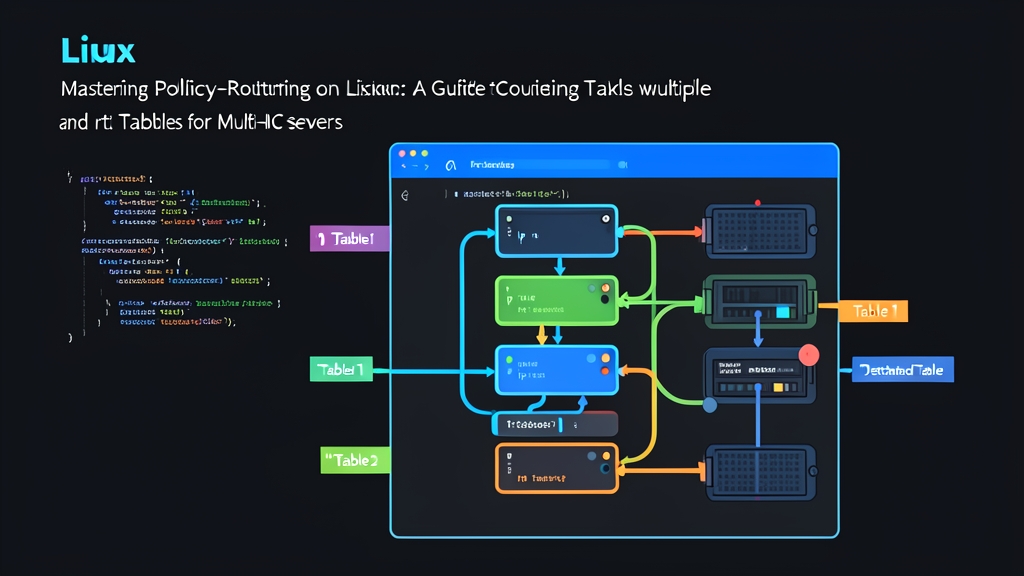
Real-World Problem: The Multi-Homed Linux Dilemma
Plugging a second network interface into a Linux server often triggers an immediate routing breakdown. Consider a dual-homed database node running Ubuntu 22.04: eth0 links to an internal management VLAN on 192.168.1.0/24, while eth1 handles customer-facing traffic through a dedicated 1 Gbps uplink on 10.0.0.0/24.
Both link lights turn solid green. Both interfaces pull valid IP addresses. Outbound curl requests work without a hitch. Yet the second external traffic touches eth1, client connections hang indefinitely at the initial handshake. Ping requests from public subnets drop 100% of packets, returning silent Request timeout errors. Shift the system default gateway over to eth1, and the problem simply reverses: eth1 responds instantly, but you lose SSH access over eth0 entirely.
This is classic asymmetric routing in action.
Root Cause Analysis: Why Standard Routing Fails
Linux defaults to a single destination-based routing table named main. When the kernel prepares an outbound packet, it evaluates only one attribute: the destination IP address. It ignores which interface received the original frame.
Trace an incoming TCP handshake to see how it breaks down in production:
- A client at
203.0.113.50sends a TCP SYN packet to your public IP oneth1(10.0.0.50:443). - The local application receives the SYN and triggers a SYN-ACK response with source
10.0.0.50and destination203.0.113.50. - The kernel queries table
mainfor203.0.113.50. Finding no host-specific route, it selects the default gateway (0.0.0.0/0) tied toeth0. The SYN-ACK egresses througheth0instead ofeth1. - Upstream firewalls discard the frame immediately. Because the packet carries a source IP belonging to the
eth1subnet but exits through theeth0upstream path, it fails Reverse Path Filtering (RPF) and stateful connection tracking.
Destination-only routing leaves the kernel blind to ingress context. Outgoing packets need a way to remember where they came from.
Evaluating Workarounds: Why Quick Fixes Fall Short
Engineers usually attempt two quick workarounds before setting up genuine policy routing:
1. Source NAT (SNAT) or Masquerading
Rewriting incoming packets with iptables -t nat -A PREROUTING forces responses back to the local interface.
- Advantage: Works with zero changes to upstream router configs.
- Drawbacks: Masks real client IPs in Nginx and Envoy access logs. It also adds conntrack table overhead under high traffic (e.g., 50,000+ concurrent flows).
2. Disabling Reverse Path Filtering
Setting net.ipv4.conf.all.rp_filter=0 stops your own kernel from dropping asymmetric replies.
- Advantage: Requires only a one-line
sysctlchange. - Drawbacks: It leaves the routing defect intact. Replies still exit the wrong physical wire, meaning your ISP or cloud edge gateway will drop them anyway.
3. Policy-Based Routing (PBR)
Using the Routing Policy Database (RPDB) via ip rule matches egress routes against source IPs or fwmarks.
- Advantage: Preserves client visibility, avoids connection-tracking table saturation, and guarantees symmetric ingress and egress paths across physical NICs.
- Drawbacks: Requires defining persistent tables and subnet routes beyond stock DHCP defaults.
Step-by-Step PBR Configuration
Policy routing fixes the problem at the kernel level. We create two isolated routing tables and bind each table to its respective source IP.
Lab Network Topology
- Primary Uplink (eth0): IP
192.168.1.50/24, Gateway192.168.1.1 - Secondary Uplink (eth1): IP
10.0.0.50/24, Gateway10.0.0.1
Step 1: Register Tables in rt_tables
Linux accepts custom routing tables indexed from 1 to 252. Map numeric identifiers to memorable table names in /etc/iproute2/rt_tables. Use tee -a rather than raw redirection to ensure sudo permissions apply properly:
echo "100 isp_eth0" | sudo tee -a /etc/iproute2/rt_tables
echo "200 isp_eth1" | sudo tee -a /etc/iproute2/rt_tables
Step 2: Assign Routes to Each Table
Every table requires two paths: its directly attached subnet and its upstream default gateway.
# Configure routing table isp_eth0 (Table 100)
sudo ip route add 192.168.1.0/24 dev eth0 src 192.168.1.50 table isp_eth0
sudo ip route add default via 192.168.1.1 dev eth0 table isp_eth0

# Configure routing table isp_eth1 (Table 200)
sudo ip route add 10.0.0.0/24 dev eth1 src 10.0.0.50 table isp_eth1
sudo ip route add default via 10.0.0.1 dev eth1 table isp_eth1
Step 3: Define Policy Rules in the RPDB
Instruct the kernel to look up table isp_eth1 whenever an outgoing packet has 10.0.0.50 as its source address. Assign explicit priorities so the evaluation order remains deterministic:
sudo ip rule add from 192.168.1.50/32 table isp_eth0 priority 1000
sudo ip rule add from 10.0.0.50/32 table isp_eth1 priority 1010
Clear the FIB route cache so the changes register without a daemon restart:
sudo ip route flush cacheStep 4: Verify Packet Forwarding Paths
Run ip rule show to inspect the active rule priorities:
ip rule showThe output lists lookup criteria sorted by priority index:
0:      from all lookup local
1000:   from 192.168.1.50 lookup isp_eth0
1010:   from 10.0.0.50 lookup isp_eth1
32766:  from all lookup main
32767:  from all lookup default
Verify how the kernel resolves external destinations using ip route get:
ip route get 8.8.8.8 from 10.0.0.50You should see the packet routed through table isp_eth1 and exiting eth1:
8.8.8.8 from 10.0.0.50 via 10.0.0.1 dev eth1 table isp_eth1 uid 0
    cache
Run ping -I eth1 8.8.8.8 and check with tcpdump -nn -i eth1 icmp in another terminal. The echo requests and echo replies will now traverse the exact same physical interface.
Step 5: Persist via Netplan
Commands executed via ip rule disappear after rebooting. For Ubuntu and Debian systems using systemd-networkd, save the configuration in /etc/netplan/01-netcfg.yaml:
network:
  version: 2
  renderer: networkd
  ethernets:
    eth0:
      addresses:
        - 192.168.1.50/24
      routes:
        - to: 0.0.0.0/0
          via: 192.168.1.1
          table: 100
      routing-policy:
        - from: 192.168.1.50/32
          table: 100
          priority: 1000
    eth1:
      addresses:
        - 10.0.0.50/24
      routes:
        - to: 0.0.0.0/0
          via: 10.0.0.1
          table: 200
      routing-policy:
        - from: 10.0.0.50/32
          table: 200
          priority: 1010
Validate the syntax and apply the rules:
sudo netplan try
sudo netplan apply
Your server now handles concurrent ingress on both interfaces cleanly. Packets return through the identical interface and gateway they entered, eliminating dropped connections without relying on NAT or stateful packet mangling.