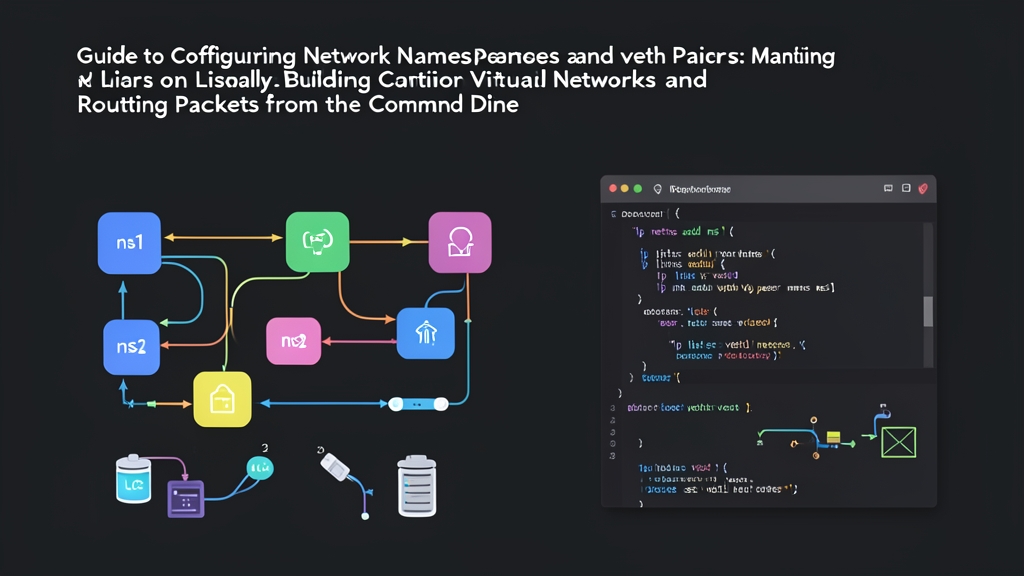
How Linux Isolates Container Networks
When you run docker run or schedule a Kubernetes pod, container runtimes like containerd and CRI-O don’t rely on black magic. They configure standard networking primitives built directly into the Linux kernel. To separate network traffic between tenants, infrastructure teams choose between three primary architectures:
- Shared Host Networking: Containers share the host’s network stack directly (for example, Docker’s
--net=host). This path yields near-zero latency overhead (often sub-5 microseconds), but it strips away security boundaries and triggers port collisions between microservices. - Full Virtual Machine Isolation: Hypervisors like KVM spin up virtual machines with dedicated virtual NICs, TAP interfaces, and guest kernels. This approach delivers hard hardware-level isolation, but it wastes memory. Even a slim guest OS consumes 150 MB to 512 MB of baseline RAM and takes seconds to boot.
- Network Namespaces with Virtual Ethernet (veth) Pairs: The kernel partitions networking resources—routing tables, firewall rules, interfaces, and sockets—into separate logical sandboxes. Linking these sandboxes with virtual ethernet (
veth) cables provides container-level isolation with sub-millisecond boot times and negligible overhead.
Understanding these kernel mechanics helps you troubleshoot broken CNI plugins in production, debug packet drops across Docker bridges, and isolate workloads without heavy third-party tooling.
Trade-offs of Manual Network Namespaces
Before wiring up your own interfaces, weigh the trade-offs of managing kernel network primitives by hand:
Advantages
- Negligible Resource Usage: Creating a network namespace allocates only a few kilobytes of kernel memory (
struct net). You can run thousands of them without denting host CPU or RAM. - Independent Network Stacks: Every namespace gets isolated loopback devices, distinct ARP tables, private socket lists, and separate iptables/nftables filter chains.
- Universal Compatibility: Every configuration relies on standard core utilities like
iproute2andiptables. No container daemon or CNI binary is required.
Disadvantages
- Ephemeral State: Namespaces created via
ip netnsexist only in RAM. A host reboot wipes them out instantly unless you back them up with systemd units or custom bootstrap scripts. - Routing Scalability: Static routes and bridge setups turn brittle when you scale beyond dozens of endpoints. Production setups need an automated control plane like Calico or Cilium.
- Privilege Requirements: Configuring interfaces and routing tables requires root access or the
CAP_NET_ADMINcapability.
Architecture: Virtual Bridge, Dual Namespaces, and NAT
To recreate how runtimes like Docker build the default bridge network, we will connect two isolated namespaces through a Linux software bridge and route their egress packets to the public internet using NAT masquerading.
A quick operational warning: altering iptables forwarding rules and default routes on a remote VPS can sever your SSH session. Always test these commands in a local virtual machine, a staging server, or an out-of-band console before touching production nodes.
Here is the target topology:
- Two isolated network namespaces:
ns-redandns-blue. - A software bridge (
br0) on the host acting as a Layer 2 virtual switch. - Two point-to-point
vethpairs linking each namespace tobr0. - Host-level IPv4 forwarding and an iptables MASQUERADE rule routing outbound packets across your primary uplink (such as
eth0).
Step-by-Step Implementation
Step 1: Provision the Network Namespaces
First, inspect existing namespaces on your machine and create two isolated environments:
# Check current namespaces
sudo ip netns list

# Create two isolated namespaces
sudo ip netns add ns-red
sudo ip netns add ns-blue

# Confirm creation
sudo ip netns list
New namespaces start with an inactive loopback interface. Verify this inside ns-red:
sudo ip netns exec ns-red ip link showThe lo device is marked DOWN. Bring it up in both namespaces so local processes can resolve IPC and localhost bindings:
sudo ip netns exec ns-red ip link set dev lo up
sudo ip netns exec ns-blue ip link set dev lo up
Step 2: Initialize the Virtual Bridge
Create a software bridge on the host. This device acts like a physical Layer 2 switch and doubles as the default gateway (192.168.50.1) for both namespaces:
# Create the bridge interface
sudo ip link add name br0 type bridge

# Assign a gateway IP address to the subnet (192.168.50.0/24)
sudo ip addr add 192.168.50.1/24 dev br0

# Bring the bridge interface online
sudo ip link set dev br0 up
Step 3: Connect Namespaces Using veth Pairs
Think of a veth pair as a bi-directional virtual patch cable. Whatever frame enters one end immediately exits the other. Create two pairs to bridge our namespaces:
# Create veth pair for ns-red
sudo ip link add veth-red type veth peer name veth-red-br

# Create veth pair for ns-blue
sudo ip link add veth-blue type veth peer name veth-blue-br
Attach the host-side endpoints to br0, then move the peer ends into their target namespaces:
# Plug the host ends into the bridge
sudo ip link set veth-red-br master br0
sudo ip link set veth-blue-br master br0

# Enable both bridge endpoints
sudo ip link set dev veth-red-br up
sudo ip link set dev veth-blue-br up

# Move container ends into their respective namespaces
sudo ip link set veth-red netns ns-red
sudo ip link set veth-blue netns ns-blue
Step 4: Assign IP Addresses and Verify Inter-Namespace Ping
With endpoints in place, assign static IPs from the 192.168.50.0/24 block and bring up the links inside each namespace:
# Configure ns-red with IP 192.168.50.10
sudo ip netns exec ns-red ip addr add 192.168.50.10/24 dev veth-red
sudo ip netns exec ns-red ip link set dev veth-red up

# Configure ns-blue with IP 192.168.50.20
sudo ip netns exec ns-blue ip addr add 192.168.50.20/24 dev veth-blue
sudo ip netns exec ns-blue ip link set dev veth-blue up
Test connectivity between the two namespaces across the bridge:
sudo ip netns exec ns-red ping -c 3 192.168.50.20ICMP frames leave veth-red, hit br0 on the host, get forwarded according to MAC learning, and land on veth-blue inside ns-blue with typical latencies below 0.05 ms.
Step 5: Configure Default Gateways and NAT Routing
The namespaces can now talk to each other, but they cannot reach external subnets or the internet. Point their default routes to the bridge’s IP address:
sudo ip netns exec ns-red ip route add default via 192.168.50.1
sudo ip netns exec ns-blue ip route add default via 192.168.50.1
Next, enable IPv4 packet forwarding in the Linux kernel so the host can route traffic across interfaces:
sudo sysctl -w net.ipv4.ip_forward=1Check the name of your default outgoing physical interface:
ip route show default | awk '{print $5}'Assuming your primary uplink is eth0, add iptables rules to masquerade egress packets and allow bi-directional forwarding:
# Masquerade outbound traffic leaving eth0
sudo iptables -t nat -A POSTROUTING -s 192.168.50.0/24 -o eth0 -j MASQUERADE

# Allow forwarding between the bridge and the public interface
sudo iptables -A FORWARD -i br0 -o eth0 -j ACCEPT
sudo iptables -A FORWARD -i eth0 -o br0 -m state --state RELATED,ESTABLISHED -j ACCEPT
Step 6: Test External Connectivity and Configure DNS
Ping a public IP address from inside ns-red to verify that routing and NAT work:
sudo ip netns exec ns-red ping -c 3 1.1.1.1To enable domain name resolution, provide a custom resolv.conf file for the namespace:
sudo mkdir -p /etc/netns/ns-red
echo "nameserver 1.1.1.1" | sudo tee /etc/netns/ns-red/resolv.conf
Whenever you execute a command inside ns-red, ip netns exec automatically bind-mounts /etc/netns/ns-red/resolv.conf over /etc/resolv.conf. Test full DNS resolution with curl:
sudo ip netns exec ns-red curl -I https://kernel.orgStep 7: Tear Down the Environment
When you finish your tests, cleanup takes just a few seconds. Deleting a namespace automatically removes its member veth interface and its host-side peer:
# Remove namespaces (this also destroys veth-red and veth-blue pairs)
sudo ip netns del ns-red
sudo ip netns del ns-blue

# Delete the bridge interface
sudo ip link set dev br0 down
sudo ip link del dev br0

# Remove iptables rules
sudo iptables -t nat -D POSTROUTING -s 192.168.50.0/24 -o eth0 -j MASQUERADE
sudo iptables -D FORWARD -i br0 -o eth0 -j ACCEPT
sudo iptables -D FORWARD -i eth0 -o br0 -m state --state RELATED,ESTABLISHED -j ACCEPT
You now have a working mental model of modern container networking. What took a dozen CLI commands here is precisely what Docker and Kubernetes CNIs automate behind the scenes every time a container starts up.