Context & Why
Standard Linux routing looks only at the destination IP address. In a basic setup, the kernel inspects the packet, checks the main routing table, and kicks the traffic out through the primary default gateway. That works fine for a simple home router or a single-NIC cloud instance. It falls apart quickly once your network grows more complex.
Take a multi-homed server hooked up to two 1Gbps fiber uplinks from different ISPs. Or picture a database server where 10GbE interfaces handle replication traffic while a 1GbE NIC handles SSH and monitoring. If a client connects to the secondary interface (eth1), Linux often tries to route the reply out via the primary interface (eth0). This asymmetry breaks connections. Upstream firewalls and ISP anti-spoofing filters will silently drop those packets.
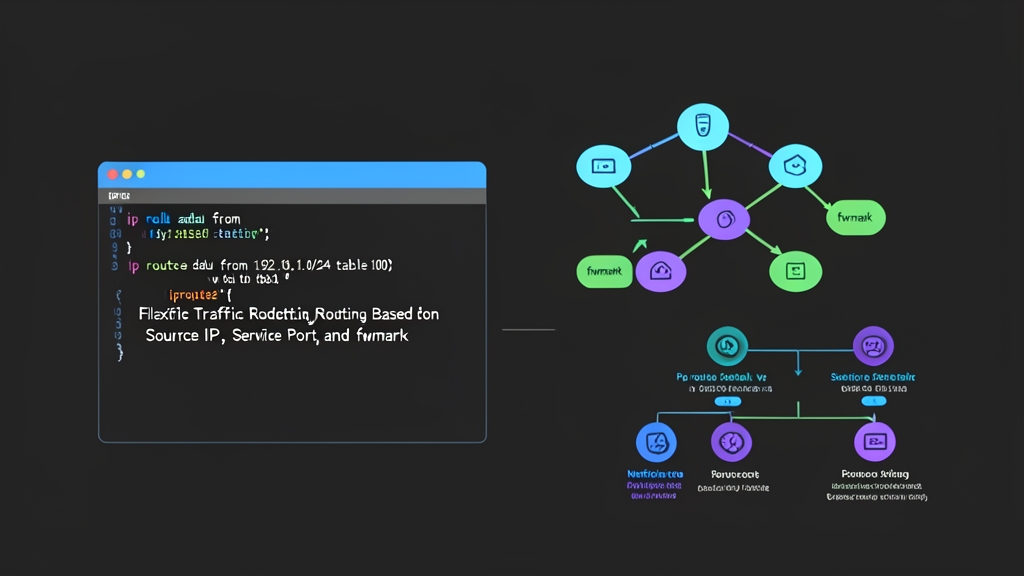
Policy-Based Routing (PBR) fixes this behavior. Instead of looking only at the destination, the kernel can route packets based on source IP, protocol, transport port, or custom packet marks (fwmark) set by iptables or nftables. It gives you surgical control over outbound paths, letting you isolate jitter-sensitive API calls from heavy 500MB database backups without adding external hardware.
Installation
Every modern Linux distribution ships with the iproute2 suite. The workhorse ip command completely replaces older tools like route and ifconfig, granting direct access to the kernel’s routing policy database (RPDB).
Confirm that your system has iproute2 and firewall tooling installed:
# Debian, Ubuntu, and derivatives
sudo apt update
sudo apt install -y iproute2 iptables

# RHEL, Rocky Linux, and Fedora
sudo dnf install -y iproute iptables-services
Check the existing policy database with a single command:
ip rule show
You will see three default rules with priorities 0, 32766, and 32767. These rules point to the local, main, and default routing tables.
Configuration
Getting PBR running cleanly takes four steps: naming your custom tables, adding routing entries, writing policy rules, and adjusting the kernel’s spoofing filters.
1. Define Custom Routing Table Names
While the Linux kernel supports up to 232 – 1 routing tables, administrators typically use IDs between 1 and 252 for custom paths. Using raw numbers in scripts gets confusing fast. Give them descriptive aliases in /etc/iproute2/rt_tables instead.
Append custom table names with unique IDs:
# Assign descriptive names to table IDs 100 and 200
sudo bash -c 'echo "100 isp2_traffic" >> /etc/iproute2/rt_tables'
sudo bash -c 'echo "200 vpn_traffic" >> /etc/iproute2/rt_tables'
Now you can pass isp2_traffic and vpn_traffic directly to ip route and ip rule.
2. Route by Source IP Address
Let’s look at a concrete dual-homed host. Interface eth0 uses IP 192.168.1.50/24 with gateway 192.168.1.1. Interface eth1 uses IP 10.0.0.50/24 with gateway 10.0.0.1. Any connection reaching 10.0.0.50 must send its response back out through 10.0.0.1.
Populate the custom table with a default gateway for that second interface:
sudo ip route add default via 10.0.0.1 dev eth1 table isp2_traffic
Next, tell the kernel when to use that table:
sudo ip rule add from 10.0.0.50/32 table isp2_traffic priority 1000
Always set an explicit priority. Lower numbers take precedence, so priority 1000 evaluates long before the default rule at 32766.
3. Route by Service Port and fwmark
Modern ip rule commands can match L4 ports directly using sport or dport syntax. However, pairing firewall marks (fwmark) with iptables or nftables remains the gold standard when you need complex matching logic.
Suppose outbound HTTPS traffic on TCP port 443 needs to run through a wireguard tunnel (tun0) with gateway 10.10.10.1, keeping your public IP hidden.
Add a gateway to the vpn_traffic table:
sudo ip route add default via 10.10.10.1 dev tun0 table vpn_traffic
Tag outbound HTTPS packets inside the mangle table:
sudo iptables -t mangle -A OUTPUT -p tcp --dport 443 -j MARK --set-mark 0x1
Instruct the kernel to look up tagged packets in our dedicated table:
sudo ip rule add fwmark 0x1 table vpn_traffic priority 1100
Whenever a local service curls an external HTTPS endpoint, the mangle table tags the packet with mark 0x1. The RPDB intercepts the mark, skips the main table, and routes the payload through tun0.
4. Adjust Reverse Path Filtering (rp_filter)
Asymmetric routing often fails right here. By default, Linux runs Reverse Path Filtering in strict mode (rp_filter = 1). If a packet enters through eth1, but the kernel’s default route points back out via eth0, the networking stack silently drops the incoming packet as spoofed traffic.
Switch your interfaces to loose mode (rp_filter = 2) in /etc/sysctl.d/99-pbr.conf:
sudo tee /etc/sysctl.d/99-pbr.conf <<EOF
net.ipv4.conf.all.rp_filter = 2
net.ipv4.conf.default.rp_filter = 2
net.ipv4.conf.eth0.rp_filter = 2
net.ipv4.conf.eth1.rp_filter = 2
EOF

sudo sysctl --system
Loose mode still protects against invalid source addresses, but it allows packets to enter an interface as long as the source address is reachable through any interface on the machine.
5. Persist Rules Across Reboots
Rules added directly via the CLI live in kernel memory and disappear after a reboot. You must write them into your network manager’s configuration files to make them permanent.
Netplan (Ubuntu 20.04/22.04/24.04): Place the rules directly into your YAML configuration, such as /etc/netplan/01-netcfg.yaml:
network:
  version: 2
  ethernets:
    eth1:
      addresses:
        - 10.0.0.50/24
      routing-policy:
        - from: 10.0.0.50/32
          table: 100
          priority: 1000
      routes:
        - to: default
          via: 10.0.0.1
          table: 100
Apply changes with sudo netplan apply.
NetworkManager (RHEL, Rocky Linux, AlmaLinux): Use nmcli to configure the secondary connection:
nmcli connection modify eth1 +ipv4.routing-rules "priority 1000 from 10.0.0.50/32 table 100"
nmcli connection modify eth1 +ipv4.routes "0.0.0.0/0 10.0.0.1 100"
nmcli connection up eth1
Verification & Monitoring
Never assume routing works simply because a command exited with code 0. Test your paths explicitly.
1. Inspect Active Rules and Tables
Review the full list of active routing rules and their assigned priorities:
ip rule show
Make sure the routes inside your secondary table match expectations:
ip route show table isp2_traffic
2. Simulate Route Lookups
The ip route get command queries the kernel’s fib (Forwarding Information Base) without generating wire traffic:
# Verify source IP routing
ip route get 8.8.8.8 from 10.0.0.50

# Verify mark 0x1 policy routing
ip route get 1.1.1.1 mark 0x1
The kernel will return the exact table and egress interface selected:
8.8.8.8 from 10.0.0.50 via 10.0.0.1 dev eth1 table isp2_traffic uid 0
    cache
3. Monitor Packet Counters
Check whether traffic actually hits your firewall rules by inspecting byte and packet counters:
sudo iptables -t mangle -L OUTPUT -v -n
You should see the packet counter increase each time a matching connection starts. To watch raw frames traverse the secondary interface in real time, run tcpdump:
sudo tcpdump -nn -i eth1 host 10.0.0.50
With custom tables, explicit rule priorities, and loose reverse-path filtering in place, multi-NIC Linux hosts handle complex dual-homed traffic cleanly and reliably.