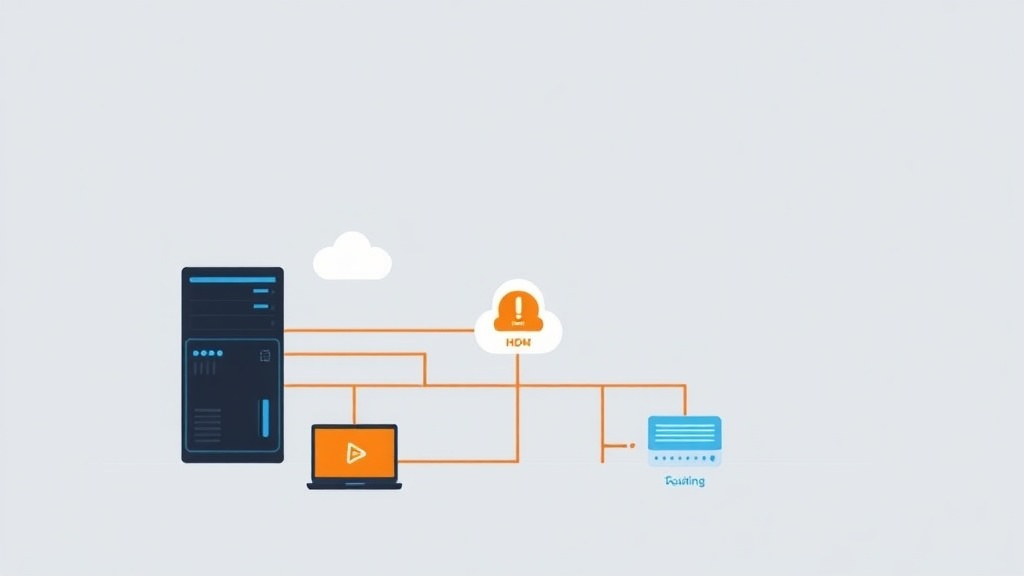
Why Layer 4 Load Balancing Matters at Scale
Most developers start with HAProxy or Nginx. They are excellent for Layer 7 (HTTP) logic, but they run in user-space. This requires every packet to travel from the network card, through the kernel, into the application, and back. At 10,000 requests per second, this context switching is manageable. However, when you’re pushing 100,000+ concurrent connections or saturating a 10Gbps link, that overhead becomes a massive CPU bottleneck.
Linux Virtual Server (LVS) solves this by living inside the kernel via the ipvs module. It operates at Layer 4, handling TCP/UDP packets without peaking into HTTP headers or cookies. By staying in the kernel, LVS can move packets at near-wire speed. In my production environments, switching to LVS reduced CPU load by nearly 40% compared to user-space proxies under the same traffic volume.
Setting up LVS NAT Mode
LVS NAT (Network Address Translation) is the most straightforward configuration. The load balancer acts as the gateway. It receives requests, rewrites the destination IP to a backend server, and handles the return traffic. It’s simple, but remember: the balancer’s bandwidth limits both incoming and outgoing data.
1. Install the Management Tool
You need ipvsadm to manage the kernel’s IPVS tables. Install it on Ubuntu or Debian with one command:
sudo apt update && sudo apt install ipvsadm -y2. Enable IP Forwarding
The load balancer must route packets between networks. Enable this in the kernel immediately:
sudo sysctl -w net.ipv4.ip_forward=13. Configure the Virtual Service
Let’s say your Load Balancer (VIP) is 192.168.1.10 and your backends are 10.0.0.101 and 10.0.0.102.
# Flush existing rules
sudo ipvsadm -C

# Define the VIP on port 80 using Round Robin (-s rr)
sudo ipvsadm -A -t 192.168.1.10:80 -s rr

# Map the real servers using NAT mode (-m)
sudo ipvsadm -a -t 192.168.1.10:80 -r 10.0.0.101:80 -m
sudo ipvsadm -a -t 192.168.1.10:80 -r 10.0.0.102:80 -m
Run sudo ipvsadm -ln to verify. You now have a high-speed traffic distributor running at the kernel level.
The Real Power: Direct Routing (DR) Mode
NAT mode has a weakness: the load balancer is a bottleneck for responses. In most web apps, the response (like a 2MB image) is much larger than the request (a 1KB GET). Direct Routing (DR) fixes this by letting backend servers reply directly to the client.
In DR mode, the load balancer only changes the MAC address of the packet and puts it back on the wire. The backend server receives the packet, processes it, and sends the response straight to the user. This allows a single LVS node to manage a massive cluster, as it never touches the heavy return traffic.
Implementing LVS-DR for Extreme Performance
For DR to work, all servers must share the same Layer 2 segment (the same switch or VLAN). This is the standard for high-performance data center architectures.
Step 1: Configure the Load Balancer
# Use Weighted Least Connections (-s wlc) for better distribution
sudo ipvsadm -A -t 192.168.1.50:80 -s wlc

# Add servers in DR mode (-g)
sudo ipvsadm -a -t 192.168.1.50:80 -r 192.168.1.101:80 -g
sudo ipvsadm -a -t 192.168.1.50:80 -r 192.168.1.102:80 -g
Step 2: Solve the “ARP Problem” on Backends
Each backend needs the VIP on its loopback interface to accept traffic. However, they must not respond to ARP requests for that VIP, otherwise, they will fight the load balancer for the IP. Add the VIP to the loopback:
sudo ip addr add 192.168.1.50/32 dev loThen, tell the kernel to keep quiet about this IP on the network:
sudo sysctl -w net.ipv4.conf.all.arp_ignore=1
sudo sysctl -w net.ipv4.conf.all.arp_announce=2
sudo sysctl -w net.ipv4.conf.lo.arp_ignore=1
sudo sysctl -w net.ipv4.conf.lo.arp_announce=2
Production Hardening Tips
1. Automate Health Checks with Keepalived
By itself, ipvsadm is “dumb.” It will keep sending traffic to a crashed server. Use Keepalived to monitor your backends. It performs periodic health checks (like a TCP connect or HTTP GET) and automatically updates the ipvs table if a node fails.
2. Pick the Right Algorithm
- rr (Round Robin): Best if all backends have identical hardware.
- wlc (Weighted Least Connections): The smart default. It sends traffic to servers with fewer active jobs.
- sh (Source Hashing): Essential if you need session persistence based on the client’s IP address.
3. Monitor Real-Time Stats
Use the stats flag to identify throughput issues or configuration errors:
sudo ipvsadm -ln --statsLook at the “OutPkts” column. If you are in DR mode and this number is zero on the load balancer, your configuration is working correctly—the backends are handling the egress traffic themselves.
4. Firewall Caveats
LVS hooks into the kernel before many iptables chains. If you hit a wall, temporarily disable ufw or firewalld to confirm the routing logic works. Once confirmed, you can add specific rules to allow traffic on the VIP and real server ports.
Moving load balancing to the kernel with LVS reduces latency and saves CPU for your application. It remains a core tool for any infrastructure requiring massive, stable throughput on Linux.