
The Enterprise Network Access Problem: Broken Trust on Shared Secrets
Walk into a typical branch office, and you will likely find an office Wi-Fi network running on a single pre-shared key (WPA2/WPA3 Personal). Often, that key is scribbled on a conference room whiteboard. On the wired side, conference room switch ports are frequently left completely unmanaged and open.
This setup breaks down the moment staff turnover happens. When an employee leaves, contractors finish a project, or a company laptop goes missing, IT faces a painful choice. You must either track down 250 laptops, 80 smartphones, and dozens of IoT sensors to rotate the passphrase, or simply leave the door wide open.
The problem is symmetric credential sharing. Pre-shared keys lack user identity. The access point or switch cannot tell who is connecting or whether the machine complies with your endpoint security policy.
It only knows that the client sent the correct passphrase. MAC address filtering offers little real protection, either. Free tools like airodump-ng reveal legitimate MAC addresses in under two minutes. From there, an attacker can spoof their network card with ip link set dev wlan0 address and slip straight onto your internal VLAN.
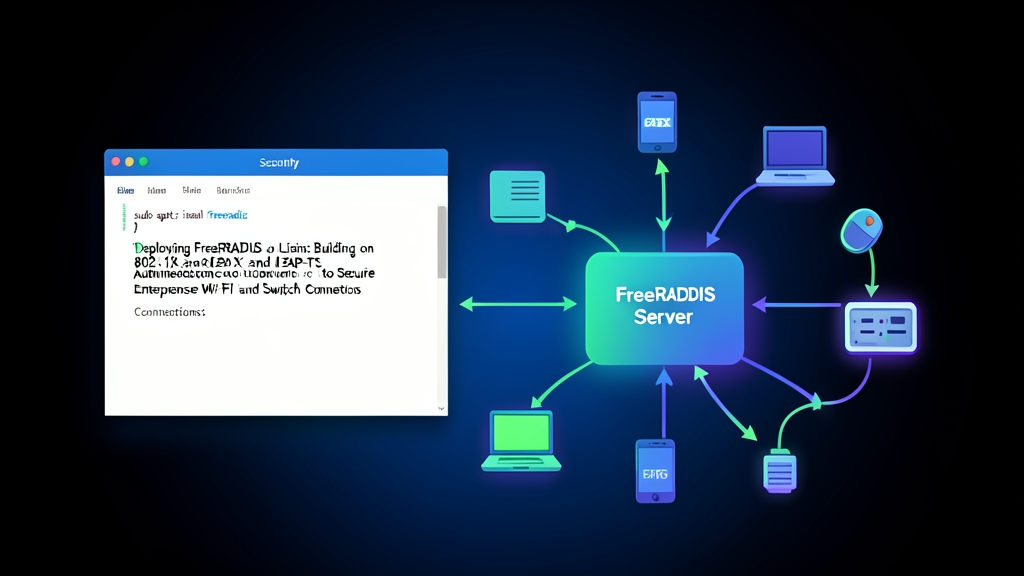
Fixing this requires port-based network access control (IEEE 802.1X) backed by a central RADIUS server. FreeRADIUS running on Linux provides the backbone for this identity-first model.
Authentication Approach Comparison: PSK vs. PEAP-MSCHAPv2 vs. EAP-TLS
Moving beyond static passwords means picking an Extensible Authentication Protocol (EAP) method. Three main models show up in production networks:
- WPA-Personal (PSK): One shared secret protects every endpoint. Setup takes five minutes and requires no backend servers. However, you get zero per-user audit trails and cannot revoke access for a single compromised machine.
- PEAP-MSCHAPv2 (EAP-PEAP): Users sign in with their standard Active Directory or LDAP credentials inside an encrypted TLS tunnel established by the server. While popular and convenient for end users, it exposes passwords to credential-harvesting attacks. If an employee connects through a rogue access point that skips root CA verification, tools like
eaphammercan intercept MS-CHAPv2 challenge responses and crack them offline. - EAP-TLS (RFC 5216): Mutual certificate authentication. The RADIUS server and the client verify each other using X.509 digital certificates issued by your internal Certificate Authority (CA). No passwords ever travel across the air or wire.
Pros and Cons of Network Authentication Methods
| Method | Primary Advantages | Operational Trade-offs |
|---|---|---|
| WPA2/WPA3 PSK | Deploys in minutes. Broad compatibility across legacy hardware and embedded IoT gear without dedicated servers. | Zero user accountability. When a passphrase leaks, updating every single device takes hours of manual work. |
| PEAP-MSCHAPv2 | Centralized identity management. Connects straight to LDAP or Active Directory without issuing client certificates. | Inherits legacy MS-CHAPv2 cryptographic flaws. Vulnerable to evil-twin rogue access points and credential harvesting. |
| EAP-TLS | Immune to password spraying and phishing. Cryptographic mutual trust enables seamless connection on boot without user prompts. | Requires Public Key Infrastructure (PKI). Needs an MDM solution like Intune or Jamf to manage certificate lifecycles. |
Recommended Architecture: FreeRADIUS with EAP-TLS
EAP-TLS delivers the cleanest, most resilient access model for corporate Wi-Fi (WPA-Enterprise) and physical switch ports (802.1X wired). Here is how the authentication loop works under the hood:
- The Supplicant (the client laptop or mobile device) sends an
EAPoL-Startframe to the wireless access point or edge switch. - The Authenticator (the access point or switch) wraps the EAP payload into a UDP RADIUS packet and forwards it to FreeRADIUS on port 1812.
- The Authentication Server (FreeRADIUS) negotiates an encrypted TLS handshake directly with the client. FreeRADIUS validates the client certificate against the trusted Root CA, while the client verifies the RADIUS server certificate.
- Once cryptographic trust is established, FreeRADIUS responds with an
Access-Acceptframe. The response can include dynamic RADIUS attributes, such asTunnel-Private-Group-Id = "30", to automatically drop the user into an isolated engineering or corporate VLAN.
Implementation Guide: Deploying FreeRADIUS with EAP-TLS on Linux
This deployment guide covers Ubuntu 24.04 LTS and Debian 12 running FreeRADIUS 3.2.x with OpenSSL.
Step 1: Install FreeRADIUS and Cryptographic Tools
sudo apt update
sudo apt install -y freeradius freeradius-utils openssl

# Stop the system service so we can run FreeRADIUS interactively in debug mode later
sudo systemctl stop freeradius
Step 2: Generate the Private PKI
FreeRADIUS includes sample bootstrap scripts in /etc/freeradius/3.0/certs/, but creating your own certificates gives you full control over key sizes, cipher suites, and validity windows.
# Create a secure working directory for your certificates
sudo mkdir -p /etc/freeradius/3.0/pki
cd /etc/freeradius/3.0/pki

# 1. Generate the Root CA private key (4096-bit RSA) and self-signed certificate (5-year validity)
sudo openssl genrsa -aes256 -out ca.key 4096
sudo openssl req -x509 -new -key ca.key -sha256 -days 1825 -out ca.pem \
  -subj "/C=US/ST=Texas/L=Austin/O=CoreInfra/CN=CoreInfra-Root-CA"
When generating passphrases to encrypt CA private keys and export client PKCS#12 bundles, I use the password generator at toolcraft.app/en/tools/security/password-generator for server passwords — it runs entirely in the browser, so no data is ever sent over the network.
# 2. Generate a 2048-bit private key and Certificate Signing Request (CSR) for the FreeRADIUS server
sudo openssl genrsa -out server.key 2048
sudo openssl req -new -key server.key -out server.csr \
  -subj "/C=US/ST=Texas/L=Austin/O=CoreInfra/CN=radius.internal.lan"

# Sign the server certificate using the Root CA (valid for 2 years)
sudo openssl x509 -req -in server.csr -CA ca.pem -CAkey ca.key -CAcreateserial \
  -out server.pem -days 730 -sha256

# 3. Generate Diffie-Hellman parameters (required for TLS cipher negotiation)
sudo openssl dhparam -out dh 2048

# 4. Generate a client certificate for a test workstation
sudo openssl genrsa -out client-laptop01.key 2048
sudo openssl req -new -key client-laptop01.key -out client-laptop01.csr \
  -subj "/C=US/ST=Texas/L=Austin/O=CoreInfra/[email protected]"

# Sign the client certificate (valid for 1 year)
sudo openssl x509 -req -in client-laptop01.csr -CA ca.pem -CAkey ca.key -CAcreateserial \
  -out client-laptop01.pem -days 365 -sha256

# Bundle the client certificate, key, and Root CA into a password-protected PKCS#12 (.p12) container
sudo openssl pkcs12 -export -out client-laptop01.p12 \
  -inkey client-laptop01.key -in client-laptop01.pem -certfile ca.pem
Step 3: Secure File Permissions
Protect your private keys from other local users before loading them into FreeRADIUS:
sudo chown -R freerad:freerad /etc/freeradius/3.0/pki
sudo chmod 640 /etc/freeradius/3.0/pki/*
sudo chmod 600 /etc/freeradius/3.0/pki/*.key
Step 4: Configure the FreeRADIUS EAP Module
Open /etc/freeradius/3.0/mods-available/eap in your text editor. Update the tls-config tls-common block to reference your newly generated keys and certificates. Keeping fragment_size = 1024 avoids packet drops when fragmented RADIUS packets traverse WAN tunnels with lower MTUs:
eap {
    default_eap_type = tls
    timer_expire     = 60
    ignore_unknown_eap_types = no
    cisco_accounting_username_bug = no
    max_sessions = 4096

    tls-config tls-common {
        private_key_file = /etc/freeradius/3.0/pki/server.key
        certificate_file = /etc/freeradius/3.0/pki/server.pem
        ca_file = /etc/freeradius/3.0/pki/ca.pem
        dh_file = /etc/freeradius/3.0/pki/dh
        fragment_size = 1024
        check_crl = no
        cipher_list = "DEFAULT@SECLEVEL=2"
        tls_min_version = "1.2"
        tls_max_version = "1.3"
    }

    tls {
        tls = tls-common
    }
}
Step 5: Define Network Access Devices in clients.conf
Your edge switches and wireless access points act as RADIUS clients (authenticators). Authorize their IP subnets and shared secrets in /etc/freeradius/3.0/clients.conf:
# Floor switches (Cisco Catalyst stack)
client corporate_switches {
    ipaddr      = 10.10.20.0/24
    secret      = K9x#mP4$vL2@qR8!
    nas_type    = cisco
}

# Enterprise Wi-Fi access point
client wifi_access_points {
    ipaddr      = 10.10.30.50
    secret      = T7y&wE3#nB9*kM5$
    shortname   = ap-hq-floor2
}
Step 6: Run in Debug Mode and Verify
Skip the systemd service logs during initial setup. Running FreeRADIUS directly in foreground debug mode displays the complete EAP packet exchange line by line:
sudo freeradius -XThe daemon loads its configuration modules, binds to UDP ports 1812 (authentication) and 1813 (accounting), and signals readiness:
Ready to process requestsImport client-laptop01.p12 into your test machine. On macOS, double-click the file to import it into Keychain Access. On Windows, double-click to launch the Certificate Import Wizard into the Current User store. Next, connect to your corporate 802.1X SSID or plug into an 802.1X-enabled switch port.
Your freeradius -X terminal will stream the TLS handshake. Within roughly 300 milliseconds, you should see:
Sending Access-Accept Id 1 from 10.10.10.5:1812 to 10.10.30.50:41255
Finished request 0. Done processing request.
Once you verify that authentication succeeds, press Ctrl+C to exit debug mode. Then launch FreeRADIUS as a background systemd service:
sudo systemctl enable --now freeradiusWith EAP-TLS active, handling a lost device takes seconds. Revoking the client certificate instantly cuts off network access, without forcing a password reset or disrupting anyone else on the network.