The Nightmare of the ‘IP.xlsx’ Spreadsheet
I still remember my first week at a mid-sized data center. When I asked for the IP allocation list, the senior admin handed me an Excel file named Network_Final_v2_USE_THIS_ONE.xlsx. Within ten minutes, I found three duplicate IP assignments and 14 ‘zombie’ addresses—IPs marked as active that hadn’t seen a packet in months. This is the ‘Spreadsheet Trap.’
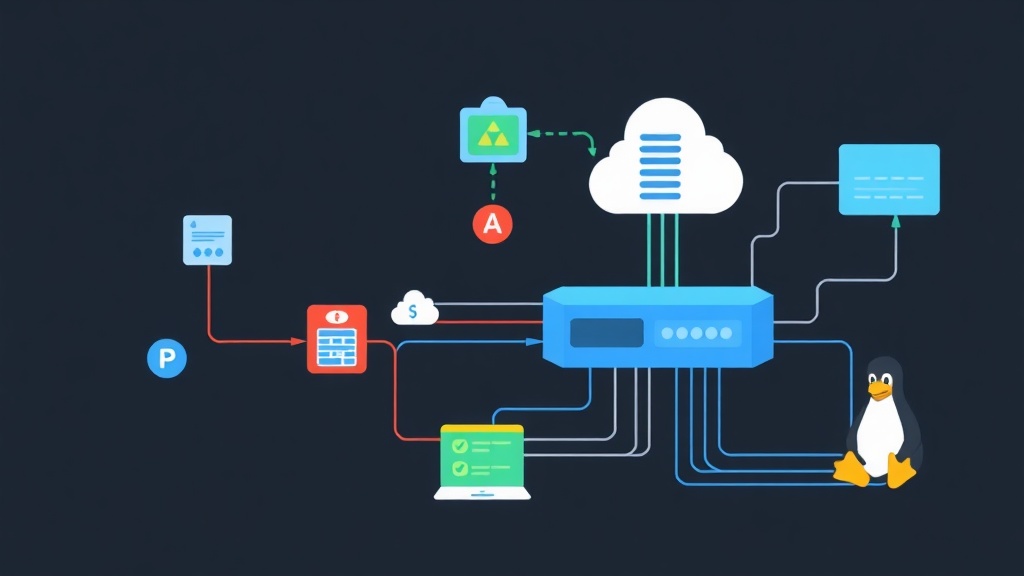
Excel wasn’t built for networking. It is static, error-prone, and collapses under its own weight as your infrastructure grows. If you’re juggling more than two subnets, you’ve already outgrown it. Centralizing your IP, VLAN, and Subnet data into a single source of truth like phpIPAM is a massive leap forward. It moves you from reactive firefighting to proactive architecture.
Core Concepts: Why phpIPAM?
Why choose phpIPAM over a basic database? It isn’t just a list; it is a tool that understands the logic of your network. Unlike a flat spreadsheet, phpIPAM maps the actual relationships between your hardware and your addresses.
- Logical Hierarchy: Nest subnets within sections like “Data Center,” “Branch Office,” or “Public Cloud.”
- VLAN Tracking: Map your 802.1Q tags directly to subnets so you never lose track of a gateway again.
- VRF Support: Handle complex multi-tenant environments or MPLS labels without overlapping address space conflicts.
- Auto-Discovery: Stop guessing. Use ICMP and SNMP to scan your network and flag IPs that are responsive but unassigned.
Hands-On: Deploying phpIPAM on Ubuntu 22.04/24.04
The classic LAMP stack (Linux, Apache, MariaDB, PHP) remains the gold standard for this deployment. It is stable, predictable, and handles thousands of entries without breaking a sweat.
1. Preparing the Environment
Begin by updating the system and installing the core dependencies. phpIPAM relies on specific PHP extensions for database connectivity and LDAP integration.
sudo apt update && sudo apt upgrade -y
sudo apt install -y apache2 mariadb-server php php-curl php-gd php-json php-mbstring php-mysql php-xml php-gmp php-pear php-ldap git
2. Hardening the Database
Security is paramount. Secure your MariaDB installation first, then create a dedicated user. Avoid using ‘root’ for the application connection.
sudo mysql_secure_installation

# Log into MariaDB
sudo mysql -u root -p

# Run these commands inside the MariaDB prompt
CREATE DATABASE phpipam;
GRANT ALL PRIVILEGES ON phpipam.* TO 'phpipam_user'@'localhost' IDENTIFIED BY 'YourStrongPassword';
FLUSH PRIVILEGES;
EXIT;
3. Pulling the Source Code
Using Git makes future maintenance much simpler. Instead of manual uploads, a simple git pull handles your updates.
cd /var/www/html
sudo git clone --recursive https://github.com/phpipam/phpipam.git phpipam

# Set correct permissions for the web server user
sudo chown -R www-data:www-data /var/www/html/phpipam
sudo chmod -R 755 /var/www/html/phpipam
Now, configure the database connection by copying the provided template.
cd /var/www/html/phpipam
sudo cp config.dist.php config.php
sudo nano config.php
Edit the config.php file with the credentials you created earlier:
$db['host'] = 'localhost';
$db['user'] = 'phpipam_user';
$db['pass'] = 'YourStrongPassword';
$db['name'] = 'phpipam';
$db['port'] = 3306;
4. Apache Configuration
To enable clean URLs like /subnets/1/, you must enable mod_rewrite. This replaces the messy index.php?page=subnets syntax.
sudo a2enmod rewrite
sudo nano /etc/apache2/sites-available/000-default.conf
Insert these directives into your <VirtualHost *:80> block:
<Directory /var/www/html/phpipam>
    Options Indexes FollowSymLinks
    AllowOverride All
    Require all granted
</Directory>
Restart the service to apply the new configuration:
sudo systemctl restart apache25. The Final Web Setup
Navigate to http://your-server-ip/phpipam in your browser. Since the database is already ready, select “1. New phpipam installation” followed by “Manual database installation.” Set your admin password and site name, and you are officially in the driver’s seat.
Field Notes: Real-World Best Practices
Setting up the software is only half the battle. Maintaining data integrity is what separates juniors from seniors.
Automate the Boring Stuff
A manual IPAM is only as accurate as your last update. I highly recommend setting up an agentless scan via cron. This automatically pings your ranges every 15 minutes, identifying new devices without any manual effort.
# Run as www-data: sudo crontab -e -u www-data
*/15 * * * * /usr/bin/php /var/www/html/phpipam/functions/scripts/pingCheck.php
*/15 * * * * /usr/bin/php /var/www/html/phpipam/functions/scripts/discoveryCheck.php
Structure with Intent
Avoid dumping every subnet into a single folder. Create distinct sections for “Management,” “DMZ,” and “Storage.” This simplifies permission management. You can grant the security team full visibility while restricting the helpdesk to specific user-facing VLANs.
Utilize Visual Rack Mapping
The Rack management feature is a hidden gem. When documenting a server, don’t just record the IP; link it to a specific U-position in a 42U rack. This visual map is a lifesaver when you need to guide a remote technician through a hardware swap over the phone.
Conclusion
Trading a messy spreadsheet for a dedicated system like phpIPAM transforms your workflow. It stops IP conflicts before they happen and provides a clear audit trail for every change. By following this guide, you have moved from basic tracking to true infrastructure management. Next time a colleague asks for an available IP in VLAN 100, you won’t be guessing—you will be providing precision data from your own centralized source of truth.