
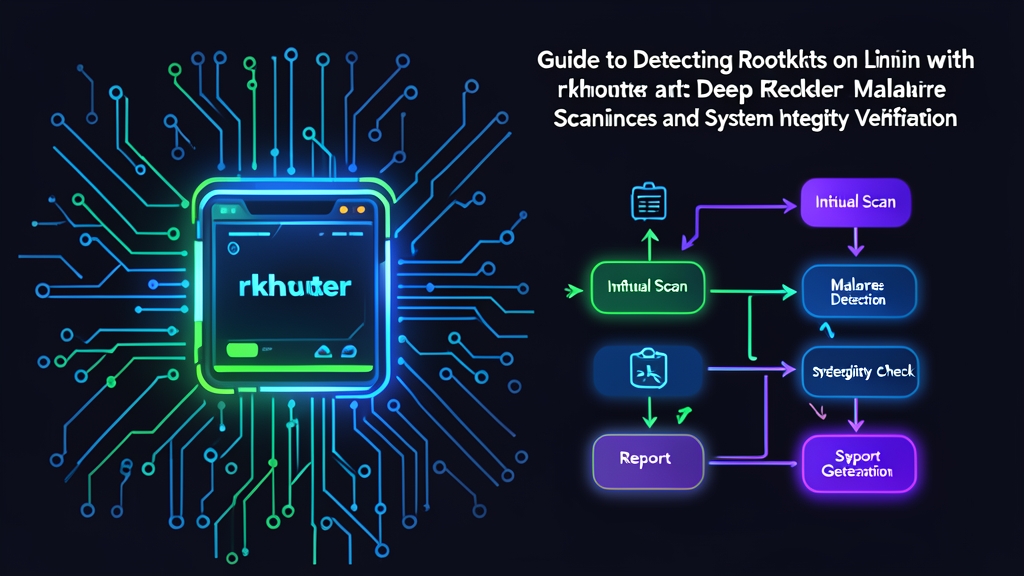
Context & Why: The Hidden Danger of Rootkits
An attacker who breaches your server rarely runs a loud cryptominer pegged at 100% CPU. Instead, they dig in silently. Ordinary malware shows up in a standard ps aux or htop dump. Rootkits are nastier. They alter core utilities or slide directly into kernel memory, wiping out any visible trace of rogue processes, open sockets, and backdoor accounts.
A few years ago, an alert woke me at 2:00 AM after 14,000 failed SSH attempts finally breached a bastion host. The intruder replaced /bin/ps and injected a malicious Loadable Kernel Module (LKM). Even with root privileges, our standard CLI tools lied to us. Every process query returned scrubbed output that hid the attacker’s reverse shell entirely.
User-Space vs. Kernel-Space Rootkits
Intruders target two main tiers on a Linux host:
- User-space rootkits: These hijack shared libraries like
libc.soor swap binaries such asls,top, andss. Many rely on/etc/ld.so.preloadto hook function calls before legitimate binaries ever execute. - Kernel-space rootkits: These modify kernel memory or load rogue LKMs. They hook sys-call tables directly, blinding user-space tools like
netstatfrom spotting listening sockets on high ports such as 4444 or 31337.
Why Combine rkhunter and chkrootkit?
Relying on a single scanner leaves blind spots. Pairing two complementary tools gives you broader, multi-layered coverage:
- rkhunter (Rootkit Hunter): Checks SHA-256 hashes of critical system binaries against a trusted baseline database. It flags permission quirks, hidden directories in
/dev, and rogue startup hooks. - chkrootkit: A fast shell-and-C utility that checks system call hooks, suspicious process tables, and promiscuous network cards running silent sniffers. It matches signatures against more than 70 known rootkit families.
Installation
Both packages ship in standard distributions. Run the install commands with root privileges.
Installing on Debian and Ubuntu Systems
sudo apt update
sudo apt install -y rkhunter chkrootkit
Installing on RHEL, Rocky Linux, or AlmaLinux
For enterprise distros, pull both utilities from the EPEL repository:
sudo dnf install -y epel-release
sudo dnf install -y rkhunter chkrootkit
Configuration
Out-of-the-box scans generate noisy false alarms. Taking five minutes to baseline file properties and set scanner flags saves hours of troubleshooting later.
Configuring rkhunter
Open the primary configuration file located at /etc/rkhunter.conf:
sudo nano /etc/rkhunter.confUpdate these key directives to handle database mirrors and notification routing:
# Enable automatic mirror checking for database updates
UPDATE_MIRRORS=1
MIRRORS_MODE=0

# Match package manager verification (use 'DPKG' on Debian/Ubuntu or 'RPM' on RHEL/Rocky)
PKGMGR=DPKG

# Configure alert recipient
MAIL-ON-WARNING="[email protected]"

# Run non-interactively in batch operations
AUTO_X_DETECT=0
Establishing the File Property Baseline
Before running your first scan, update detection signatures. Then capture SHA-256 hashes for all clean system binaries into /var/lib/rkhunter/db/rkhunter.dat:
# Download the latest threat signatures
sudo rkhunter --update

# Generate the baseline hash database
sudo rkhunter --propupd
Get into the habit of running sudo rkhunter --propupd immediately after running apt upgrade or dnf upgrade. Skipping this step turns legitimate package updates into dozens of false tampering alerts during the next scan.
Configuring chkrootkit
On Debian and Ubuntu systems, the defaults live in /etc/chkrootkit/chkrootkit.conf. Adjust them for non-interactive execution:
sudo nano /etc/chkrootkit/chkrootkit.confSet these three options:
RUN_DAILY="false"
RUN_DAILY_OPTS="-q"
DIFF_MODE="true"
Setting DIFF_MODE="true" reports only net-new changes compared to the prior run. That keeps your inbox clear of known, recurring interface quirks.
Verification & Monitoring
Now verify that both tools run cleanly, parse the results, and automate daily execution.
Running an Initial Audit
Execute chkrootkit in quiet mode first. This filters out benign diagnostic checks:
sudo chkrootkit -qA healthy server produces no terminal output at all. Next, kick off a baseline check with rkhunter:
sudo rkhunter --check --skip-keypress --report-warnings-onlyThe --skip-keypress flag lets the audit run uninterrupted for its typical 60 to 90 seconds. Adding --report-warnings-only filters out passing status checks, showing only genuine red flags.
Reading the Logs and Handling False Positives
Detailed results land in /var/log/rkhunter.log. Review flagged entries with a quick grep:
sudo grep -i warning /var/log/rkhunter.logPerl wrappers like /usr/bin/lwp-request and hidden directories like /etc/.etckeeper trigger common false alarms. Once you verify their integrity, whitelist them in /etc/rkhunter.conf:
# Whitelist verified scripts
SCRIPTWHITELIST=/usr/bin/lwp-request

# Whitelist verified hidden files
ALLOWHIDDENFILE=/etc/.etckeeper
Automating Daily Scans with Cron
Security checks slip through the cracks when done manually. Put an automated script in /etc/cron.daily/security-rootkit-scan:
sudo nano /etc/cron.daily/security-rootkit-scanAdd this script:
#!/usr/bin/env bash
set -euo pipefail

LOG_FILE="/var/log/daily-rootkit-scan.log"
DATE=$(date '+%Y-%m-%d %H:%M:%S')

echo "=== Scan Started: ${DATE} ===" >> "${LOG_FILE}"

# Refresh rkhunter definitions
/usr/bin/rkhunter --update --nolog > /dev/null 2>&1 || true

# Run rkhunter check
echo "--- rkhunter results ---" >> "${LOG_FILE}"
/usr/bin/rkhunter --check --cronjob --report-warnings-only >> "${LOG_FILE}" 2>&1 || true

# Run chkrootkit check
echo "--- chkrootkit results ---" >> "${LOG_FILE}"
if [ -x /usr/sbin/chkrootkit ]; then
  /usr/sbin/chkrootkit -q >> "${LOG_FILE}" 2>&1 || true
fi

echo "=== Scan Finished ===" >> "${LOG_FILE}"
Set execution permissions:
sudo chmod +x /etc/cron.daily/security-rootkit-scanWhat to Do If an Infection Is Detected
Take decisive action if either utility uncovers a hooked syscall or a trojaned system binary:
- Sever the network: Pull the virtual NIC immediately to block data exfiltration and lateral movement across your subnet.
- Do not attempt surgical repairs: Manually deleting binaries rarely works. Rootkits usually drop secondary backdoors and corrupt running kernel memory.
- Capture live forensics: Dump memory with LiME or take an offline disk snapshot if you need post-incident analysis.
- Rebuild the host: Re-provision from scratch using vetted infrastructure-as-code scripts, then restore application data from an uncompromised backup.