The 2 AM Production Freeze: When SSH Stops Responding
It is 2:14 AM. Your pager shrieks with an alert for an unhandled 504 gateway timeout on your primary PostgreSQL node. You fire up your terminal and run ssh [email protected]. Nothing happens. The connection hangs indefinitely at the initial handshake.
Desperate for visibility, you launch your cloud provider’s out-of-band VNC or IPMI console. The screen is completely frozen, stuck displaying a blinking cursor and a load average hovering somewhere past 140. No kernel panic stack trace has triggered. Instead, an out-of-control memory leak or massive I/O bottleneck has starved user space into total paralysis.
Your mouse pointer drifts toward the red “Hard Reset” button in the hypervisor panel. Don’t click it. A hard cut instantly discards megabytes of unwritten page cache. In-flight database transactions end up half-committed, and your 30-second restart quickly turns into a 45-minute ext4 journal replay or a corrupted InnoDB tablespace. The Linux kernel provides a far safer escape hatch: the Magic SysRq key.
Core Concepts: How SysRq Bypasses a Broken User Space
When Linux freezes, userspace software almost always takes the blame. Daemons like sshd, systemd, and your shell get starved of scheduler slices or stuck waiting on uninterruptible disk sleep (state D).
The Linux kernel itself usually remains functional. It still handles hardware timers and responds to low-level keyboard interrupts.
Magic SysRq hooks directly into this interrupt layer. When you send a SysRq signal, the keyboard driver or virtual terminal serial bus hands execution straight to kernel core handlers. These routines execute immediately, ignoring CPU overload, missing memory pages, or unresponsive shells.
The SysRq Bitmask: Understanding the Control Values
Because SysRq can dump memory contents or kill arbitrary processes, production distributions often restrict it. Linux controls access through /proc/sys/kernel/sysrq using a bitmask:
- 0: Disable SysRq completely.
- 1: Enable all functions.
- 2: Allow console log-level adjustments.
- 4: Allow keyboard control (SAK and unraw mode).
- 8: Allow process and CPU debugging dumps.
- 16: Allow the emergency sync command.
- 32: Allow remounting filesystems as read-only.
- 64: Allow process signaling (
SIGTERMandSIGKILL). - 128: Allow emergency reboot and poweroff.
- 256: Allow nicing of real-time tasks.
You combine these values with bitwise addition. For example, setting the value to 176 (16 + 32 + 128) permits syncing dirty buffers, remounting filesystems read-only, and triggering a reboot. That combination gives you safe crash-recovery essentials while blocking sensitive memory-dump commands.
The Recovery Sequence: REISUB
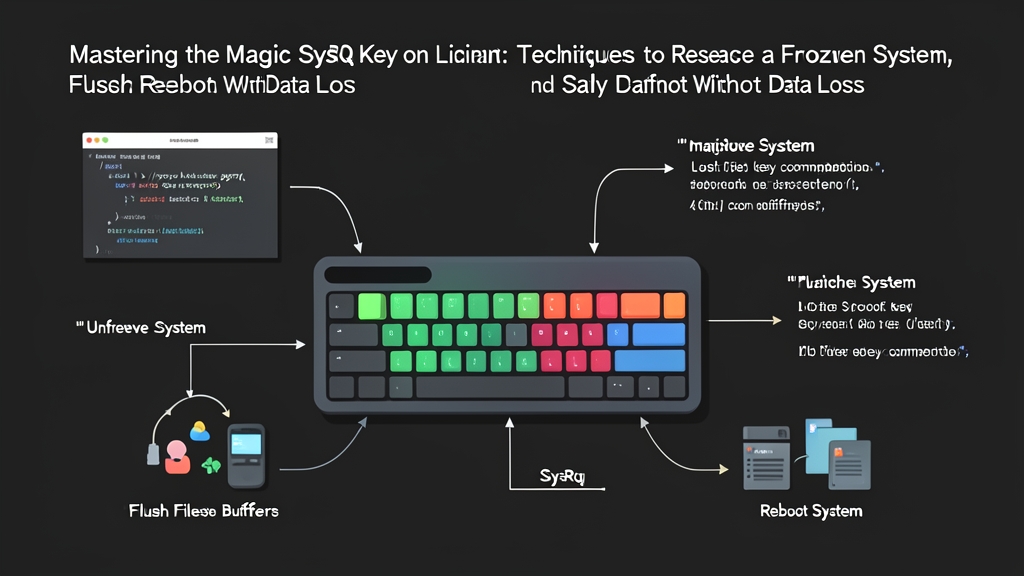
To safely step down a frozen system, memorize the classic mnemonic: “Raising Elephants Is So Utterly Boring”. The letters map to a progressive shutdown pipeline handled directly by the kernel:
- R (unRaw): Switches the keyboard driver from raw mode (used by X11 or Wayland) back to XLATE mode, restoring basic keyboard input.
- E (tErminate): Sends
SIGTERM(signal 15) to all processes except PID 1, allowing daemons to flush buffers and exit cleanly. - I (kIll): Broadcasts
SIGKILL(signal 9) to forcibly clear stubborn threads that ignored the termination request. - S (Sync): Flushes dirty memory caches directly to NVMe, SSD, or spinning rust.
- U (Unmount): Remounts every active storage partition as read-only to prevent stray writes and guarantee clean journal flags.
- B (reBoot): Triggers an instant hardware reset via the motherboard controller.
Hands-On Practice: Enabling and Executing SysRq
Step 1: Check and Enable SysRq
Start by checking your current SysRq permission level:
cat /proc/sys/kernel/sysrqDebian and Ubuntu server images frequently default to 176 or 438. Many hardened cloud AMIs drop this down to 0 or 16. If you need complete control for deep troubleshooting, toggle the full feature set on the fly:
sudo sysctl -w kernel.sysrq=1Make this change permanent across future reboots by writing a dedicated sysctl configuration drop-in file:
echo "kernel.sysrq = 1" | sudo tee /etc/sysctl.d/99-sysrq.conf
sudo sysctl --system
Keep security policies in mind. If your nodes handle multi-tenant workloads or compliance-scoped data, use 176 or 244 instead of 1 to keep memory-dump commands restricted.
Step 2: Emergency Recovery via Keyboard or Out-of-Band Console
If you have hands on a local keyboard, an AWS serial console session, or an IPMI KVM, send the sequence as raw keypresses. Hold down Alt and SysRq (often sharing the physical Print Screen key), then tap each letter sequentially. Pause between keystrokes to let the system complete each operation:
Alt + SysRq + R  (Wait 2s - Keyboard switched to XLATE mode)
Alt + SysRq + E  (Wait 10s - Gives MySQL, Nginx, or Redis time to flush and exit)
Alt + SysRq + I  (Wait 5s - Obliterates hung D-state tasks and stubborn orphans)
Alt + SysRq + S  (Wait 10s - Watch for "Emergency Sync complete" in console messages)
Alt + SysRq + U  (Wait 5s - Wait for "Emergency Remount R/O" confirmation)
Alt + SysRq + B  (System reboots immediately)
Watch your console logs carefully during this run. When you press S, you should see disk I/O metrics jump as unwritten dirty pages clear out. Rushing from S straight to B ruins the process; give your storage controllers time to finish clearing their write queues.
Step 3: Triggering SysRq via Command Line and Automation
Sometimes a node is not dead, just painfully slow. An out-of-control cron job might push load past 80, meaning an SSH session responds at two seconds per keystroke. If you have an active root prompt, pipe triggers directly into the kernel’s virtual endpoint at /proc/sysrq-trigger.
Run this script to walk through an automated, safe reboot:
#!/usr/bin/env bash
# Gracefully restart a degraded server via sysrq-trigger

set -euo pipefail

echo "Notifying processes with SIGTERM..."
echo e > /proc/sysrq-trigger
sleep 10

echo "Killing lingering processes..."
echo i > /proc/sysrq-trigger
sleep 3

echo "Flushing filesystem buffers to storage..."
echo s > /proc/sysrq-trigger
sleep 10

echo "Remounting filesystems read-only..."
echo u > /proc/sysrq-trigger
sleep 5

echo "Triggering kernel reboot..."
echo b > /proc/sysrq-trigger
Step 4: Extracting Crash Diagnostics Before the Reboot
Rebooting solves the immediate downtime, but it discards valuable clues. If the box is still responsive enough to accept single SysRq triggers, grab quick telemetry before taking it down:
# Dump current RAM allocation, slab data, and swap stats
echo m > /proc/sysrq-trigger

# Dump runnable tasks, backtraces, and blocked locks
echo t > /proc/sysrq-trigger

# Dump list of all held CPU locks (requires lockdep support)
echo d > /proc/sysrq-trigger
These commands write straight to the kernel ring buffer. Once the machine comes back online, check your persistent journal with journalctl -k -b -1 or review your out-of-band serial log to pin down the culprit.
Safe Recovery Beats Hard Resets Every Time
Cold-rebooting a frozen server feels quick, but cleaning up after raw power loss can consume hours of triage. A properly tuned SysRq bitmask gives you an out-of-band management channel that works even when the rest of the OS gives up. Commit REISUB to memory, roll out sensible sysctl defaults across your infrastructure, and make your next late-night rescue calm, clean, and reliable.