Comparing Access Models: Static Keys vs. Centralized SSH CA
Managing raw SSH keys across 50 or more Linux servers is an operational nightmare. Picture this: a new engineer joins, and you push their public key across dozens of virtual machines with Ansible. Six months later, they switch companies. Did anyone verify that their key was scrubbed from every staging box, backup target, and legacy server? Usually not.
Here is how the standard approaches compare:
- The
authorized_keyssprawl: Every node stores an individual copy of every developer’s public key in~/.ssh/authorized_keys. When 25 engineers access 80 machines, you are juggling 2,000 public key entries. If a private laptop gets compromised, you must run cleanup playbooks across the entire fleet immediately. - LDAP or PAM directory integrations: Nodes query an external identity provider like FreeIPA or Active Directory during the SSH handshake. While access control is centralized, this creates a hard network dependency. If your LDAP node goes down or a firewall rule breaks, administrators can get locked out of emergency recovery shells.
- OpenSSH Certificate Authority (SSH CA): Instead of tracking individual client keys, target hosts trust a single offline CA public key. Clients ask the CA to sign their local public key. In return, they receive a signed certificate valid for a specific window—say, 8 hours—with explicit usernames baked in. Target nodes validate this cryptographic signature locally in under 10 milliseconds. No external network queries required.
Pros and Cons of an SSH CA
The Advantages
- Zero host modifications during offboarding: When someone leaves the team, you do nothing to your target servers. You simply stop signing their keys. When their existing certificate hits its expiration window, their access terminates automatically.
- Short-lived access windows: You can issue certificates capped at 8 hours to cover a standard work shift. Even if an engineer leaves an unencrypted private key on a stolen laptop, the credential expires before an attacker can weaponize it.
- Precise privilege boundaries: Embed target accounts (e.g.,
deploy,ubuntu,postgres), source IP ranges, and forced commands right into the signature. - Native offline validation: OpenSSH handles everything out of the box using built-in crypto. You do not need third-party daemon processes or background agents running on target boxes.
The Trade-offs
- The CA signing key is high-value: If an attacker steals your private CA key, they can mint valid root-level access to your entire infrastructure. Store it offline, restrict access, or protect it with a hardware token like a YubiKey.
- Issuing infrastructure needed at scale: Signing certificates manually with
ssh-keygenworks well for small teams of 5 to 10 admins. Once you scale past that, you will want an automated gateway like HashiCorp Vault, Smallstep Step-CA, or Teleport.
Architecture Overview
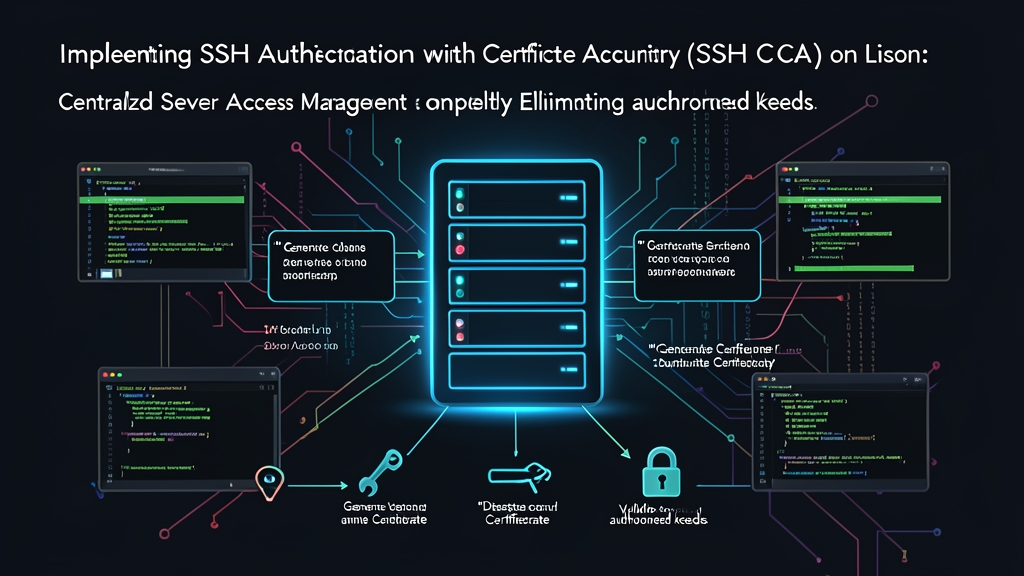
A production SSH CA setup relies on three distinct roles:
- The CA Host: An isolated, hardened workstation or offline bastion. This machine stores the private signing key (
ssh_user_ca) and publishes the public key (ssh_user_ca.pub). - The Target Servers: Every production host across your fleet. Each server points its
sshd_configtossh_user_ca.pub. - The Client: Engineers who generate standard ed25519 keys locally, request a certificate signature, and authenticate using the generated
id_ed25519-cert.pub.
Rule of thumb: Keep a backup root terminal open in an active tmux session while adjusting SSH daemon configs. If you mistype a configuration directive, that active shell keeps you from locking yourself out of production.
Step-by-Step Implementation
Step 1: Generate the CA Keypair
Run these commands on your dedicated signing host. Never place this private key on general-purpose servers:
# Create a secured directory for the CA
sudo mkdir -p /etc/ssh/ca
sudo chmod 700 /etc/ssh/ca
cd /etc/ssh/ca

# Generate the root CA keypair with a strong passphrase
sudo ssh-keygen -t ed25519 -C "prod-ssh-user-ca" -f ssh_user_ca

# Enforce strict file permissions
sudo chmod 600 /etc/ssh/ca/ssh_user_ca
sudo chmod 644 /etc/ssh/ca/ssh_user_ca.pub
Step 2: Configure Target Servers to Trust the CA
Copy ssh_user_ca.pub to your servers. Save it under /etc/ssh/trusted-user-ca-keys.pub:
# Copy the CA public key onto the target node
sudo tee /etc/ssh/trusted-user-ca-keys.pub <<'EOF'
ssh-ed25519 AAAAC3NzaC1lZDI1NTE5AAAAIPEXAMPLEKEY1234567890 prod-ssh-user-ca
EOF

sudo chmod 644 /etc/ssh/trusted-user-ca-keys.pub
Next, instruct sshd to accept any valid certificate signed by this CA. Create a drop-in file in /etc/ssh/sshd_config.d/ca.conf (or edit /etc/ssh/sshd_config):
TrustedUserCAKeys /etc/ssh/trusted-user-ca-keys.pub
AuthorizedPrincipalsFile none
Test the syntax before applying. A broken directive can take your SSH port down:
# Validate configuration syntax
sudo sshd -t

# If no errors return, reload sshd cleanly
sudo systemctl reload sshd
Step 3: Issue a Signed Certificate to a User
The engineer generates a standard ed25519 keypair on their local laptop:
# Run on client laptop
ssh-keygen -t ed25519 -f ~/.ssh/id_ed25519
The engineer sends only id_ed25519.pub to the CA admin. On the CA host, sign the public key with the appropriate principals and a tight validity window:
# Sign the public key on the CA machine
ssh-keygen -s /etc/ssh/ca/ssh_user_ca \
  -I alex-laptop \
  -n ubuntu,deploy \
  -V +8h \
  -z 2026110501 \
  id_ed25519.pub
Here is what these flags do:
-s /etc/ssh/ca/ssh_user_ca: Path to the CA private key.-I alex-laptop: A human-readable key ID. This gets recorded directly in the target server’s/var/log/auth.logupon login.-n ubuntu,deploy: The exact Linux accounts this certificate can log into. It prevents a junior developer from logging in asroot.-V +8h: Lifespan of the certificate. This one expires 8 hours after issuance. You can also specify absolute timestamps (e.g.,20261105090000:20261105170000).-z 2026110501: A unique serial number for tracking and audits.
The command produces a signed certificate named id_ed25519-cert.pub.
Step 4: Connect Using the Certificate
Send id_ed25519-cert.pub back to the engineer. They should drop it into ~/.ssh/ right beside their private key.
Inspect the certificate payload to check permissions and remaining lifetime:
ssh-keygen -L -f ~/.ssh/id_ed25519-cert.pub
You will see the metadata embedded into the certificate:
Type: [email protected] user certificate
Public key: ED25519-CERT SHA256:7vQ...
Signing CA: ED25519 SHA256:4kM... (prod-ssh-user-ca)
Key ID: "alex-laptop"
Serial: 2026110501
Valid: from 2026-11-05T08:30:00 to 2026-11-05T16:30:00
Principals:
        ubuntu
        deploy
Critical Options: (none)
Extensions:
        permit-pty
        permit-user-rc
Because the certificate file matches the private key name (id_ed25519 and id_ed25519-cert.pub), the OpenSSH client loads it automatically:
ssh -v [email protected]
Check the verbose logs. You will see Server accepts key: ... [Certificate]. The login succeeds even if the remote ~/.ssh/authorized_keys file is empty or locked down.
Step 5: Revoking Certificates Before Expiry
If an engineer loses their laptop at lunch, you do not need to wait for the 8-hour window to close. Revoke the certificate using an OpenSSH Key Revocation List (KRL).
# On the CA host, revoke certificate serial number 2026110501
ssh-keygen -k -f /etc/ssh/revoked-keys -s /etc/ssh/ca/ssh_user_ca.pub -z 2026110501
Push the generated /etc/ssh/revoked-keys file to your fleet and tell sshd where to find it:
# Add to /etc/ssh/sshd_config.d/ca.conf
RevocationFile /etc/ssh/revoked-keys
Reload the service with sudo systemctl reload sshd. Target servers will instantly drop connections that present the revoked serial number.