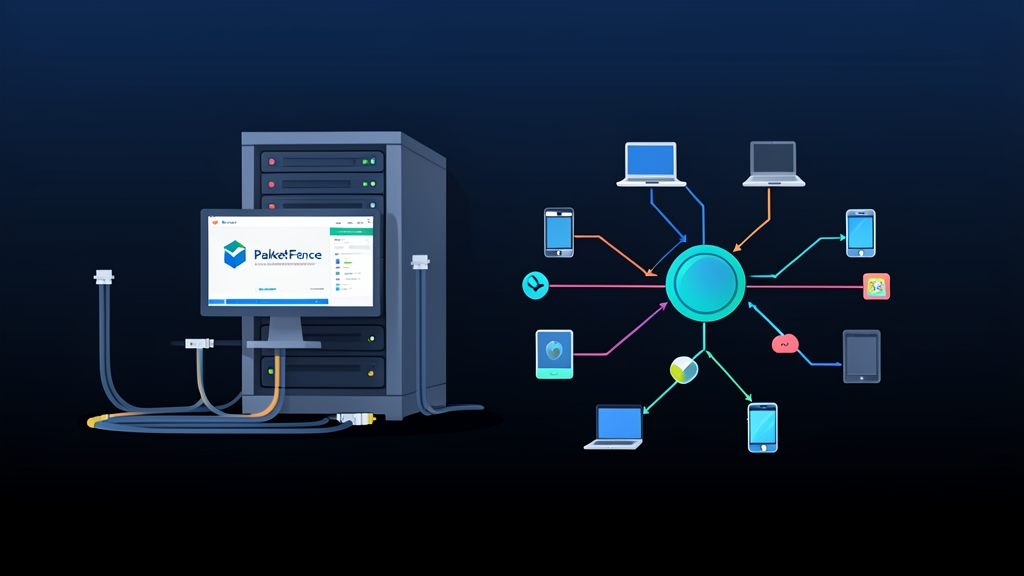
Six months ago, our team hit a wall across 480 switch ports and three office floors. Contractors swapped patch cables between desks. Unapproved testing rigs appeared on untagged ports. Rogue MACs tripped static port-security rules nearly every afternoon, generating a constant trickle of manual helpdesk tickets. That friction pushed us to deploy PacketFence, an open-source Network Access Control (NAC) platform running on Debian 12.
Today, that cluster manages 18 access switches and 32 wireless access points without breaking a sweat. Here is what worked during rollout, the traps that tripped us during cutover, and how to get dynamic device isolation running in your own environment.
Quick start (5 min)
A bare-bones PacketFence lab needs a clean Debian 12 VM with at least 4 vCPUs, 8 GB of RAM, and two network interfaces. Reserve eth0 for management access and dedicate eth1 to listening for trunked access VLANs.
Start by installing dependencies, importing the Inverse repository signing key, and pulling down the packages:
# Install key management utilities
apt-get update && apt-get install -y curl gnupg lsb-release

# Import the Inverse signing key
curl -fsSL https://inverse.ca/downloads/GPG-KEY-Inverse | gpg --dearmor -o /etc/apt/trusted.gpg.d/inverse.gpg

# Add the official Bookworm repository
echo "deb http://inverse.ca/downloads/PacketFence/debian/bookworm bookworm bookworm" > /etc/apt/sources.list.d/packetfence.list

# Refresh repositories and install the stack
apt-get update
apt-get install -y packetfence
Next, bring up the web-based configurator daemon to run through the bootstrap process:
# Start and confirm the configuration service
systemctl enable --now packetfence-configurator
systemctl status packetfence-configurator

# Open the web wizard in a browser:
# https://<SERVER_IP>:1443/configuration
Walk through the three wizard prompts:
- Database setup: Let PacketFence provision its MariaDB schema and generate local credentials automatically.
- Interface assignment: Bind
eth0as Management (e.g.,192.168.10.50/24) and designateeth1as your enforcement trunk. - Admin account: Create your primary cluster administrator credentials.
Once the wizard writes out the configuration files, start the core service stack from the shell:
/usr/local/pf/bin/pfcmd service pf start
/usr/local/pf/bin/pfcmd service pf status
Deep dive
PacketFence does not sit inline as a bump-in-the-wire bottleneck. Your user throughput never touches its CPU. Instead, it runs strictly out-of-band as a control plane director. It listens for RADIUS transactions, inspects DHCP requests, and issues switch commands via SNMP or RADIUS Change of Authorization (CoA).
The Authentication Lifecycle
When an engineer plugs into port Gi1/0/12, the switch and PacketFence execute a coordinated sequence within roughly 800 milliseconds:
- Initial Probe: The switch port detects link-up. It sends an 802.1X identity request to the endpoint. If the machine lacks an 802.1X supplicant after two timeouts, the switch falls back to MAC Authentication Bypass (MAB).
- RADIUS Query: The switch forwards an
Access-Requestpayload containing the device MAC, calling-station ID, and switch IP to PacketFence on UDP port 1812. - Policy Evaluation: PacketFence parses the host fingerprint, checks directory memberships, and queries local node compliance status.
- VLAN Assignment: PacketFence replies with a RADIUS
Access-Acceptframe carrying RFC 2868 and RFC 3580 vendor attributes (Tunnel-Type = VLAN,Tunnel-Medium-Type = IEEE-802, andTunnel-Private-Group-Id = <VLAN_ID>). - State Transition via CoA: When an unauthenticated device finishes onboarding via the captive portal, PacketFence fires an RFC 3576 / RFC 5176 Disconnect-Request to UDP port 3799 on the switch. The switch clears the session and re-evaluates the port instantly—no cable re-plug required.
Configuring the Access Switch
We tested this production baseline on Cisco Catalyst 2960X and 9300 series switches running IOS-XE 17.x:
! Global RADIUS configuration
radius server PACKETFENCE
 address ipv4 192.168.10.50 auth-port 1812 acct-port 1813
 key SuperSecretRadiusKey2026
!
aaa new-model
aaa group server radius PF_GROUP
 server name PACKETFENCE
!
aaa authentication dot1x default group PF_GROUP
aaa authorization network default group PF_GROUP
aaa accounting dot1x default start-stop group PF_GROUP
aaa server radius dynamic-author
 client 192.168.10.50 server-key SuperSecretRadiusKey2026
!
! Edge Access Port Configuration
interface GigabitEthernet1/0/12
 description Access-Port-Controlled-by-NAC
 switchport mode access
 switchport access vlan 99
 authentication host-mode multi-auth
 authentication port-control auto
 dot1x pae authenticator
 authentication order dot1x mab
 authentication priority dot1x mab
 mab
Notice the fallback binding: switchport access vlan 99. VLAN 99 serves as an isolated Registration VLAN. Unregistered hardware lands here first, receives a sandboxed IP address, and gets intercepted by an HTTP captive portal.
Advanced usage
Basic MAC authentication is only step one. The true operational payoff comes from coupling LDAP/Active Directory group lookups with automated quarantines.
Role-Based Dynamic VLAN Steering
Static desk assignments no longer make sense in modern offices. A finance auditor and a DevOps engineer can plug into the exact same wall jack in Conference Room B and land on totally isolated subnets. The switch port dynamically morphs to fit whoever authenticated.
Switch profiles live in /usr/local/pf/conf/switches.conf or under Configuration > Network Infrastructure > Switches in the web console:
[192.168.10.10]
description=Core-Stack-IDF1
type=Cisco::Catalyst_2960
mode=production
radiusSecret=SuperSecretRadiusKey2026
VoIPEnabled=yes

# Dynamic VLAN targets
RoleMap=yes
defaultRole=default
registrationVlan=99
isolationVlan=98
guestVlan=30
employee_engineeringVlan=40
employee_financeVlan=50
Auto-Quarantine on Suspicious Behavior
PacketFence hooks directly into security tooling like Suricata, Zeek, or Defender for Endpoint. Suppose an internal workstation initiates an aggressive port sweep across your server subnet. The IDS triggers an alert webhook into PacketFence, which demotes the node category to isolated and boots it to VLAN 98 via CoA within two seconds.
You can also quarantine a compromised workstation manually from the terminal:
# Flag the compromised endpoint
/usr/local/pf/bin/pfcmd node modify 00:11:22:33:44:55 status=unreg category="Security_Incident"

# Issue an immediate CoA bounce to the access switch
/usr/local/pf/bin/pfcmd radius authorize 00:11:22:33:44:55
Practical tips
Running a NAC cluster in an office with hundreds of daily devices exposes edge cases that test labs rarely catch. Keep these operational realities in mind:
- Mitigate MAC Randomization: iOS, Android, and Windows 11 randomize MAC addresses by default on untrusted networks. Pure MAB will break onboarding because the device rotates its virtual hardware address on reconnect. Roll out 802.1X with EAP-TLS or PEAP instead, binding network admission to user or machine certificates rather than hardware addresses.
- Air-gap the Management Interface: Never expose the web administration port (
TCP 1443) or switch management IPs to the registration subnet. Isolateeth0behind an administrative firewall rule. If an unauthenticated guest on VLAN 99 can ping your switch management plane, your NAC architecture has a critical blind spot. - Trim DHCP Leases on Registration Pools: Devices should spend less than five minutes in VLAN 99 before moving to an authenticated role. Set your registration DHCP lease duration to 10 or 15 minutes. A default 24-hour lease on a
/24registration pool will run out of IPs before lunchtime on a busy weekday. - Troubleshoot Live RADIUS Frames via CLI: When a switch log claims an authentication timeout, bypass the web GUI and watch raw packets on the server:
# Follow live authentication decisions
tail -f /usr/local/pf/logs/radius.log | grep -E "(Login OK|Login incorrect|Auth-Type)"

# Run FreeRADIUS in foreground debug mode for detailed packet traces
/usr/local/pf/bin/pfcmd service radiusd stop
/usr/sbin/freeradius -X -d /usr/local/pf/raddb
PacketFence pays for its setup investment early. Once your switch configurations and directory mappings stabilize, you can decommission manual switch port patching for good while keeping unknown hardware off critical subnets.