The Single Point of Failure at the Perimeter
Last year, an unscheduled hypervisor crash on our edge gateway kicked 240 engineers off the corporate network for forty minutes. Routine maintenance had become an operational hazard: applying FreeBSD kernel updates, restarting the IPS engine, or rolling out Suricata rule packs required late-night maintenance windows and crossed fingers. Active WireGuard and OpenVPN tunnels dropped instantly. PostgreSQL replica streams broke mid-query, and ongoing VoIP calls went dead.
Running a single firewall in production is a gamble you will eventually lose. Hardware components degrade, firmware upgrades occasionally hang, and power distribution units trip unexpectedly. We set a strict redesign target: failover had to finish in under two seconds, active state tables had to survive without terminating open connections, and all rule edits had to synchronize automatically.
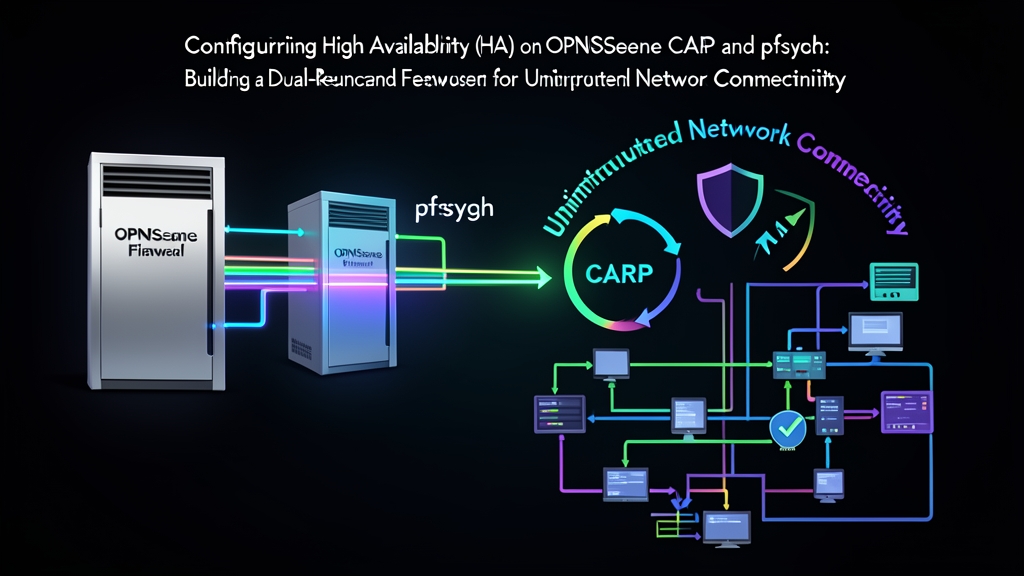
OPNsense handles this natively with battle-tested BSD protocols: CARP, pfsync, and XMLRPC. After running this dual-node setup across two hardware lifecycle upgrades and dozens of firmware patches, our perimeter has logged zero unplanned downtime.
Core Protocols: CARP, pfsync, and XMLRPC
A resilient OPNsense cluster relies on three independent BSD mechanisms working together.
1. Common Address Redundancy Protocol (CARP)
CARP handles Layer 2 and Layer 3 IP sharing. It serves as BSD’s open-source alternative to Cisco’s proprietary HSRP or VRRP. Multiple firewalls share a single Virtual IP (VIP).
Member nodes negotiate roles using advertisement skew (advskew) values. The master node runs with the lowest skew (usually 0) and broadcasts periodic heartbeat packets (advbase, typically set to 1 second). If the secondary node (configured with advskew 100) misses three consecutive heartbeats, it promotes itself to master and sends a gratuitous ARP to redirect switch traffic immediately.
2. State Synchronization via pfsync
Swapping IP ownership is only half the battle. Stateful firewalls track TCP handshakes, sequence numbers, and NAT translations. If your backup firewall takes over without the primary’s connection table, it treats every inbound packet as an out-of-state anomaly and drops it immediately.
The pfsync driver prevents this. It streams state table additions, updates, and expirations over a dedicated link using IP protocol 240. When failover triggers, the secondary node already holds an identical table of all active TCP, UDP, and ICMP sessions.
3. Configuration Replication via XMLRPC
Synchronizing firewall rules by hand is slow and guarantees configuration drift. OPNsense avoids this through os-xmlrpc-sync. Whenever you click Apply Changes on the primary node, an encrypted XMLRPC call over HTTPS pushes updated rules, aliases, DHCP reservations, and NAT policies directly to the secondary.
Step-by-Step: Building the Dual-Firewall Cluster
Here is our tested configuration for two appliances—either bare-metal Dell PowerEdge servers or virtual machines on separate hypervisors.
Interface and IP Layout
Both units need three dedicated network interfaces with matching driver names:
- WAN (vtnet0): Primary:
198.51.100.2/24| Secondary:198.51.100.3/24| Shared CARP VIP:198.51.100.1/24 - LAN (vtnet1): Primary:
10.0.10.2/24| Secondary:10.0.10.3/24| Shared CARP VIP:10.0.10.1/24(client default gateway) - SYNC (vtnet2): Primary:
172.16.99.1/30| Secondary:172.16.99.2/30(direct DAC cable or isolated switch VLAN)
Step 1: Set Up the SYNC Interface and Filter Rules
Run a direct patch cable or 10GbE DAC between vtnet2 on both units. Keep this link completely isolated from general office traffic.
On both appliances, head to Interfaces > Assignments, assign vtnet2 as SYNC, and set static IPv4 addresses (172.16.99.1/30 and 172.16.99.2/30). Next, navigate to Firewall > Rules > SYNC on both nodes and allow cluster traffic:
# Required pass rules on the SYNC interface (both nodes):
# Action: Pass | Direction: In | Interface: SYNC
# Rule 1: Protocol CARP (IP protocol 112) from SYNC net to any
# Rule 2: Protocol PFSYNC (IP protocol 240) from SYNC net to any
# Rule 3: Protocol TCP, Port 443 (HTTPS) from SYNC net to SYNC address
Step 2: Configure CARP VIPs on the Primary Node
Log in to the Primary web interface and open Interfaces > Virtual IPs > Settings. Click + to define the LAN gateway:
- Type: CARP
- Interface: LAN
- IP Address:
10.0.10.1/24 - Virtual IP Password: Enter a complex cluster passphrase (e.g.,
K8sSyncCluster#941!) - VHID Group:
1 - Advertising Frequency: Base:
1, Skew:0
Repeat this step for the WAN interface. Assign VHID Group 2, address 198.51.100.1/24, Base 1, and Skew 0.
Step 3: Configure CARP VIPs on the Secondary Node
Switch to the Secondary web UI. Create matching Virtual IPs, but bump the advertisement skew to demote this node:
- LAN VIP:
10.0.10.1/24| VHID:1| Base:1| Skew: 100 | Identical passphrase - WAN VIP:
198.51.100.1/24| VHID:2| Base:1| Skew: 100 | Identical passphrase
With an advertisement skew of 100, the secondary remains completely silent as long as the primary node’s heartbeat (skew 0) arrives every second.
Step 4: Enable State Sync (pfsync) and XMLRPC Replication
On the Primary node, open System > High Availability > Settings:
- Check Synchronize States.
- Synchronize Interface: Select
SYNC. - pfsync IP: Set to
172.16.99.2(the Secondary node). - Synchronize Config to IP: Enter
172.16.99.2. - Remote System User:
root(or a dedicated sync service account). - Remote System Password: Enter the Secondary node’s password.
- Tick the items to replicate: Firewall Rules, Aliases, Outbound NAT, Virtual IPs, and DHCP Server.
On the Secondary node, configure pfsync to listen to the Primary (172.16.99.1). Leave Synchronize Config to IP completely empty. Leaving it blank prevents dangerous configuration loops between peers.
Step 5: Verify Cluster Health from the CLI
SSH into both appliances to check interface states and state table synchronization numbers.
# Primary Node - Verify CARP master status
root@opnsense-primary:~ # ifconfig vtnet1_vhid1
vtnet1_vhid1: flags=49<UP,LOOPBACK,RUNNING> metric 0 mtu 1500
        inet 10.0.10.1 netmask 0xffffff00
        carp: MASTER vhid 1 advbase 1 advskew 0

# Primary Node - Check active state table size
root@opnsense-primary:~ # pfctl -si | grep -i state
current entries                      1428
searches                           942810
inserts                            120491
removals                           119063

# Secondary Node - Confirm backup status and replicated state count
root@opnsense-secondary:~ # ifconfig vtnet1_vhid1
vtnet1_vhid1: flags=49<UP,LOOPBACK,RUNNING> metric 0 mtu 1500
        inet 10.0.10.1 netmask 0xffffff00
        carp: BACKUP vhid 1 advbase 1 advskew 100

root@opnsense-secondary:~ # pfctl -si | grep "current entries"
current entries                      1428
Step 6: Real-World Failover Testing
Run a continuous ping alongside a long-lived SSH session from a LAN workstation (10.0.10.50) to an external target:
ping -c 30 1.1.1.1While the ping is running, trigger a manual CARP demotion on the Primary firewall:
# Demote Primary node by increasing carp demotion counter
root@opnsense-primary:~ # sysctl net.inet.carp.demotion=240
Check the ping output on your client workstation:
64 bytes from 1.1.1.1: icmp_seq=12 ttl=57 time=14.2 ms
64 bytes from 1.1.1.1: icmp_seq=13 ttl=57 time=14.8 ms
# Failover occurs here
64 bytes from 1.1.1.1: icmp_seq=14 ttl=57 time=31.6 ms
64 bytes from 1.1.1.1: icmp_seq=15 ttl=57 time=14.3 ms
Failover was seamless. We experienced zero dropped packets and only a 17 ms latency spike while the backup node’s gratuitous ARP refreshed the switch CAM table. The active SSH session stayed responsive without renegotiating TCP keys.
To restore the Primary to service, reset the demotion counter:
root@opnsense-primary:~ # sysctl net.inet.carp.demotion=-240Three Production Gotchas to Watch Out For
Six months of handling 450 Mbps sustained traffic across this cluster surfaced three critical quirks:
- Switch Port Security and MAC Spoofing: Virtualized setups (Proxmox VE, VMware ESXi, or Hyper-V) frequently drop CARP packets. CARP binds to virtual MAC addresses matching the pattern
00:00:5e:00:01:VHID(e.g.,00:00:5e:00:01:01for VHID 1). If your vSwitch or managed hardware switch blocks unregistered MAC addresses, the secondary node will never receive traffic after takeover. Enable MAC address spoofing and promiscuous mode on your port groups. - Outbound NAT Gateway Binding: By default, OPNsense maps outbound NAT to the physical interface IP (
198.51.100.2). Switch Outbound NAT to Hybrid or Manual mode. Update the translation rule target to your WAN CARP VIP (198.51.100.1). If you skip this, reply packets will attempt to reach the dead primary node after failover. - Unencrypted SYNC Links: The
pfsyncprotocol sends state packets across the wire in plaintext without authentication. Anyone sniffing that link can see active internal IP addresses, target ports, and NAT mapping metadata. Always isolate this interface onto a dedicated physical patch cable or a private, non-routed VLAN.
Once CARP, pfsync, and XMLRPC are properly tuned, OPNsense delivers carrier-grade reliability. You can patch firmware in the middle of a business day without disconnecting a single user.