The Production Outage You Didn’t Plan For
Renaming a column on a live database sounds trivial right up until your deployment pipeline kicks off. You run an ALTER TABLE migration against PostgreSQL or MySQL. Seconds later, your Datadog or Grafana board spikes with HTTP 500 errors. User sessions drop, database connection pools choke, and active transactions cascade into rollbacks.
Why does this happen? Most deployment scripts assume application code and database schema updates land at the exact same millisecond. In reality, modern cloud deployments run on rolling updates across Kubernetes pods or auto-scaling EC2 clusters. Old instances keep serving traffic alongside new ones for several minutes. If your schema drops or renames a column while older code still queries it, those requests crash on the spot.
Relational databases strictly enforce schemas across every active connection. When a running service executes SELECT full_name FROM users, but your migration just renamed it to name, the query fails with column "full_name" does not exist.
Scheduling a 2:00 AM maintenance window might pass for an internal tool, but 99.99% SLA customer-facing platforms can’t afford it. To deploy continuous changes safely, engineering teams rely on the expand and contract pattern (also known as a parallel run or phased migration).
Core Concepts: Understanding the Expand and Contract Pattern
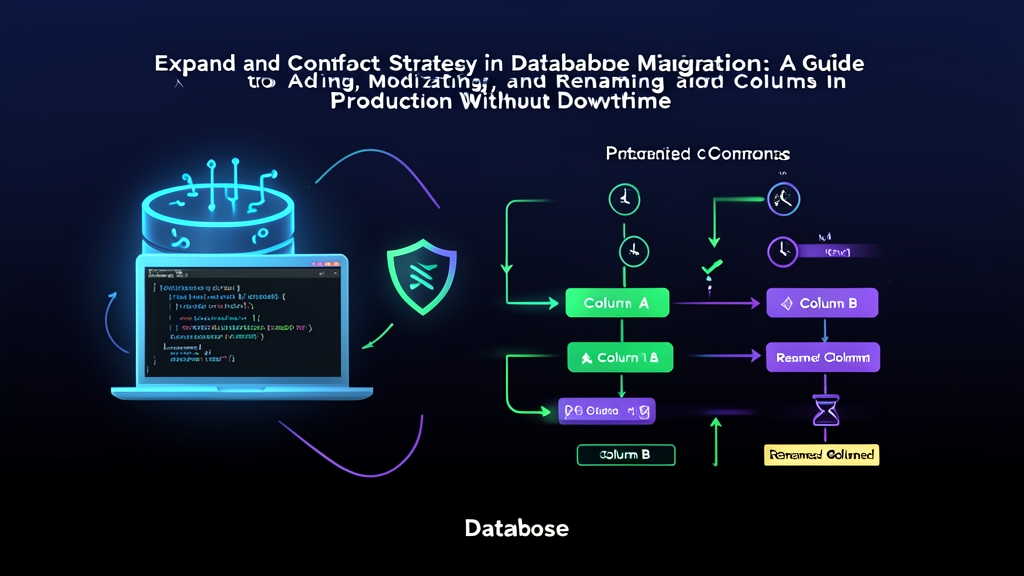
The expand and contract strategy breaks a destructive schema change into incremental, backwards-compatible releases. Instead of executing one risky operation, you split the migration across distinct deployment stages. This ensures older code and newly released code coexist without friction.
Phase 1: Expand
First, introduce the new schema element without touching or removing existing structures. If you need to rename a column or change a data type, create the new column alongside the legacy one. Make sure it accepts NULL or has a safe default. Your database now satisfies both the current code and upcoming builds.
Phase 2: Transition (Dual-Writing and Backfilling)
Next, ship an intermediate code release. Every insert and update now writes to both fields simultaneously (dual-writing). Application reads continue pulling from the legacy column or fall back to it gracefully. While production runs this dual-write logic, a background worker script copies existing historical records to the new column in discrete chunks.
Phase 3: Contract
Once you verify that 100% of historical records have migrated, switch application reads to the new column. After monitoring the fleet under load, strip out all references to the legacy column in your codebase. Finally, drop the old column from your database schema. No locks, no service degradation, and zero dropped customer transactions.
Hands-on Practice: Renaming a Column Without Downtime
Let’s walk through an e-commerce platform with a 15-million-row users table. The system currently stores phone numbers in phone_number. We need to rename this column to contact_phone to support international E.164 formatting standards.
Step 1: Expand the Schema
Add the new column to your table. Always set the column to accept NULL or provide a default value. If you declare it NOT NULL without a default, existing containers running older code will instantly throw constraint errors on every new user signup.
-- PostgreSQL / MySQL (InnoDB)
ALTER TABLE users
ADD COLUMN contact_phone VARCHAR(32) DEFAULT NULL;
In modern PostgreSQL (version 11+) and MySQL 8.0, adding a nullable column or one with a constant default executes as an instantaneous metadata-only change. Existing production pods continue querying phone_number without interruption.
Step 2: Deploy Dual-Writing Application Logic
Update your data access layer and deploy the change. Whenever a user creates or modifies their profile, write to both phone_number and contact_phone. For queries, inspect contact_phone first and fall back to phone_number if the record hasn’t been backfilled yet.
Here is an implementation pattern in Python using SQLAlchemy or raw SQL:
def save_user_phone(db_session, user_id: int, phone: str):
    # Dual-write keeps both generations of code consistent
    query = """
        UPDATE users
        SET phone_number = :phone,
            contact_phone = :phone
        WHERE id = :id
    """
    db_session.execute(query, {"phone": phone, "id": user_id})
    db_session.commit()

def get_user_phone(db_session, user_id: int) -> str:
    query = """
        SELECT contact_phone, phone_number
        FROM users
        WHERE id = :id
    """
    row = db_session.execute(query, {"id": user_id}).fetchone()
    if not row:
        return ""

    # Prioritize the new column, then fall back
    return row["contact_phone"] or row["phone_number"] or ""
Roll this release out across your servers. Every new customer or updated profile now populates both columns.
Step 3: Backfill Historical Records in Batches
Do not run an unconstrained UPDATE users SET contact_phone = phone_number; against 15 million rows. A blanket update locks millions of rows, bloats the transaction log (WAL or undo log), exhausts memory buffers, and spikes replication lag across read replicas. Instead, migrate your rows in predictable, indexed batches.
#!/usr/bin/env bash
# Chunked backfill script using psql with keyset pagination
BATCH_SIZE=2000
LAST_ID=0

echo "Starting backfill..."

while true; do
  # Fetch and update using the primary key index rather than full table scans
  UPDATED_INFO=$(psql -d production_db -t -A -c "
    WITH batch AS (
      SELECT id FROM users
      WHERE id > $LAST_ID
        AND contact_phone IS NULL
        AND phone_number IS NOT NULL
      ORDER BY id ASC
      LIMIT $BATCH_SIZE
    )
    UPDATE users
    SET contact_phone = users.phone_number
    FROM batch
    WHERE users.id = batch.id
    RETURNING users.id;
  ")

  # Determine batch boundary
  COUNT=$(echo "$UPDATED_INFO" | sed '/^$/d' | wc -l)
  if [ "$COUNT" -eq 0 ]; then
    echo "Backfill completed successfully."
    break
  fi

  LAST_ID=$(echo "$UPDATED_INFO" | tail -n 1)
  echo "Migrated $COUNT rows up to ID $LAST_ID..."

  # Sleep 250ms to yield I/O and let replica lag recover
  sleep 0.25
done
Step 4: Switch Reads and Remove Legacy References
Verify that your data migration hit 100% completion by running a quick count check: SELECT COUNT(*) FROM users WHERE contact_phone IS NULL AND phone_number IS NOT NULL;. When that count drops to 0, push a clean application release that reads and writes exclusively to contact_phone.
def save_user_phone(db_session, user_id: int, phone: str):
    query = "UPDATE users SET contact_phone = :phone WHERE id = :id"
    db_session.execute(query, {"phone": phone, "id": user_id})
    db_session.commit()

def get_user_phone(db_session, user_id: int) -> str:
    query = "SELECT contact_phone FROM users WHERE id = :id"
    row = db_session.execute(query, {"id": user_id}).fetchone()
    return row["contact_phone"] if row else ""
Monitor your error tracking and APM dashboards for one or two full deployment cycles. Confirm that no lingering worker or batch script queries phone_number.
Step 5: Contract the Database Schema
With legacy references purged from your codebase, you can remove the redundant column. Check for any orphaned database views, stored procedures, or reporting queries first. Then drop the column:
-- Remove the legacy column
ALTER TABLE users DROP COLUMN phone_number;
Summary and Key Takeaways
Zero-downtime database updates demand that schema evolution remains decoupled from application releases. The expand and contract pattern eliminates lock contention and protects live connections during rolling deployments.
Keep these fundamental rules in mind:
- Never modify or drop a column in the same pull request that introduces its replacement.
- Batch all historical updates using indexed primary keys to avoid read-replica lag and lock starvation.
- Structure every destructive change as a phased, three-step deployment cycle across your stack.