The Headache of Manual Media Management
Managing a growing media library starts as a fun hobby. However, it quickly turns into a chore as more friends and family join your HomeLab. If you run Jellyfin, Sonarr, and Radarr, you know the drill. Someone texts you asking for a specific movie. You log into Radarr, search for it, pick a quality profile, and hit download. It works, but it’s a clunky process that wastes your time.
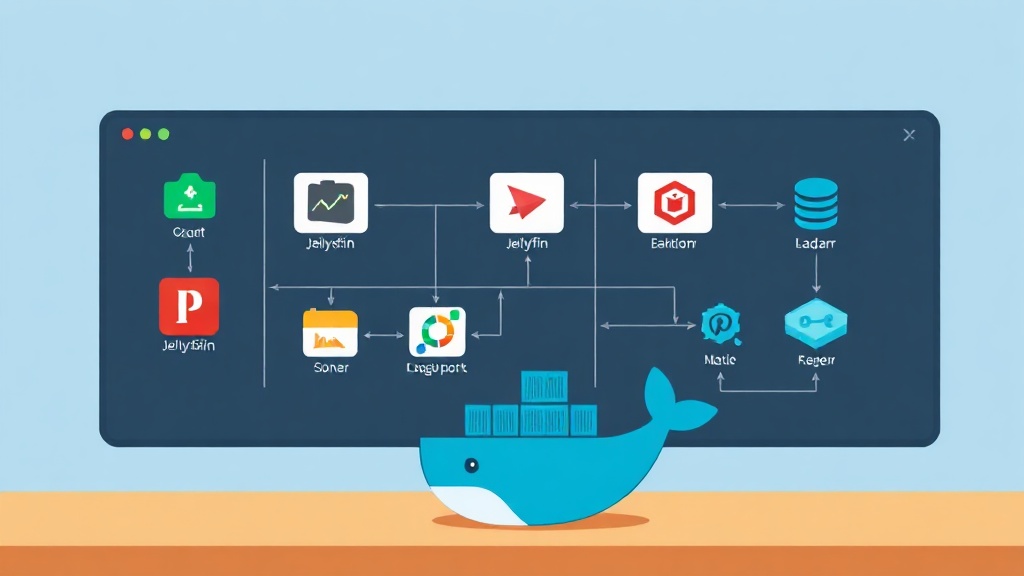
Jellyseerr solves this by acting as a sleek discovery layer for your automation tools. Instead of texting you, users browse a Netflix-style interface and click ‘Request.’ The system handles the rest. Since I moved to this setup, my daily administrative work has dropped to nearly zero. It typically uses less than 200MB of RAM, making it a lightweight addition to any server.
Why Jellyseerr instead of Overseerr?
Overseerr is a fantastic tool, but it was built specifically for Plex. Jellyseerr is a dedicated fork optimized for Jellyfin and Emby. It integrates deeply with your Jellyfin libraries to see what you already own. It still uses the same powerful logic for Radarr and Sonarr, making it the best choice for open-source enthusiasts.
Installation: Deploying with Docker Compose
Docker is the gold standard for running Jellyseerr. It keeps your base OS clean and makes updates a breeze. Using Docker Compose allows you to manage your network and storage settings in one simple file.
1. Setting Up Your Folders
First, create a home for Jellyseerr’s data. This ensures your settings and user database don’t vanish when you update the container.
mkdir -p ~/homelab/jellyseerr/config
cd ~/homelab/jellyseerr
2. The Docker Compose Configuration
Create a docker-compose.yml file. We will use the official image maintained by FallenBagel. This configuration is stable and production-ready.
services:
    jellyseerr:
        image: fallenbagel/jellyseerr:latest
        container_name: jellyseerr
        environment:
            - LOG_LEVEL=debug
            - TZ=Asia/Ho_Chi_Minh # Change to your local timezone
        ports:
            - 5055:5055
        volumes:
            - ./config:/app/config
        restart: unless-stopped
Keep an eye on port 5055. If you already have a service using that port, change the left side (e.g., 5060:5055). Setting the TZ variable correctly ensures your request history shows the right time.
3. Fire It Up
Launch the container in the background with one command:
docker compose up -dConfirm everything is running by checking the container status:
docker ps | grep jellyseerrConnecting the Dots: Integration
Head over to http://YOUR_SERVER_IP:5055 to start the setup wizard. While the wizard is intuitive, the backend connections require specific details to work correctly.
Linking Your Jellyfin Server
Jellyseerr needs to talk to Jellyfin to know what is already in your library. You will need your server URL and an API key. Create a key in Jellyfin by navigating to Dashboard > API Keys.
- Server URL: Use the local IP of your server. If they share a Docker network, you can use
http://jellyfin:8096. - Syncing: Choose which libraries to monitor, such as “4K Movies” or “Kids TV.” This stops users from requesting The Batman if you already have it.
Automating Radarr and Sonarr
This is where the magic happens. Go to Settings > Services to add your downloaders. For Radarr, you will need the API key found under Settings > General in the Radarr UI.
When adding a server, you must select a Quality Profile (like 1080p) and a Root Folder. I recommend creating a specific “Requests” profile. This allows you to limit requested files to 5GB, preventing users from accidentally filling your hard drives with 80GB 4K remuxes.
Testing the Full Workflow
Once configured, Jellyseerr will scan your library. For a collection of 1,000 movies, this usually takes about 5 to 10 minutes. Now, try searching for a movie you don’t own and hit Request.
Watch the automation kick in. Jellyseerr sends the instruction to Radarr. Radarr finds the torrent or NZB and starts the download. Once the file is finished and Jellyfin scans it, Jellyseerr automatically marks the request as “Available.”
Troubleshooting and Logs
If a request doesn’t show up in Radarr, check the logs immediately. Use this command to see real-time errors:
docker logs -f jellyseerrMost issues stem from simple typos in API keys or containers being unable to talk to each other across different Docker networks. Ensure all your media containers are on the same bridge network for the best results.
Professional Finishing Touches
Don’t forget to set up notifications. Under Settings > Notifications, you can connect a Discord Webhook. You will get a ping when a friend requests a show and another when it’s ready to watch. It makes your HomeLab feel like a premium, private streaming service rather than a DIY project.