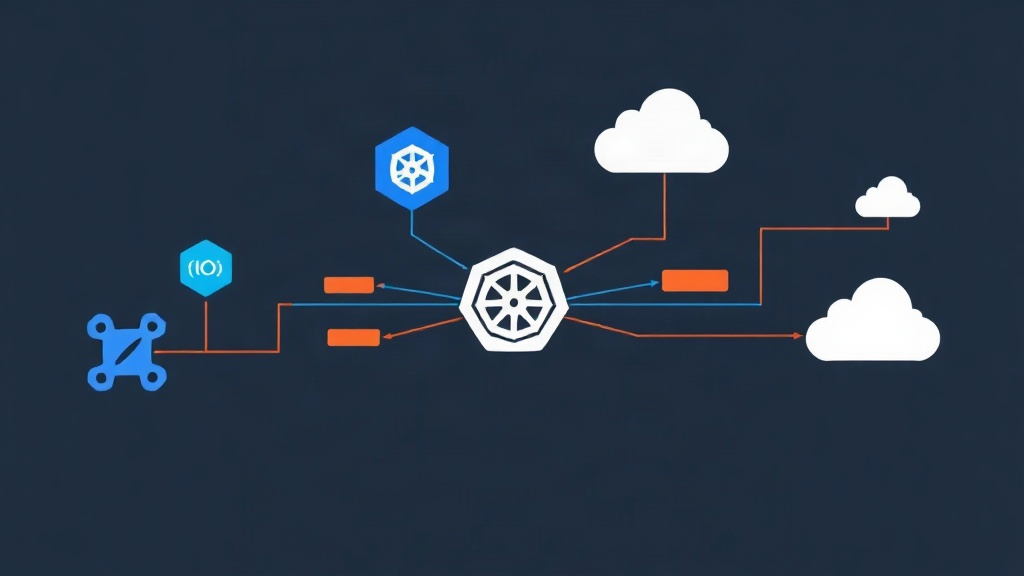
The Bare-metal Wall
Transitioning from a managed service like AWS EKS to a bare-metal environment usually feels great—until you try to expose a service. You create a Service with type: LoadBalancer, run kubectl get svc, and wait. Five minutes pass, then ten. The EXTERNAL-IP column stays stuck at <pending> indefinitely.
Then there is the Control Plane headache. In a production setup, a single master node is a ticking time bomb. But if you deploy three master nodes, your worker nodes and kubectl clients need a single, stable entry point. In the cloud, you’d just provision an NLB. On-prem, you are often left wondering how to bridge that gap without buying a $10,000 hardware load balancer.
I have wrestled with this exact setup while building private clouds for high-traffic environments. This approach has proven stable in clusters ranging from three-node home labs to 20-node production racks. It allows you to treat your physical hardware with the same flexibility as a top-tier cloud provider.
Why Your IP is Stuck at “Pending”
Kubernetes uses a modular design. It doesn’t actually know how to “create” a load balancer on its own. Instead, it expects a Cloud Controller Manager (CCM) to talk to an external API—like AWS or OpenStack—to provision a network resource and report the IP back.
When you run a vanilla cluster on physical servers, that CCM is missing. The cluster has no way to tell your local network: “Please route traffic for 192.168.1.50 to these specific nodes.” Without a mechanism to handle Layer 2 (ARP) or Layer 3 (BGP) announcements, your services will never receive an external IP. Your Control Plane will also lack a unified, highly available address.
Comparing Your Options
I tested several solutions before settling on Kube-vip. Here is how the landscape looks:
- Keepalived + HAProxy: This is the traditional Linux approach. While reliable, it requires managing configuration files outside of Kubernetes. This breaks the “infrastructure as code” flow and adds manual overhead during node scaling.
- MetalLB: This is a powerhouse for providing IPs to Services. However, MetalLB isn’t designed to provide a Virtual IP (VIP) for the Control Plane before the cluster exists. You often end up needing a different tool just to bootstrap the masters.
- Kube-vip: This is the all-in-one winner. It provides a VIP for the Control Plane via static pods and manages Service LoadBalancers via a DaemonSet. It is lightweight, fast, and lives entirely within the Kubernetes ecosystem.
The Solution: Using Kube-vip for Everything
Kube-vip acts as a multi-tool for networking. It handles API Server high availability and Service LoadBalancer logic in a single binary. Let’s set this up on a fresh cluster.
1. Bootstrapping the Control Plane VIP
The hardest part of an HA cluster is the initial start. You need the VIP to exist before kubeadm init runs. Kube-vip solves this by running as a Static Pod. The Kubelet will start it automatically before the rest of the cluster is even online.
Pick an unused IP in your subnet. For this example, I’ll use 192.168.1.50. Set up your environment variables first:
export VIP=192.168.1.50
export INTERFACE=eth0
KVVERSION=$(curl -sL https://api.github.com/repos/kube-vip/kube-vip/releases/latest | jq -r " .tag_name")
Next, generate the manifest for the Static Pod. We use the Kube-vip image itself to build the configuration:
docker run --network host --rm ghcr.io/kube-vip/kube-vip:$KVVERSION \
    manifest pod \
    --interface $INTERFACE \
    --address $VIP \
    --controlplane \
    --services \
    --arp \
    --leaderElection | tee /etc/kubernetes/manifests/kube-vip.yaml
When you execute kubeadm init --control-plane-endpoint "192.168.1.50:6443", the Kubelet detects the file in /etc/kubernetes/manifests/. It starts the container and immediately begins announcing the VIP via ARP. You now have a resilient entry point for your cluster.
2. Enabling the Service LoadBalancer
With the cluster running, we need to fix the <pending> status for our applications. While the Static Pod handles the masters, a DaemonSet handles the services. This ensures Kube-vip runs on all nodes and watches for new LoadBalancer requests.
Start by installing the RBAC settings. This gives Kube-vip the necessary permissions to watch your services:
kubectl apply -f https://kube-vip.io/manifests/rbac.yamlNow, deploy the Kube-vip Cloud Provider. This tiny controller manages the actual IP assignments:
kubectl apply -f https://raw.githubusercontent.com/kube-vip/kube-vip-cloud-provider/main/manifest/kube-vip-cloud-controller.yaml3. Defining Your IP Pool
Kube-vip needs to know which IPs are safe to use. You define this range using a ConfigMap. Create a file named global-config.yaml with a range that fits your network:
apiVersion: v1
kind: ConfigMap
metadata:
  name: kubevip
  namespace: kube-system
data:
  range-global: 192.168.1.100-192.168.1.150
Apply it: kubectl apply -f global-config.yaml. Now, whenever you deploy a service, Kube-vip will automatically pull an IP from this pool of 51 addresses.
Testing the Setup
To verify the plumbing is working, deploy a standard Nginx web server. It only takes a few seconds to confirm:
kubectl create deployment nginx-test --image=nginx
kubectl expose deployment nginx-test --port=80 --type=LoadBalancer
Check the status: kubectl get svc nginx-test. You should see a result like this:
NAME         TYPE           CLUSTER-IP   EXTERNAL-IP     PORT(S)        AGE
nginx-test   LoadBalancer   10.96.0.45   192.168.1.100   80:31234/TCP   5s
If you can curl 192.168.1.100 from another machine on your network, the setup is a success. You have successfully simulated a cloud environment on your own hardware.
Hard-Earned Lessons
Running Kube-vip in production has taught me a few critical lessons about local networking:
- Interface Consistency: Make sure your network interfaces (like
eth0orenp0s3) are named identically across all nodes. If one node uses a different name, the Kube-vip pod will crash on that specific host. - DHCP Reservations: Always exclude your VIP range (
192.168.1.100-150) from your DHCP server’s pool. Nothing breaks a cluster faster than a random office printer grabbing the same IP as your production database. - Failover Speed: In Layer 2 mode, failover usually happens in under 10 seconds. If you need sub-second failover for massive scale, consider moving to BGP mode, though it requires a BGP-compatible switch.
High availability on bare-metal doesn’t require a mountain of complex configuration. By using Kube-vip, you keep your networking logic inside the cluster. This makes your infrastructure easier to maintain, scale, and troubleshoot. It finally brings the “cloud-native” experience to physical servers.