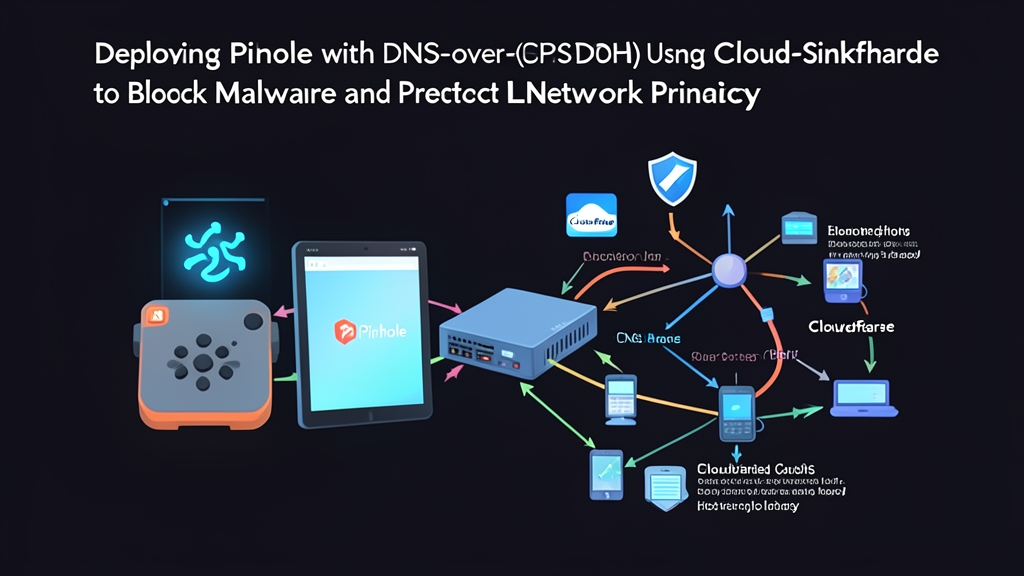
The Problem: Unencrypted DNS and Silent Telemetry Leakage
Every time a device on your local network connects to a web service, it starts with an unencrypted DNS query over UDP port 53. Smart TVs broadcast diagnostic telemetry, IoT appliances phone home to unknown endpoints, and operating systems emit background telemetry queries every few seconds. Because standard DNS lacks encryption, your Internet Service Provider (ISP) or anyone with passive eavesdropping access can log every single domain your household visits.
Standard ad blockers operate only inside browser runtimes, leaving smartphone applications, connected hardware, and background daemons completely unprotected. When malicious domains distribute malware or command-and-control payloads, standard endpoints resolve those IP addresses without friction.
The Root Cause: Plaintext Resolution and Missing Sinkholes
Legacy DNS protocol specifications were designed decades ago without privacy guarantees. Plaintext queries are vulnerable to man-in-the-middle tampering, DNS spoofing, and metadata harvesting. Upstream resolver redirection allows upstream operators to inject landing pages when NXDOMAIN responses occur.
To solve both tracking and surveillance, you need two layers working in tandem: a local DNS sinkhole that inspects domain lookups against security blocklists, and an encrypted transport wrapper (DNS-over-HTTPS) that shields outbound upstream queries from external inspection.
Quick Start (5 Min)
You can bring up Pi-hole and Cloudflared inside Docker in five minutes. After my server got hit by SSH brute-force attacks at midnight, I always prioritize security from initial setup, so ensure your host firewall only exposes port 53 to trusted internal subnets.
Save the following configuration as docker-compose.yml on your Linux host:
version: "3.8"

services:
  cloudflared:
    image: cloudflare/cloudflared:latest
    container_name: cloudflared
    restart: unless-stopped
    command: proxy-dns --port 5053 --address 0.0.0.0 --upstream https://1.1.1.1/dns-query --upstream https://1.0.0.1/dns-query
    networks:
      pihole_net:
        ipv4_address: 172.20.0.2

  pihole:
    image: pihole/pihole:latest
    container_name: pihole
    restart: unless-stopped
    ports:
      - "53:53/tcp"
      - "53:53/udp"
      - "8080:80/tcp"
    environment:
      TZ: "UTC"
      WEBPASSWORD: "ChangeThisSecurePassword123!"
      PIHOLE_DNS_: "172.20.0.2#5053"
      DNSSEC: "true"
    volumes:
      - ./etc-pihole:/etc/pihole
      - ./etc-dnsmasq.d:/etc/dnsmasq.d
    networks:
      pihole_net:
        ipv4_address: 172.20.0.3
    depends_on:
      - cloudflared

networks:
  pihole_net:
    driver: bridge
    ipam:
      config:
        - subnet: 172.20.0.0/24
Spin up the stack and verify that the containers are healthy:
docker compose up -d
docker compose ps
Verify DNS resolution through the sinkhole from your local terminal:
dig @127.0.0.1 -p 53 itfromzero.comThe query returns the resolved IP address, routed through Cloudflared over encrypted HTTPS. Access the Pi-hole management dashboard at http://<your-server-ip>:8080/admin using the password configured in the compose file.
Deep Dive: Architecture and Query Lifecycle
Understanding the exact route a network packet travels helps diagnose latency issues and policy drops.
1. Client Interception and Filtering
When an internal client (workstation, mobile phone, or smart thermostat) initiates a lookup for tracker.adnetwork.com, it transmits a standard UDP/TCP query to Pi-hole’s IP on port 53. Pi-hole references its memory-resident FTL engine (Faster Than Light DNS, built on top of dnsmasq).
If the domain exists in your blocklists or matches a regex pattern, Pi-hole immediately short-circuits the request and returns 0.0.0.0 (or NXDOMAIN). The connection never leaves your perimeter, cutting off tracking telemetry and preventing malicious payload downloads.
2. Forwarding to Cloudflared
If the domain is legitimate (e.g., itfromzero.com), Pi-hole inspects its local cache. On a cache miss, it forwards the query upstream to 172.20.0.2#5053, where Cloudflared listens.
3. DoH Encapsulation and TLS Handshake
Cloudflared takes the standard RFC 1035 wire-format query, packs it into an HTTP/2 or HTTP/3 payload (RFC 8484), and initiates an outbound TLS 1.3 tunnel over standard TCP port 443 to Cloudflare’s anycast endpoints (https://1.1.1.1/dns-query). From the viewpoint of upstream network monitors and your ISP, the packet looks identical to regular HTTPS web traffic, rendering deep-packet inspection and metadata logging ineffective.
Native Bare-Metal Installation (Alternative to Docker)
If you prefer running without container overhead on a lightweight Raspberry Pi or Debian minimal server, install Cloudflared natively:
sudo mkdir -p --mode=0755 /usr/share/keyrings
curl -fsSL https://pkg.cloudflare.com/cloudflare-main.gpg | sudo tee /usr/share/keyrings/cloudflare-main.gpg >/dev/null
echo "deb [signed-by=/usr/share/keyrings/cloudflare-main.gpg] https://pkg.cloudflare.com/cloudflared $(lsb_release -cs) main" | sudo tee /etc/apt/sources.list.d/cloudflared.list
sudo apt-get update && sudo apt-get install -y cloudflared
Create a dedicated service configuration in /etc/default/cloudflared:
CLOUDFLARED_OPTS="--port 5053 --address 127.0.0.1 --upstream https://1.1.1.1/dns-query --upstream https://1.0.0.1/dns-query"Configure systemd to supervise the daemon:
sudo useradd -s /usr/sbin/nologin -r -M cloudflared
sudo tee /etc/systemd/system/cloudflared.service <<EOF
[Unit]
Description=Cloudflared DNS-over-HTTPS Proxy
After=syslog.target network-online.target

[Service]
Type=simple
User=cloudflared
EnvironmentFile=/etc/default/cloudflared
ExecStart=/usr/local/bin/cloudflared proxy-dns $CLOUDFLARED_OPTS
Restart=on-failure
RestartSec=10
LimitNOFILE=1048576

[Install]
WantedBy=multi-user.target
EOF

sudo systemctl daemon-reload
sudo systemctl enable --now cloudflared
Test the local proxy directly on port 5053:
dig @127.0.0.1 -p 5053 cloudflare.com +shortAdvanced Usage
Configuring Fallback and Redundant Upstreams
Relying on a single DoH provider creates a potential point of failure. Cloudflared supports multiple upstream endpoints simultaneously and automatically load balances across them using health checks:
cloudflared proxy-dns \
  --port 5053 \
  --address 127.0.0.1 \
  --upstream https://1.1.1.1/dns-query \
  --upstream https://1.0.0.1/dns-query \
  --upstream https://dns.quad9.net/dns-query
Adding Quad9 provides secondary validation against malware-associated infrastructure, adding defense-in-depth at the resolution stage.
Strict DNSSEC Validation
Enable DNSSEC in your Pi-hole administrative dashboard under Settings > DNS > Use DNSSEC, or set DNSSEC=true in your container environment variables. Pi-hole will then verify cryptographic signatures on DNS records returned from signed zones. If a record has been modified or forged downstream, Pi-hole drops the lookup and flags a BOGUS response, preventing cache-poisoning attacks.
Local Domain Records and Conditional Forwarding
To resolve internal hosts (such as nas.home.local or proxmox.lan) while maintaining external sinkholing, add custom records directly in /etc/pihole/custom.list:
192.168.1.10 nas.home.local
192.168.1.20 hypervisor.home.local
Alternatively, navigate to Settings > DNS > Conditional Forwarding and point your local subnet’s reverse lookups back to your primary router or DHCP server.
Practical Tips
Prevent Hardcoded IoT DNS Bypasses
Many smart devices (such as Chromecast, security cameras, and smart TVs) ignore DHCP-assigned DNS servers and hardcode public resolvers like 8.8.8.8 or 1.1.1.1. To stop these devices from bypassing your sinkhole, add firewall rules on your router (such as pfSense, OPNsense, or OpenWrt) to intercept or block rogue port 53 traffic:
# Example iptables rule to redirect all outbound port 53 traffic to Pi-hole
iptables -t nat -A PREROUTING -i eth1 -p udp ! -d 192.168.1.5 --dport 53 -j DNAT --to-destination 192.168.1.5:53
iptables -t nat -A PREROUTING -i eth1 -p tcp ! -d 192.168.1.5 --dport 53 -j DNAT --to-destination 192.168.1.5:53
Replace 192.168.1.5 with the static IP address of your Pi-hole server.
Tuning Cache Size for High Performance
By default, Pi-hole caches 10,000 entries. For environments with many active containers or dozens of microservices generating high query volumes, tune the cache size to lower CPU utilization and avoid redundant upstream requests. Create a custom configuration file at /etc/dnsmasq.d/02-custom-cache.conf:
cache-size=25000
min-cache-ttl=300
Restart the DNS resolver service to apply the new limits:
pihole restartdnsAutomating Blocklist Updates and Backups
Pi-hole updates gravity lists weekly via cron, but maintaining custom blacklists and whitelists requires backup discipline. Use the Pi-hole Teleporter feature to extract configurations automatically with a nightly cron task:
pihole -a -t /var/backups/pihole/pihole-backup-$(date +\%F).tar.gzPair this backup command with your external backup script to ensure fast recovery if your host storage fails.