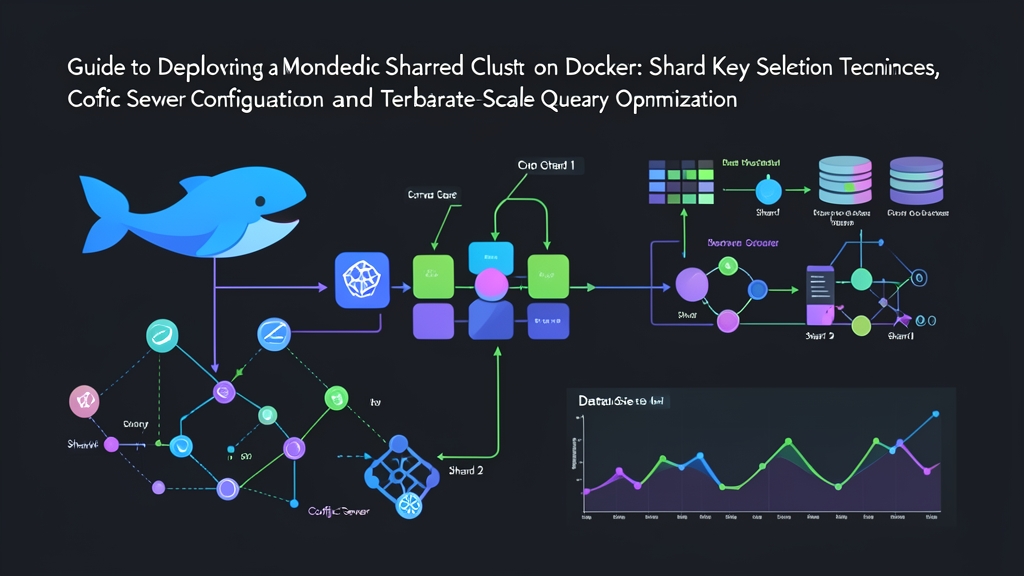
Problem Statement: Surviving the Monolithic Database Bottleneck
Scaling a database vertically works reliably until hardware ceilings stop you in your tracks. When datasets surpass 3 to 5 terabytes and steady writes saturate your NVMe disks at 40,000 IOPS, adding more RAM to a single primary replica node no longer solves the problem. Memory starves quickly. The WiredTiger working set constantly evicts pages to disk. Nightly logical backups stretch from 45 minutes to 8 grueling hours, directly dragging down user-facing throughput.
Horizontal partitioning—sharding—solves this bottleneck by splitting large collections across distinct server groups. Yet sharding is no silver bullet; it trades hardware constraints for distributed system complexity.
Choose the wrong shard key or misconfigure your cluster, and unindexed scatter-gather queries will destroy performance faster than any single-node disk bottleneck ever could. Testing these topologies directly on AWS or GCP burns cash quickly. Spinning up a multi-component cluster locally with Docker gives you a fast, zero-cost sandbox to benchmark routing behavior before committing production traffic.
Core Concepts: Deconstructing the MongoDB Sharded Architecture
Every operational MongoDB sharded cluster relies on three core components working in tandem:
- Config Server Replica Set (CSRS): The brain of the cluster. Config servers store authoritative metadata, cluster routing tables, and collection chunk boundaries. In MongoDB 3.4 and later, config servers must run as a replica set to enforce distributed transactions across metadata changes.
- Mongos Query Routers: Lightweight, stateless proxies that sit between your applications and the data nodes. Application drivers never talk directly to individual shards; they query a
mongosprocess. The router reads metadata cached from the config servers and directs each operation to the specific shard holding those records. - Shard Replica Sets: The workhorses holding your partition subsets, known as chunks. Each shard handles reads and writes exclusively for its assigned data ranges. In a live deployment, every shard is its own multi-node replica set with dedicated primaries and secondaries.
The Crucial Decision: Selecting an Effective Shard Key
Shard keys cannot be changed lightly once data spreads across nodes. An impulsive pick locks in technical debt that requires painful offline rebuilds. You must balance three competing requirements:
- High Cardinality: Pick fields with millions of distinct values, such as an internal
account_uuidororder_id. Low-cardinality fields likestatus(e.g., active, pending, archived) create giant “jumbo chunks.” Once a chunk with identical key values exceeds the default 64MB limit, MongoDB cannot split it, leaving data stranded unevenly across disks. - Write Distribution (Avoiding Hotspots): Sequential values like auto-incrementing integers or standard BSON
ObjectIdtimestamps route every insert to a single active chunk on one shard. This overloads one node while others sit idle. A hashed shard key like{ "account_id": "hashed" }uses MD5 hashing to scatter sequential writes evenly across every shard in your cluster. - Query Isolation: Hashed keys distribute writes evenly, but they penalize range reads. When you query a hashed field with
$gtor$lt,mongoscannot pinpoint the destination. It issues an expensive “scatter-gather” query, pinging every shard simultaneously. For multi-tenant systems where 90% of requests include an organization identifier, use a compound key like{ "tenant_id": 1, "created_at": 1 }. This guarantees pinpoint single-shard routing while keeping chronological range queries fast within each tenant boundary.
Hands-On Practice: Building the Cluster on Docker
This deployment spins up a complete sandbox: one Config Server replica set, two separate Shard replica sets, and one mongos query router connected through an isolated Docker bridge network.
Step 1: Define the Docker Compose Infrastructure
Save the following service definitions as docker-compose.yml:
version: '3.8'

networks:
  mongo-shard-net:
    driver: bridge

services:
  # Config Server Replica Set member
  configsvr01:
    image: mongo:7.0
    container_name: configsvr01
    command: mongod --configsvr --replSet configReplSet --port 27019 --bind_ip_all
    networks:
      - mongo-shard-net
    ports:
      - "27019:27019"

  # Shard 01 Replica Set member
  shard01-a:
    image: mongo:7.0
    container_name: shard01-a
    command: mongod --shardsvr --replSet shard01ReplSet --port 27018 --bind_ip_all
    networks:
      - mongo-shard-net
    ports:
      - "27018:27018"

  # Shard 02 Replica Set member
  shard02-a:
    image: mongo:7.0
    container_name: shard02-a
    command: mongod --shardsvr --replSet shard02ReplSet --port 27018 --bind_ip_all
    networks:
      - mongo-shard-net
    ports:
      - "27028:27018"

  # Mongos Query Router
  mongos:
    image: mongo:7.0
    container_name: mongos
    command: mongos --configdb configReplSet/configsvr01:27019 --bind_ip_all --port 27017
    depends_on:
      - configsvr01
      - shard01-a
      - shard02-a
    networks:
      - mongo-shard-net
    ports:
      - "27017:27017"
Launch all containers in the background:
docker compose up -dStep 2: Initialize Config Server and Shard Replica Sets
Before mongos can route traffic, each underlying replica set must be initialized. Run these commands directly through mongosh inside the running containers:
# Initialize the Config Server
docker exec -it configsvr01 mongosh --port 27019 --eval '
  rs.initiate({
    _id: "configReplSet",
    configsvr: true,
    members: [{ _id: 0, host: "configsvr01:27019" }]
  })
'

# Initialize Shard 01
docker exec -it shard01-a mongosh --port 27018 --eval '
  rs.initiate({
    _id: "shard01ReplSet",
    members: [{ _id: 0, host: "shard01-a:27018" }]
  })
'

# Initialize Shard 02
docker exec -it shard02-a mongosh --port 27018 --eval '
  rs.initiate({
    _id: "shard02ReplSet",
    members: [{ _id: 0, host: "shard02-a:27018" }]
  })
'
Step 3: Register Shards with the Query Router
Next, attach the initialized shards to the cluster by pointing mongos to their replica set identifiers:
docker exec -it mongos mongosh --port 27017 --eval '
  sh.addShard("shard01ReplSet/shard01-a:27018");
  sh.addShard("shard02ReplSet/shard02-a:27018");
'
Check cluster topology and ensure both shards show up healthy:
docker exec -it mongos mongosh --port 27017 --eval 'sh.status()'Step 4: Enable Sharding and Seed Test Data
To partition collection records, enable sharding at the database level first, build an index on your chosen key, and define the partitioning rule. Here, we partition an analytics collection using a hashed customerId:
docker exec -it mongos mongosh --port 27017 --eval '
  sh.enableSharding("analytics_db");
  use analytics_db;
  db.events.createIndex({ "customerId": "hashed" });
  sh.shardCollection("analytics_db.events", { "customerId": "hashed" });
'
If you work with raw CSV exports from analytics pipelines, convert them into newline-delimited JSON before ingestion. A quick option is toolcraft.app/en/tools/data/csv-to-json, which runs entirely in the browser without sending source data off your machine. Once you have your JSON lines file ready, import the payload through mongos:
docker cp seed_events.json mongos:/tmp/seed_events.json
docker exec -it mongos mongoimport --db analytics_db --collection events --file /tmp/seed_events.json
Step 5: Terabyte-Scale Optimization Checklist
As datasets exceed 10 terabytes, default configurations start showing strain. Tune these key areas to keep production operations stable:
- Targeted Queries vs. Scatter-Gather: Always inspect slow query plans using
explain("executionStats"). Look forSINGLE_SHARDin the output. If you seeSHARD_MERGEon routes handling 500+ requests per second, your query is hitting all nodes unnecessarily. Prefix your queries with the shard key to isolate them immediately. - Confine Chunk Balancing to Off-Peak Hours: Chunk balancing moves 64MB data blocks over the network, spiking CPU, disk I/O, and replication lag. Restrict the balancer to off-peak maintenance windows so it never competes with your daytime traffic:
sh.setBalancerState(true);
db.getSiblingDB("config").settings.updateOne(
  { _id: "balancer" },
  { $set: { activeWindow: { start: "02:00", stop: "05:30" } } },
  { upsert: true }
);- Pre-split Chunks for Bulk Migrations: Pumping 500GB into an empty sharded collection triggers non-stop runtime splits and re-balancing. Your ingest throughput drops as nodes fight over lock acquisitions. Avoid this by manually creating split points and distributing chunks across all shards before streaming the data:
// Pre-allocate chunk ranges for hashed keys across a 64-bit integer space
for (let i = -8; i < 8; i += 2) {
  let splitPoint = NumberLong(i * 1152921504606846976n);
  sh.splitAt("analytics_db.events", { customerId: splitPoint });
}
Conclusion
Horizontal scaling buys immense storage capacity and throughput, but it brings extra network hops and operational discipline along with it. Running this Docker environment exposes the moving parts up close: config server state, proxy routing, and cross-node chunk distribution.
Before deploying to production bare metal or managed cloud instances, benchmark your actual read-to-write ratios. Run explain() against your top 10 queries, verify that the balancer stays quiet during peak traffic, and ensure your shard key isolates reads while spreading writes evenly.