The Problem: The Hidden Costs of Cloud PaaS and Bare-Metal Drift
Last year, our cloud hosting bill crossed $840 per month. We were running a modest collection of staging APIs, three production Next.js apps, background workers, and two PostgreSQL instances across Heroku and AWS App Runner. The platform convenience was fantastic, but the resource markup had become absurd. A single 2GB RAM container was costing us five times what equivalent raw compute would on a standard VPS provider.
Going back to bare metal was tempting. Yet raw VPS setups come with their own headaches: manual Docker Compose files, fragile cron-based SSL renewals, and brittle bash deployment scripts. We wanted git-push deployments, automatic preview environments, and instant database provisioning without the $800 monthly bill. Coolify solved that middle ground.
Core Concepts: How Coolify Architecture Works
Coolify is an open-source, self-hosted platform-as-a-service (PaaS). It does not replace Docker or invent a custom container engine. Instead, it wraps standard Linux tools, Docker APIs, and reverse proxies inside a clean web interface.
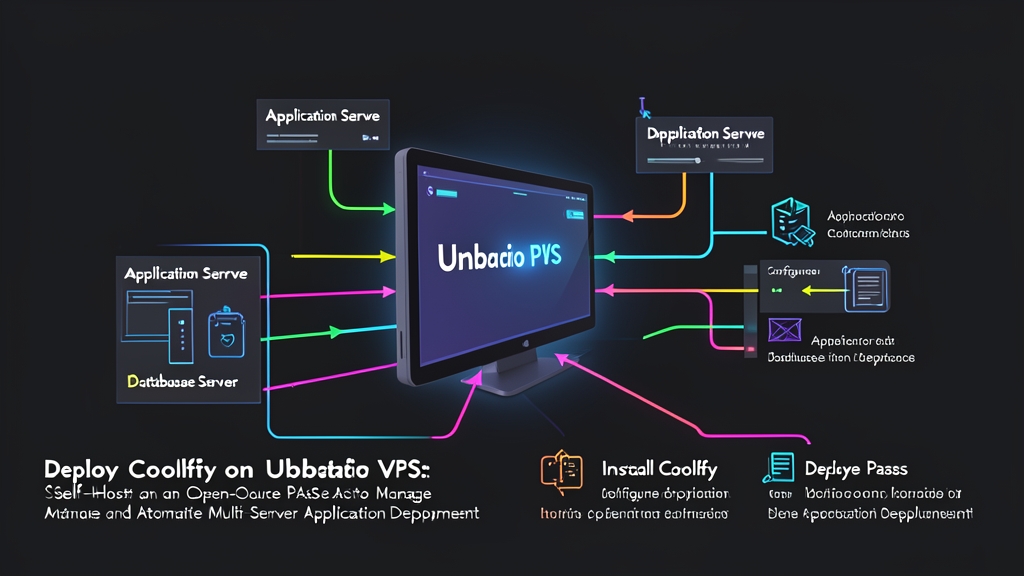
Control Plane vs. Remote Workers
The system separates administrative management from application workloads:
- Coolify Instance (Control Plane): Runs the web interface, an internal SQLite or PostgreSQL database for application state, Redis queues, and deployment task runners.
- Destination Servers (Workers): Any clean Ubuntu or Debian server reachable over SSH. Coolify controls remote workers through native SSH keys and standard Docker socket commands. You do not need to install resource-heavy third-party agents on your application nodes.
Traefik Reverse Proxy & Automated Edge Routing
Traefik serves as Coolify’s default edge router. Every time you spin up a service, Traefik inspects the container’s Docker labels. It maps your public hostname, routes inbound HTTP requests to the target container’s internal port, and automatically requests free Let’s Encrypt TLS certificates. The entire routing process happens on the fly with zero config reloads.
Native Multi-Server Topology
Single-node setups put both your dashboard and production traffic on the same machine. That is risky. If a deployment spikes memory and triggers the Linux Out-Of-Memory (OOM) killer, it can knock your control panel offline. Coolify avoids this by letting you run a lightweight $5/month VPS (2GB RAM) strictly for the dashboard, while offloading production workloads across separate $10 to $20 VPS instances.
Hands-on Practice: Deploying Coolify on Ubuntu 22.04/24.04
Here is the exact production setup we run across our infrastructure on fresh Ubuntu 22.04 or 24.04 LTS installations.
Step 1: Preparing and Hardening the Ubuntu Host
Provision an Ubuntu server with at least 2 vCPUs, 2GB RAM, and 30GB of SSD storage. Log in via SSH, update packages, and set up basic firewall rules with UFW:
sudo apt update && sudo apt upgrade -y
sudo apt install -y curl ufw fail2ban

# Configure firewall rules
sudo ufw default deny incoming
sudo ufw default allow outgoing
sudo ufw allow 22/tcp
sudo ufw allow 80/tcp
sudo ufw allow 443/tcp
sudo ufw allow 8000/tcp
sudo ufw enable
Port 8000 serves the initial setup UI. Ports 80 and 443 handle web traffic and Let’s Encrypt validation checks. Note: Docker by default can bypass UFW rules via iptables; if you need strict port exposure limits, configure Docker’s daemon to respect firewall tables before exposing sensitive backend services.
Step 2: Installing the Coolify Control Plane
Coolify provides a single bootstrap script. It installs Docker Engine, docker-compose plugins, and pulls all necessary core containers. Run this command as root or a user with sudo privileges:
curl -fsSL https://cdn.coollabs.io/coolify/install.sh | bashInstallation takes roughly two minutes. When the script outputs completion details, open your browser and visit:
http://<your-server-ip>:8000Register your administrator account right away. This first user automatically receives root administrative privileges.
Step 3: Attaching a Remote Worker Server
Separating environments prevents noisy neighbor problems. To hook up an external worker server:
- Generate an SSH key in the Coolify dashboard under Keys & Tokens.
- Copy the generated public key and add it to
/root/.ssh/authorized_keyson your worker VPS. - Install Docker on the remote worker:
# Run directly on your remote worker VPS
curl -fsSL https://get.docker.com | sh
sudo usermod -aG docker $USER- In your Coolify dashboard, navigate to Servers > + Add Server. Input the worker’s public IP address, pick the SSH key you configured, and click Validate & Save. Coolify will connect, check Docker daemon health, and start a Traefik edge proxy on the worker.
Step 4: Deploying a Multi-Container Application via Git Webhooks
With servers connected, you can deploy applications directly from code repositories:
- Link your GitHub, GitLab, or self-hosted Gitea account under Sources.
- Open Projects, click Add New Project, and create a Production environment.
- Select Application, then choose your repository and branch (such as
main). Pick your preferred build pack: Nixpacks (automatic language detection), a plainDockerfile, or adocker-compose.ymlfile. - Enter your environment variables. Coolify encrypts these secrets at rest in its PostgreSQL store.
- Set your production domain under settings (e.g.,
api.yourdomain.com). Make sure your DNS A-record points to the worker server’s IP address. - Click Deploy.
Coolify triggers the build container, runs health checks, updates Traefik routes, and provisions SSL certificates. Any subsequent push to your target git branch triggers an automatic rolling deployment.
Step 5: Automated Maintenance and Backup Routines
Unattended container environments fill up disk space quickly with stale build caches and dangling images. Head to Server Settings and enable automated Docker cleanup. We configure our instances to prune dangling images whenever disk utilization exceeds 80%.
For stateful databases like PostgreSQL or MariaDB, configure scheduled automated dumps under the database’s Backups tab. Coolify can upload gzip-compressed SQL dumps directly to any S3-compatible bucket (such as AWS S3, Cloudflare R2, or MinIO). We schedule our database backups daily at 02:00 UTC with a 14-day retention cycle.
Conclusion: 6 Months Later
Half a year into this architecture, our team runs 16 microservices, five background workers, and three production databases across two $14 Hetzner worker nodes and one $6 control plane instance. Our monthly hosting cost dropped from $840 to under $40.
The control plane consumes roughly 520MB of RAM at idle. Build times through Nixpacks average 90 seconds, and we haven’t touched a manual SSH deployment script since the migration. Self-hosting a PaaS requires basic sysadmin discipline, but Coolify removes the friction without locking you into proprietary cloud pricing.