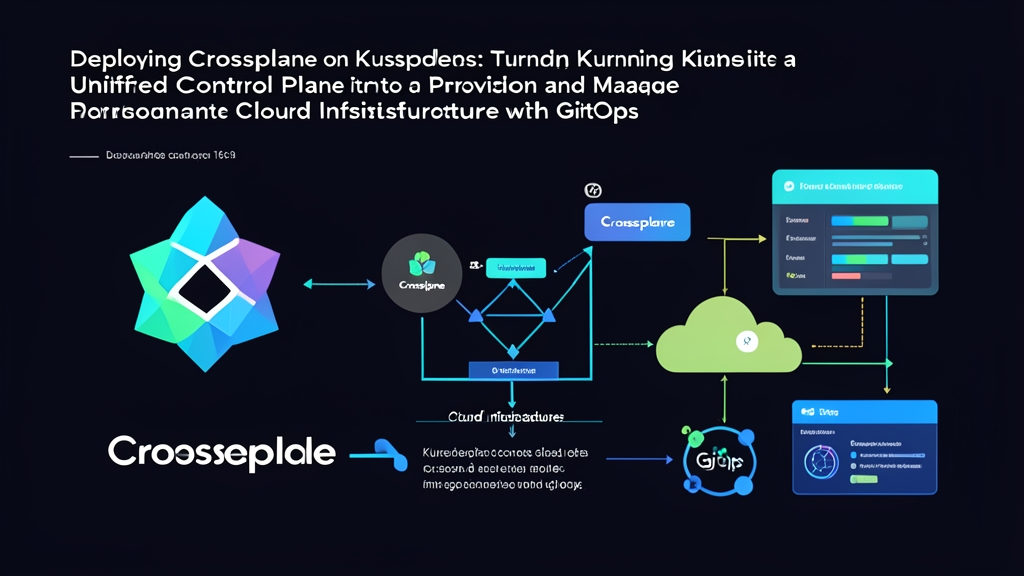
Approach Comparison: Traditional IaC Pipelines vs. Kubernetes-Native Control Planes
Six months ago, our platform engineering team hit a wall with our traditional infrastructure workflow. Like many shops, we relied on Terraform managed through Jenkins and GitHub Actions. Application manifests lived in Git and synced to Kubernetes clusters via Argo CD, but cloud dependencies—S3 buckets, RDS databases, and IAM roles—lagged behind in disconnected CI jobs.
Managing infrastructure through event-driven CI pipelines works until it doesn’t. Running a continuous control loop is an entirely different operational model:
- Execution Model: Terraform relies on point-in-time execution. A pipeline runs
terraform planandapplyduring pull request merges. If an engineer widens a security group in the AWS console ten minutes later, that drift sits unnoticed until the next deploy. Crossplane operates continuously. Built on Kubernetes Custom Resource Definitions (CRDs) and controllers, it polls cloud provider APIs every 60 seconds to pull live infrastructure back to your declared Git state. - API and Access Uniformity: Traditional setups force developers to juggle HCL syntax, cloud CLIs, and AWS IAM roles alongside Kubernetes manifests. Crossplane unifies everything under Kubernetes API standards. An Amazon RDS instance or S3 bucket behaves just like a native
DeploymentorService. - GitOps Integration: Running Terraform through Argo CD or Flux requires awkward wrapper scripts and runner pods like
tf-controller. Crossplane removes that layer entirely. Because cloud resources are standard Kubernetes manifests, your GitOps engine monitors, diffs, and syncs cloud infrastructure through your existing PR review process. - Secret Management: Wiring Terraform outputs into pods often demands custom glue: Vault synchronization jobs, AWS Secrets Manager operators, or bash scripts. Crossplane handles this directly. It automatically writes endpoints, usernames, and generated credentials into native Kubernetes
Secretobjects, ready for your pods to consume.
Pros and Cons After 6 Months in Production
Migrating our infrastructure into Kubernetes cut database provisioning times from 45 minutes to under 3 minutes across our 35-person engineering team. Developers now order infrastructure with a simple 15-line pull request instead of filing tickets. Still, turning Kubernetes into an infrastructure control plane brings distinct trade-offs. Here is what we learned from six months of production traffic.
The Advantages
- Automated Drift Correction: Crossplane queries cloud APIs every minute. When an engineer recently tweaked an RDS parameter group in the AWS console during an incident, Crossplane detected the divergence within 60 seconds and reverted it to the Git baseline.
- Custom Self-Service APIs: Composite Resource Definitions (XRDs) let senior engineers package complex topologies into clean abstractions. We bundled a VPC, private subnets, security groups, and an Aurora cluster into an
AppDatabaseCRD. Product teams configure storage capacity and engine versions without touching low-level networking. - Unified RBAC and Policy Guards: Instead of managing separate permissions across 12 AWS accounts, our security team defines access with Kubernetes RBAC. Kyverno policies validate infrastructure specs on submission, rejecting unencrypted storage or public endpoints before Crossplane ever calls AWS.
The Challenges
- High Memory Footprint: Upjet-based providers load comprehensive schemas for hundreds of cloud APIs. When we initially deployed the full
provider-awssuite, its controller consumed 3.4 GB of RAM. Scoped providers reduce that pressure, but controllers still need dedicated node capacity. - Steeper Troubleshooting Curve: When provisioning fails due to an IAM misconfiguration, you won’t get a tidy terminal diff. Errors hide inside
kubectl describeevents, resource status blocks, or provider controller logs. Developers accustomed to Terraform’s clear plan output need time to adapt. - Namespace Deletion Hazards: Running
kubectl delete namespacecascades deletions to every managed resource inside it. Without safeguards, Crossplane will delete the matching production databases and storage buckets in AWS. You must setdeletionPolicy: Orphanon critical resources and enforce it with admission webhooks.
Recommended Setup for Production
Running Crossplane controllers alongside customer workloads introduces noisy-neighbor problems and expands your security blast radius. Follow these four production guidelines:
- Dedicated Management Cluster: Run Crossplane in an isolated, lightweight control cluster (we use three
t4g.largenodes). This cluster hosts Crossplane, Argo CD, and secrets operators, orchestrating cloud resources across staging and production accounts from a single secured hub. - Fine-Grained Scoped Providers: Skip monolithic provider packages. Deploying targeted modules like
provider-aws-s3andprovider-aws-rdscut our cluster CRD count from over 900 to 68, slashing API server memory usage by roughly 60%. - Workload Identity Authentication: Never mount long-lived cloud credentials in cluster secrets. Use AWS IAM Roles for Service Accounts (IRSA) or GCP Workload Identity. Pods exchange short-lived OIDC tokens for temporary cloud permissions that rotate automatically.
- Enforce Orphan Deletion Policies: Configure
spec.deletionPolicy: Orphanon production databases, VPCs, and storage buckets. If someone accidentally deletes the Kubernetes manifest, the underlying cloud resource stays alive in AWS until manual intervention.
Implementation Guide: Provisioning Cloud Resources with Crossplane
This tutorial sets up Crossplane on a Kubernetes cluster, configures the modular AWS S3 provider using IRSA, and provisions an S3 bucket via GitOps.
Step 1: Install Crossplane via Helm
Add the official Crossplane chart repository and install the core controllers into a dedicated namespace:
helm repo add crossplane-stable https://charts.crossplane.io/stable
helm repo update

helm install crossplane crossplane-stable/crossplane \
  --namespace crossplane-system \
  --create-namespace \
  --set args='{"--enable-composition-functions=true"}'
Verify that both the core controller and the RBAC manager pods reach Running status:
kubectl get pods -n crossplane-systemStep 2: Install the Scoped AWS S3 Provider
Deploy the modular S3 provider to manage buckets without loading unnecessary AWS services into memory:
cat <<EOF | kubectl apply -f -
apiVersion: pkg.crossplane.io/v1
kind: Provider
metadata:
  name: provider-aws-s3
spec:
  package: xpkg.upbound.io/upbound/provider-aws-s3:v1.3.0
EOF
Wait until both the INSTALLED and HEALTHY columns display True:
kubectl get provider provider-aws-s3 -wStep 3: Configure Cloud Authentication via ProviderConfig
Once you annotate the provider’s ServiceAccount with your AWS IAM Role ARN via IRSA, create a ProviderConfig to enable pod authentication:
cat <<EOF | kubectl apply -f -
apiVersion: aws.upbound.io/v1beta1
kind: ProviderConfig
metadata:
  name: aws-provider-config
spec:
  credentials:
    source: InjectedIdentity
EOF
Step 4: Provision an S3 Bucket via Managed Resource
Declare the S3 bucket as a native Kubernetes manifest:
cat <<EOF | kubectl apply -f -
apiVersion: s3.aws.upbound.io/v1beta1
kind: Bucket
metadata:
  name: app-analytics-production-data-2026
  labels:
    environment: production
    managed-by: crossplane
spec:
  forProvider:
    region: us-east-1
  deletionPolicy: Orphan
  providerConfigRef:
    name: aws-provider-config
EOF
Step 5: Verify Synchronization and Drift Detection
Check the managed resource status using kubectl:
kubectl get bucket app-analytics-production-data-2026Review the output for two key health indicators:
- READY: Turns
Trueonce AWS finishes provisioning the bucket. - SYNCED: Turns
Truewhen Crossplane’s reconciliation loop successfully matches the remote AWS bucket with your YAML declaration.
To view detailed reconciliation logs or inspect IAM permission errors, run:
kubectl describe bucket app-analytics-production-data-2026Test drift reconciliation yourself. Log in to the AWS console and manually add a tag or modify the bucket policy. Within 60 seconds, Crossplane identifies the drift and restores the parameters declared in your manifest. Cloud infrastructure now flows through the exact same GitOps lifecycle as your application deployments.