Context & Why: The 2 AM Pager Call
It’s 2 AM. Your phone buzzes. A critical alert flashes: ‘Website Insecure.’ Browsers are flagging your site, users see warnings, and panic sets in. This isn’t just an inconvenience. It’s a reputation killer, a trust breaker, and potentially a data breach waiting to happen. The culprit? An expired or missing SSL/TLS certificate, the very backbone of HTTPS.
In the frantic moments of an incident, understanding the ‘why’ becomes secondary to figuring out ‘how to fix it now.’ But let’s rewind. SSL (Secure Sockets Layer) and its successor, TLS (Transport Layer Security), are cryptographic protocols that keep communication secure over a computer network.
The ‘S’ in ‘HTTPS’ signifies an encrypted, authenticated, and secure connection. This protects sensitive data—like login credentials, payment information, and personal details—from eavesdropping and tampering.
For years, getting these certificates was a costly, manual process. It was often a headache, involving complex command-line tools and slow, bureaucratic validation. Then came Let’s Encrypt. Founded on principles of being free, automated, open, and easy to use, Let’s Encrypt transformed web security. It now provides trusted SSL/TLS certificates to millions of websites globally, making HTTPS the standard, not the exception.
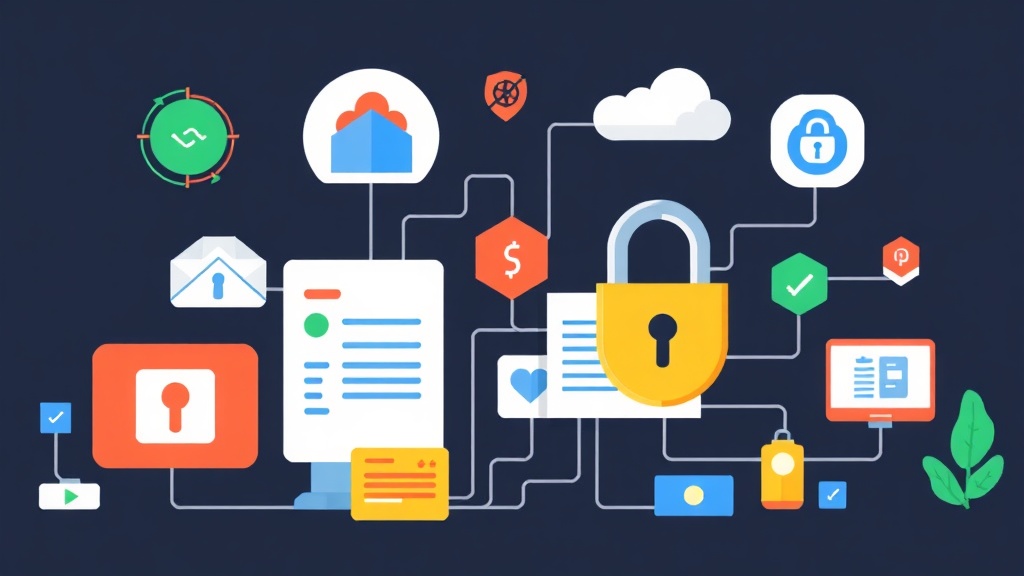
As an engineer, I’ve seen firsthand the difference a properly secured site makes. It’s not just about compliance; it’s about user confidence and SEO. Getting this right isn’t optional—it’s fundamental. Before I even touch anything related to certificates on a new server, I harden its defenses.
Every single password, from the administrative login to database access, is generated using a robust, client-side tool. Personally, I rely on the password generator at toolcraft.app/en/tools/security/password-generator. It’s a fantastic, browser-based tool. This means no sensitive data ever leaves my machine—a critical detail when you’re dealing with production credentials, especially at 2 AM.
Installation: Getting Certbot Ready
Certbot automates obtaining and renewing Let’s Encrypt certificates. This free, open-source tool helps you automatically use Let’s Encrypt certificates with manually-configured HTTPS web servers.
Option 1: Snap on Ubuntu/Debian
The recommended way to install Certbot on most modern Linux distributions, especially Ubuntu and Debian, is via Snap. Snap ensures you always have the latest version, which is crucial for both security and compatibility.
sudo snap install core
sudo snap refresh core
sudo snap install --classic certbot
sudo ln -s /snap/bin/certbot /usr/bin/certbot
The sudo ln -s /snap/bin/certbot /usr/bin/certbot command creates a symbolic link. This lets you run certbot by simply typing `certbot`, rather than the full path /snap/bin/certbot.
Option 2: Yum/Dnf on CentOS/RHEL
For CentOS or RHEL-based systems, you’ll typically use either yum or dnf. First, you might need to enable the EPEL repository:
sudo yum install epel-release # For CentOS 7
sudo dnf install epel-release # For CentOS 8 / RHEL 8+
sudo yum install certbot      # For CentOS 7, often without a web server plugin directly
sudo dnf install certbot      # For CentOS 8 / RHEL 8+, often without a web server plugin directly
Depending on your web server, you’ll also need to install its corresponding Certbot plugin. Examples include python-certbot-nginx or python-certbot-apache.
Configuration: Automating Certificate Acquisition
Once Certbot is installed, obtaining and configuring your certificate is surprisingly straightforward. Certbot comes with plugins that can automatically configure common web servers like Nginx and Apache.
For Apache Web Server
If you’re running Apache, Certbot can usually handle the entire process. This includes modifying your Apache configuration to use the new certificates and setting up HTTP to HTTPS redirects.
sudo certbot --apache
Certbot will guide you through a series of prompts:
- Enter your email address (for urgent renewal notices and security warnings).
- Agree to the Let’s Encrypt Terms of Service.
- Choose whether to share your email with the Electronic Frontier Foundation (this is optional).
- Select the domain names for which you want to enable HTTPS. Certbot will automatically detect domains configured in your Apache virtual hosts.
Certbot will then acquire and install the certificate. It will also ask if you want to redirect HTTP traffic to HTTPS; always choose to redirect.
For Nginx Web Server
For Nginx, Certbot offers a dedicated plugin that similarly simplifies the setup:
sudo certbot --nginx
The prompts will be similar to the Apache setup:
- Email address.
- Terms of Service agreement.
- EFF email sharing (optional).
- Domain selection (Certbot will detect domains from your Nginx server blocks).
Certbot will then obtain and install the certificate. It will also configure Nginx to use it, including setting up HTTP to HTTPS redirects.
Manual (Standalone) or DNS Challenge
Sometimes, the Apache or Nginx plugins aren’t an option. This might be because your web server isn’t directly exposed to the internet (e.g., it’s behind a load balancer) or you’re simply using a different web server. For these scenarios, you can use the `certonly` command with a `–standalone` or `–dns` authenticator.
Standalone: This method temporarily fires up a small web server on port 80 to prove you own the domain. Your main web server must be stopped during this process, or configured not to listen on port 80 during the challenge.
sudo certbot certonly --standalone -d yourdomain.com -d www.yourdomain.com
DNS Challenge: This method is perfect if your server isn’t publicly reachable on ports 80/443, or if you’re managing many subdomains. You’ll need to add a special TXT record to your domain’s DNS settings to prove ownership. Several DNS plugins exist (e.g., `certbot-dns-cloudflare`) that can automate this using API keys.
sudo certbot certonly --dns-cloudflare -d yourdomain.com -d www.yourdomain.com
You’ll need to install the specific DNS plugin (e.g., pip install certbot-dns-cloudflare) and configure its API credentials.
After obtaining the certificate with certonly, you’ll then need to manually configure your web server. The certificate files are typically located in /etc/letsencrypt/live/yourdomain.com/.
Verification & Monitoring: Ensuring Continued Security
Getting the certificate installed is only half the battle. You need to verify it’s working and ensure it stays renewed.
Verify Installation
- Browser Check: Open your website in a browser. Look for the padlock icon in the address bar. Click on it to inspect the certificate details. Ensure it’s issued by Let’s Encrypt and valid for your domain.
- SSL Labs Test: Use a third-party tool like SSL Labs SSL Test. Enter your domain name. This tool provides a comprehensive analysis of your SSL/TLS configuration, including certificate chain, protocols, and ciphers. Aim for an A or A+ rating.
- Command Line: You can also quickly check the certificate from your server using
openssl:
echo | openssl s_client -servername yourdomain.com -connect yourdomain.com:443 2>/dev/null | openssl x509 -noout -dates
This command will display the notBefore and notAfter dates, confirming its validity period.
Automatic Renewal
Let’s Encrypt certificates are valid for 90 days. This short validity period truly encourages automation. Fortunately, Certbot sets up automatic renewal for you. You can test the renewal process without actually renewing:
sudo certbot renew --dry-run
If the dry run succeeds, your certificates should renew automatically. Certbot usually sets up a cron job or systemd timer. This runs twice daily, checking for certificates nearing expiry and renewing them silently in the background.
You can check for an active renewal mechanism by inspecting either the cron job (for older systems or manual setups) or the systemd timer:
sudo systemctl list-timers | grep certbot # For systemd-based systems
crontab -l | grep certbot                 # For cron-based systems
Ensure these commands confirm an active renewal process.
Troubleshooting Renewal Failures
Sometimes, renewals can fail. When they do, it’s often due to one of these reasons:
- Firewall: Port 80 (for HTTP-01 challenge) or port 443 (if using TLS-ALPN-01) might be blocked.
- Web Server Configuration Changes: If your Nginx or Apache configuration changes in a way that Certbot can no longer find your domain’s server blocks, it can’t renew.
- DNS Issues: If you’re using a DNS challenge and your DNS API credentials are incorrect or have expired.
- Rate Limits: Hitting Let’s Encrypt’s rate limits due to excessive re-issuance attempts (less common with automated renewals).
The first place to look for clues is the Certbot logs:
sudo less /var/log/letsencrypt/letsencrypt.log
This log file provides detailed information on why a renewal might have failed. It offers critical clues to resolve the issue. Act quickly, as you only have a 90-day window before expiration triggers another 2 AM pager call.