Breaking the Single-Node Curse
For years, I ran a single Proxmox node. It was fine until it wasn’t. Every time I needed to swap a rattling fan or add a stick of RAM, my entire digital life—Home Assistant, dev databases, and media servers—went dark.
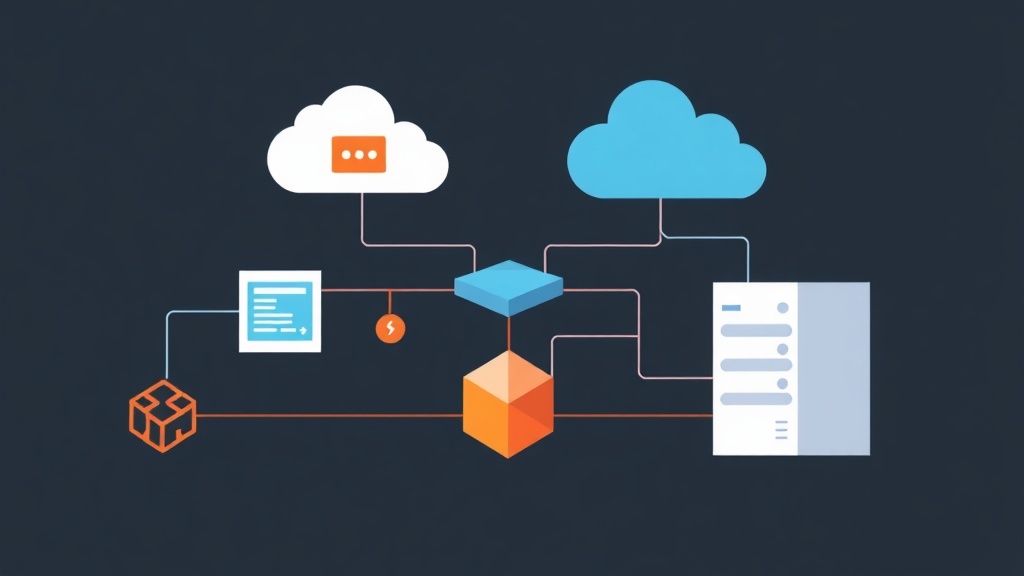
Moving to a cluster was the logical next step, but storage was the real puzzle. After six months of running Ceph in my production-grade HomeLab, I’ve realized it’s the definitive answer to high availability. But it isn’t free. You pay for that resilience with hardware and network bandwidth.
Think of this as moving from a solo act to a synchronized orchestra. Distributing data across multiple physical machines changes how you handle failures. You stop fearing the ‘click of death’ from a hard drive and start focusing on uptime.
Storage Architectures: Which Path Is Yours?
When you build a Proxmox cluster, you usually choose between three storage philosophies. For anyone chasing true High Availability (HA), the field narrows quickly.
1. Local Storage (LVM/ZFS)
This is the baseline. It is blistering fast because the data stays on the local bus. The catch? It kills HA. If Node A loses power, your VM’s data is trapped on a dead slab of silicon. You cannot migrate that VM to Node B without waiting for a lengthy restore from your Proxmox Backup Server.
2. The External NAS Trap (NFS/iSCSI)
A central NAS (like TrueNAS) serves storage to all nodes over the network. This makes VM migration easy, but it creates a single point of failure. If your NAS hangs during a firmware update, your entire cluster loses its heart. You haven’t solved the downtime problem; you’ve just moved it to a different box.
3. The Distributed Powerhouse (Ceph)
Ceph turns the individual disks inside your Proxmox nodes into one giant, unified storage pool. Data is replicated across the cluster. If Node A vanishes, Node B and Node C already have the data blocks. They can spin up the failed VMs in under 30 seconds. It is the gold standard for resilient infrastructure.
Living with Ceph: The Brutal Truth
The initial excitement has faded, and the technical reality has set in. Ceph isn’t a magic ‘set and forget’ button. It is a powerful beast that demands proper configuration.
The Wins
- Zero-Downtime Migration: I can move a 120GB Windows Server VM between nodes in about 15 seconds. No dropped pings. No interrupted sessions.
- Self-Healing in Action: Three months ago, a 500GB Crucial MX500 started throwing SMART errors. Ceph instantly marked the OSD as ‘degraded’ and began re-replicating that data to healthy disks. I swapped the drive a week later while the cluster was live.
- Simple Scaling: Out of space? Just slide a new 1TB NVMe into any node and click ‘Create OSD.’ The cluster rebalances itself automatically.
The Costs
The Professional Baseline
To avoid the bottlenecks I hit, use this hardware baseline for a professional HomeLab setup:
- Compute: 3x Nodes. TinyMiniMicro PCs are excellent, but ensure they have internal NVMe slots.
- Networking: Dedicated 10Gbe links for the Ceph ‘back-end’ traffic. I use a MikroTik CRS305 switch, which costs around $150 and handles the load perfectly.
- Disk Consistency: Match your drive sizes. Ceph’s performance is often dictated by the slowest disk in the group.
- Write Endurance: Use Enterprise SSDs (Samsung PM883 or Intel DC series). Consumer QLC drives will burn through their TBW (Total Bytes Written) rating in months due to Ceph’s constant journaling.
Getting It Running
Proxmox includes native Ceph management. You don’t need to be a Linux specialist, but you must follow the correct sequence.
1. Installation
Run this on every node via the shell or the ‘Ceph’ tab in the UI:
pveceph installWhen prompted, assign your 10Gbe interface as the Cluster Network.
2. Monitors and Managers
Monitors (MON) maintain the cluster map. You need three for redundancy.
# Run on each of your 3 nodes
pveceph mon create
3. Provisioning OSDs
Wipe your target disks first. They must be completely raw. In the UI, go to Node > Ceph > OSD and click Create: OSD. Or use the CLI:
pveceph osd create /dev/nvme0n14. The Storage Pool
Create a pool with a ‘Size 3 / Min Size 2’ rule. This ensures three copies of your data exist at all times.
pveceph pool create vm_storage --add_storage 1The Final Verdict
Stability is addictive. After half a year, I’ve performed dozens of kernel updates and hardware swaps without a single minute of service interruption. While my initial 1Gbps network was a massive bottleneck, upgrading to 10Gbps SFP+ transformed the experience. Sequential writes now hit 450MB/s, limited only by the SATA SSDs. If you want a HomeLab that mirrors an enterprise data center, Ceph on Proxmox is the most rewarding project you can tackle.