When the Internet Goes Dark
Picture this: It’s 11:00 PM on a Sunday, and you’re mid-way through a critical system migration. Suddenly, your ISP goes down for unscheduled maintenance. I’ve been there. I needed to verify a specific syntax for an old Python library, but I couldn’t reach Stack Overflow or the official docs. I was completely stuck. This moment exposed a major gap in my HomeLab. I had automated my backups and media, but I was 100% dependent on an external connection for the knowledge needed to fix my own gear.
We often treat the internet like a light switch—we just expect it to work. However, for HomeLab enthusiasts, true self-reliance means having access to information even when the world is unreachable. Whether it’s a local outage or a remote site with no signal, hosting a local copy of humanity’s knowledge is the ultimate safety net.
The Technical Nightmare of Offline Data
The real barrier to going offline isn’t motivation; it’s the sheer technical mess of the data. If you try to download Wikipedia using traditional tools, you end up with millions of tiny HTML files. These are nearly impossible to index or search efficiently. PDFs are equally frustrating. They are bulky, and searching across 500 different manuals is painfully slow.
Datasets of this scale are massive. A 2024 English Wikipedia “all-max” file—which includes every image—currently sits at roughly 112GB. Managing the storage, search indexing, and a web interface for that much data is a full-time job. Most people give up because they don’t want to build a custom database just to read an article.
Choosing the Right Offline Tool
I explored three main ways to bridge this gap before finding a winner:
- Manual PDF Collections: Simple for books, but terrible for technical reference. You lose the cross-referencing and speed that makes the web useful.
- HTTrack Website Copier: This mirrors sites, but the links often break. It also puts a heavy, unfair load on the servers you are trying to copy.
- Kiwix and the ZIM Format: Kiwix uses ZIM files. This open standard compresses entire websites into a single, optimized file. It includes a built-in search index and keeps the original formatting intact.
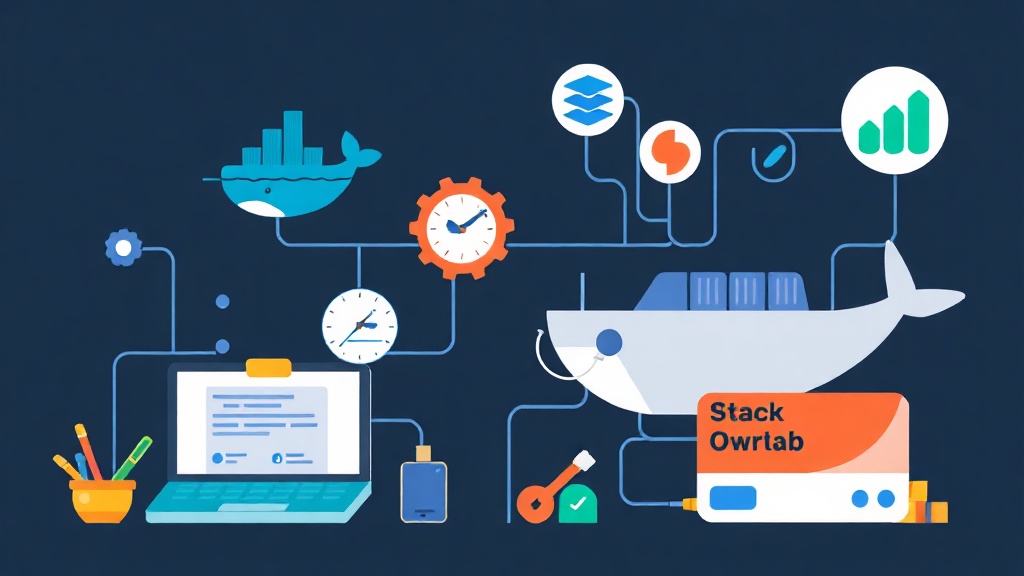
Kiwix is the clear winner because it separates the content from the reader. This modularity makes it a perfect candidate for a Docker-based HomeLab.
Deploying Kiwix Server via Docker
Using Docker is the most efficient way to run Kiwix. It keeps your setup isolated and allows you to serve content to every device on your network. Your laptop, tablet, and phone can all access the library through a standard browser.
I’ve run this setup for over a year on a modest Raspberry Pi 4. Even on low-power hardware, Kiwix delivers search results in under 200ms. The ZIM format is specifically built for this kind of high-performance indexing.
Step 1: Preparing the Storage
Start by setting up a directory structure to hold your ZIM files. These files act as your local “database” for sites like Wikipedia or Stack Overflow.
mkdir -p ~/homelab/kiwix/data
cd ~/homelab/kiwix
Step 2: Downloading the Content
Next, visit the Kiwix Library to grab your data. For a technical lab, I recommend these essentials:
- Wikipedia: The “max” version (110GB+) for full images or “nopic” (~50GB) for text only.
- Stack Overflow: The full Q&A collection (approx. 42GB).
- MDN Web Docs: A must-have for web development.
- ArchWiki: Possibly the best Linux resource ever created.
Move these .zim files into your ~/homelab/kiwix/data folder.
Step 3: The Docker Compose Configuration
Now, we’ll build a docker-compose.yml file. Kiwix is incredibly lightweight on CPU and RAM. Its only real hunger is for disk space.
services:
  kiwix:
    image: kiwix/kiwix-serve
    container_name: kiwix-server
    restart: always
    volumes:
      - ./data:/data
    ports:
      - "8080:80"
    command: ["/data/*.zim"]
In this setup, the command tells Kiwix to load every ZIM file it finds in the directory. This makes updates easy. If you want to add a new library, just drop the file in and restart the container.
Step 4: Fire Up the Server
Launch your offline library with one command:
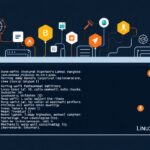
docker-compose up -dOnce it’s running, open your browser and go to http://[YOUR-SERVER-IP]:8080. You’ll see a clean dashboard with all your downloaded content and a global search bar that works instantly.
Optimizing the Experience
While the basics work well, a few small tweaks can make the system feel much more professional.
Managing Large Collections
If your collection grows to dozens of files, the dashboard can get messy. You can clean this up by specifying exact filenames in the command section of your compose file, rather than using the * wildcard.
DNS and Reverse Proxy
For a professional touch, use a reverse proxy like Nginx Proxy Manager. You can map a local domain like wiki.home.arpa to the container. This means you don’t have to remember port numbers, and it makes the library easier for others in your house to use.
Keeping Content Fresh
Remember that ZIM files are snapshots. They don’t update themselves. I usually download a fresh Wikipedia dump every six months and a new Stack Overflow set every quarter. Just swap the file in your data folder and run docker-compose restart kiwix.
Final Thoughts
HomeLabs are usually about the “how”—how to host, how to secure, or how to automate. But the “what” matters just as much. The data we host is the real value. By setting up a Kiwix server, you ensure that critical knowledge is always available, regardless of your ISP’s uptime.
There is a certain peace of mind in knowing your data is safe. If the world goes offline tomorrow, you still have Wikipedia and decades of Stack Overflow wisdom sitting in your closet, searchable in milliseconds.