Context & Why
Connecting bare-metal servers, home labs, and edge nodes across separate cloud providers usually points engineers toward WireGuard or OpenVPN. WireGuard delivers blistering speed.
However, maintaining point-to-point WireGuard keys and handshakes across 40 or 50 dynamic endpoints quickly turns into an administrative nightmare. ZeroTier solves this by acting as a distributed virtual switch. Yet the hosted ZeroTier Central tier caps you at 25 free nodes and routes network coordination metadata through third-party infrastructure.
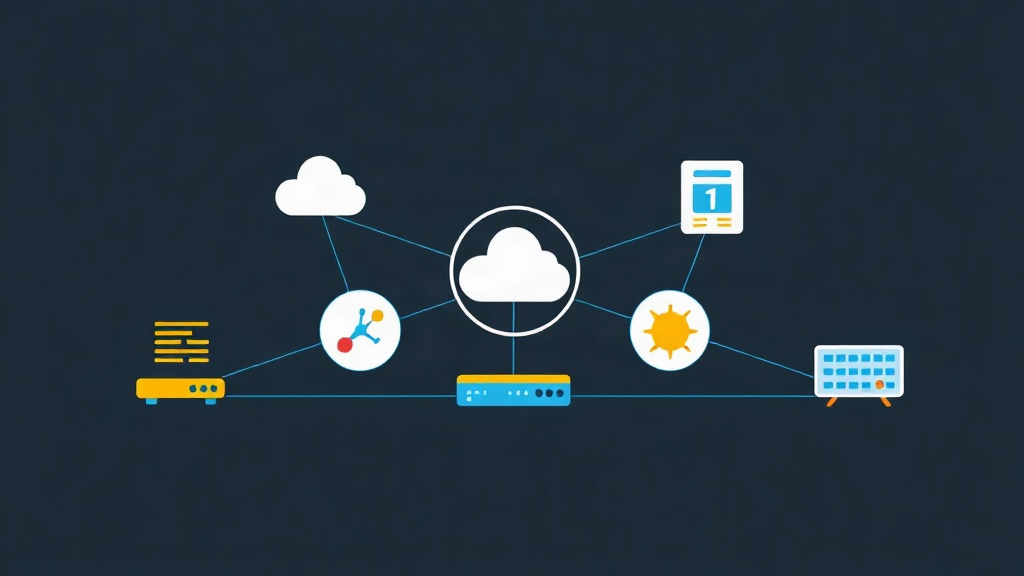
Self-hosting your own controller eliminates both roadblocks. You retain your network root keys, bypass arbitrary member caps, and retain zero telemetry. Under the hood, ZeroTier operates at Layer 2. Nodes communicate as if they plugged directly into the same rack switch. Once the controller brokers the initial handshake, devices bypass the controller entirely and pump encrypted traffic directly peer-to-peer via UDP hole punching.
Raw ZeroTier controller instances offer only low-level JSON APIs and CLI binaries. Authorizing new endpoints or mapping routes by hand gets tedious very quickly. ZTNET solves that problem. It wraps the ZeroTier controller in a lightweight Node.js and SQLite stack, drawing less than 60 MB of RAM on a minimal $4/month VPS. You get a clean browser dashboard to approve members, assign CIDR blocks, and monitor active tunnels.
This setup shines when tying together multi-cloud Kubernetes clusters, out-of-band IPMI bastions, or hybrid developer environments across carrier-grade NATs.
Installation
Deploying ZTNET through Docker Compose keeps the installation modular and isolates dependencies from your base Linux distribution.
Step 1: Install Docker and Prerequisites
Update local repository indexes and grab the Docker engine along with the Compose plugin on Debian or Ubuntu:
sudo apt update && sudo apt upgrade -y
sudo apt install -y curl ca-certificates gnupg lsb-release

# Configure Docker official repository
sudo install -m 0755 -d /etc/apt/keyrings
curl -fsSL https://download.docker.com/linux/ubuntu/gpg | sudo gpg --dearmor -o /etc/apt/keyrings/docker.gpg
sudo chmod a+r /etc/apt/keyrings/docker.gpg

echo "deb [arch=$(dpkg --print-architecture) signed-by=/etc/apt/keyrings/docker.gpg] https://download.docker.com/linux/ubuntu $(lsb_release -cs) stable" | \
  sudo tee /etc/apt/sources.list.d/docker.list > /dev/null

sudo apt update
sudo apt install -y docker-ce docker-ce-cli containerd.io docker-compose-plugin

sudo usermod -aG docker $USER
Step 2: Prepare Directory Structure and Compose File
Create dedicated directories on the host for controller identity keys and SQLite database persistence:
mkdir -p ~/ztnet/zt-data ~/ztnet/ztnet-data && cd ~/ztnetCreate your Compose manifest:
nano docker-compose.ymlAdd the following service configuration. Pay special attention to the cap_add block, which gives the container permission to provision virtual network tun interfaces:
services:
  ztnet:
    image: ztnet/ztnet:latest
    container_name: ztnet-controller
    restart: unless-stopped
    cap_add:
      - NET_ADMIN
      - SYS_ADMIN
    devices:
      - /dev/net/tun
    ports:
      - "3000:3000"       # ZTNET Web GUI
      - "9993:9993/udp"   # ZeroTier Controller Traffic
    environment:
      - PORT=3000
      - ZT_ADDR=127.0.0.1:9993
    volumes:
      - ./zt-data:/var/lib/zerotier-one
      - ./ztnet-data:/app/backend/data
Step 3: Launch the Stack
Spin up the container in the background:
docker compose up -dInspect the startup output to ensure the ZeroTier daemon initialized its public/private keypair:
docker compose ps
docker compose logs -f
Configuration
Step 1: Set Up Admin Credentials
Point your browser to http://<YOUR_SERVER_IP>:3000. On initial boot, ZTNET displays a setup wizard asking for primary administrative credentials. Pick a strong password, then log into the dashboard.
Step 2: Create Your First Virtual Network
Define an overlay mesh directly from the interface:
- Click Create Network.
- ZTNET provisions a 16-character hexadecimal Network ID (for instance,
8e02d60bc4a19f02). Copy this string for client provisioning. - Pick an IPv4 private subnet (such as
10.147.17.0/24) and define an auto-assignment range from10.147.17.10to10.147.17.250. - Keep the network access rule set to Private. This prevents unauthorized nodes from injecting packets into your overlay.
Step 3: Join Client Nodes to the Self-Hosted Network
SSH into a remote Linux client (such as an offsite backup worker or home workstation) and install the official client agent:
curl -s https://install.zerotier.com | sudo bashInstruct the local daemon to request membership from your controller:
sudo zerotier-one -q join 8e02d60bc4a19f02The terminal will print 200 join OK. The client is now registered, but it cannot pass traffic until approved by your controller.
Step 4: Authorize the Node in ZTNET
Refresh your ZTNET dashboard and click into your network view. The Members table will list an unapproved client carrying a 10-character Node ID.
- Toggle the Authorized switch on.
- Assign a clear hostname tag (like
db-replica-frankfurt). - ZTNET leases an IP address automatically from your chosen pool (e.g.,
10.147.17.10). You can also bind an immutable static IP if this node runs public services.
Verification & Monitoring
Verify Interface and Routes on the Client
Return to your remote client terminal. Confirm that the kernel initialized a new virtual tap interface (usually named zt*) and took the leased IP:
ip addr show dev $(ip -br link | awk '$1 ~ /^zt/ {print $1}')Check the kernel routing table to verify that traffic destined for 10.147.17.0/24 points out through the ZeroTier interface:
ip route | grep ztTest Peer Connectivity
Join a second remote machine, authorize it inside ZTNET, and note its internal IP (for example, 10.147.17.11). Send an ICMP ping from the first machine:
ping -c 4 10.147.17.11Expect normal round-trip latencies. Direct peer connections across nearby regions typically run within 1-3 ms of raw bare-metal ping speeds.
Inspect Peer Link Health and Topology
Query the ZeroTier runtime engine to verify whether nodes speak directly or fall back to relay root servers:
sudo zerotier-one -q peersThe output reports each peer along with latency metrics, link types, and active paths:
<ztaddr>   <ver>  <role> <lat> <link>   <lastTX> <lastRX> <path>
8e02d60bc4 1.14.0 LEAF      14 DIRECT   4        4        198.51.100.42/9993
3a88b201f9 1.14.0 LEAF      38 DIRECT   2        2        203.0.113.15/41882
A DIRECT link status confirms that packets bypass external relays and travel point-to-point over encrypted UDP tunnels. If you see RELAYED instead, check whether local firewalls or NAT gateways block outbound UDP traffic on port 9993.
Maintain Controller Backups
Your network controller identity lives inside the ~/ztnet/zt-data folder. If you lose those identity files, your network ID dies permanently, requiring a manual rejoin on every single endpoint. Back up this directory regularly:
sudo tar -czvf ztnet-backup-$(date +%F).tar.gz -C ~/ztnet zt-data ztnet-dataPush the resulting archive to S3 or an offsite encrypted repository. With this archive in hand, recovering your entire multi-node SD-WAN takes under five minutes on a fresh host.