The Problem with Modern Note-Taking
Most of us start with Google Keep or Notion. They are convenient, but they come with heavy trade-offs. Google Keep is fast, yet it lacks structure and keeps your data locked in a proprietary silo. Notion is a powerhouse, but it often feels sluggish. Waiting four seconds for a workspace to load just to jot down a grocery list or a terminal command is a frustrating experience. For HomeLab enthusiasts, the goal is simple: own your data and eliminate latency.
I spent months searching for a middle ground—a tool as fast as a tweet but as private as a local text file. That is where Memos fits in. It is an open-source, self-hosted hub that runs on a lightweight SQLite database. After running this in my own setup for over a year, it has become my primary dump for quick code snippets, meeting notes, and fleeting thoughts.
Where Memos Fits in Your Workflow
To understand why Memos works, you have to look at how we categorize information. Most tools fall into three camps: Architects, Sticky Notes, and Streams.
The Architects (Notion, Obsidian)
These are for structured knowledge. Obsidian is king for long-form writing, but it requires file syncing. Notion is a full-scale database. However, opening Notion just to save a Docker port number is like starting a heavy diesel engine just to move a few feet down the driveway.
The Sticky Notes (Google Keep)
Keep is the closest match to Memos in terms of speed. It uses a simple card layout. The downside? Your data lives on Google’s servers, and Markdown support is non-existent. For a developer, writing code without syntax highlighting is a dealbreaker.
The Stream (Memos)
Memos uses a “micro-blogging” philosophy. It feels like having a private Twitter timeline. You type a thought, hit save, and it joins a chronological stream. It supports Markdown out of the box, uses tags for organization, and responds instantly because it runs on your own local hardware.
Why You Should (and Shouldn’t) Self-Host Memos
No tool is perfect. Here is the reality of using Memos daily.
The Wins
- Data Sovereignty: Your notes live on your SSD. No third-party AI is scanning your private thoughts to train its next model.
- Tiny Resource Usage: The Docker image is roughly 40MB. While running, it typically sips less than 50MB of RAM. This makes it an ideal candidate for a Raspberry Pi or a $5/month VPS.
- Native Markdown: It handles code blocks, checklists, and bold text perfectly.
- Powerful REST API: You can push notes to Memos using simple HTTP requests. I use this to automate logs from my server scripts directly into my timeline.
The Trade-offs
- No Complex Databases: If you need relational tables or Notion-style properties, Memos will feel too basic.
- Backup Responsibility: You are the sysadmin. If your drive fails and you haven’t backed up the
memos_prod.dbfile, your notes are gone. - Connectivity: To sync on the go, you need a stable connection to your home network via a VPN like Tailscale or a Reverse Proxy.
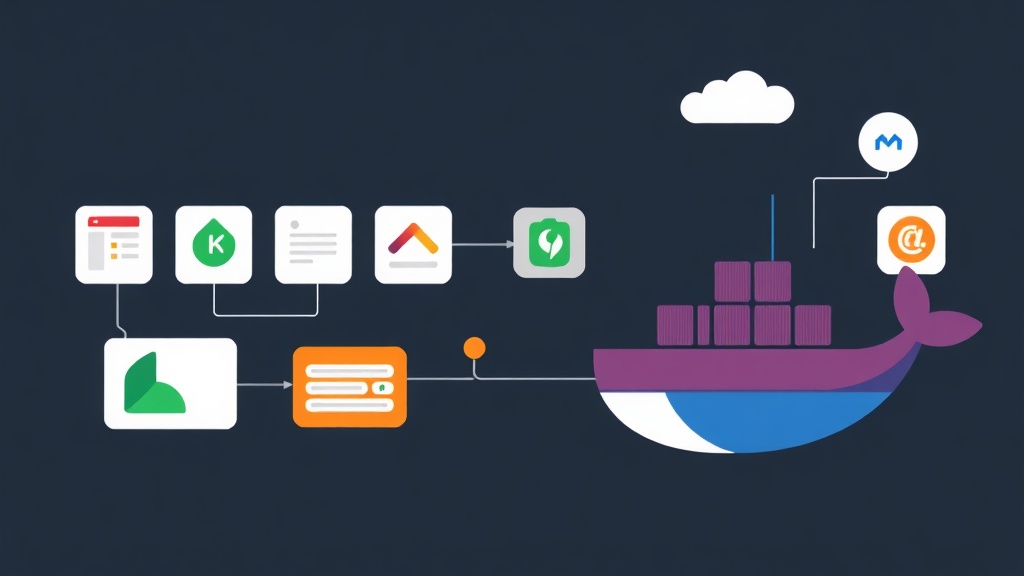
The Deployment Guide
Docker is the most reliable way to get Memos running. It keeps your installation clean and makes future migrations as simple as moving a single folder.
1. Prepare Your Environment
First, create a dedicated space for Memos to live. This keeps your SQLite database separate from the application logic.
mkdir -p ~/homelab/memos
cd ~/homelab/memos
2. The Docker Compose Configuration
Create a docker-compose.yml file. We prefer Compose over standard docker run commands because it acts as documentation for your stack. Use your editor of choice to paste this in:
services:
  memos:
    image: neosmemo/memos:latest
    container_name: memos
    restart: always
    ports:
      - 5230:5230
    volumes:
      - ./data:/var/opt/memos
    environment:
      - TZ=Asia/Ho_Chi_Minh
What’s happening here? We are mapping port 5230 and creating a persistent volume in the ./data folder. This ensures that when you update the Memos container, your notes don’t vanish.
3. Launch the Service
Fire up the container with a single command:
docker compose up -dCheck if it’s running by typing docker ps. You should see the Memos container listed as “Up.”
Making it Production-Ready
Installing the app is only half the battle. To make it a permanent part of your life, you need to handle security and automation.
External Access and SSL
Don’t expose port 5230 directly to the internet. Instead, use a reverse proxy like Cloudflare Tunnels or Nginx Proxy Manager. This allows you to access your notes via notes.yourdomain.com with full HTTPS encryption. This is mandatory if you plan to use mobile apps like “Moe Memos” on public Wi-Fi.
Automated Backups
Since Memos relies on a single SQLite file, backing up is incredibly easy. A simple cron job can copy your database to a NAS or cloud storage every night at 2 AM. Here is a one-liner example for your crontab:
0 2 * * * cp ~/homelab/memos/data/memos_prod.db ~/backups/memos_$(date +%F).dbTerminal Integration
The API is where Memos truly shines. You can generate an Access Token in your user settings and send thoughts directly from your terminal. Use this curl command to save an idea without even opening a browser:
curl -X POST "https://your-memos-url/api/v1/memos" \
     -H "Authorization: Bearer YOUR_TOKEN" \
     -H "Content-Type: application/json" \
     -d '{"content": "Check out the new Docker documentation. #research"}'
The Bottom Line
Memos isn’t trying to be a second brain or a corporate wiki. It is a digital scratchpad that stays out of your way. By hosting it yourself, you gain a level of speed and privacy that cloud providers simply cannot match. It is a breath of fresh air for anyone tired of over-engineered software.