The Breaking Point of Password Fatigue
It starts innocently enough with a Plex server and maybe a simple file share. But if you’re like me, that hobby quickly spirals. Within six months, my single server was groaning under the weight of 15+ containers: Portainer for management, Jellyfin for media, Home Assistant for the lights, a private Wiki, and three different development databases. Suddenly, I wasn’t just a tinkerer; I was a full-time sysadmin re-typing a dozen different passwords 20 times a day.
The real danger isn’t just the annoyance—it’s the security gap. Many self-hosted tools have rudimentary login systems, and some lack Multi-Factor Authentication (MFA) entirely. Exposing these to the web is like putting a screen door on a vault.
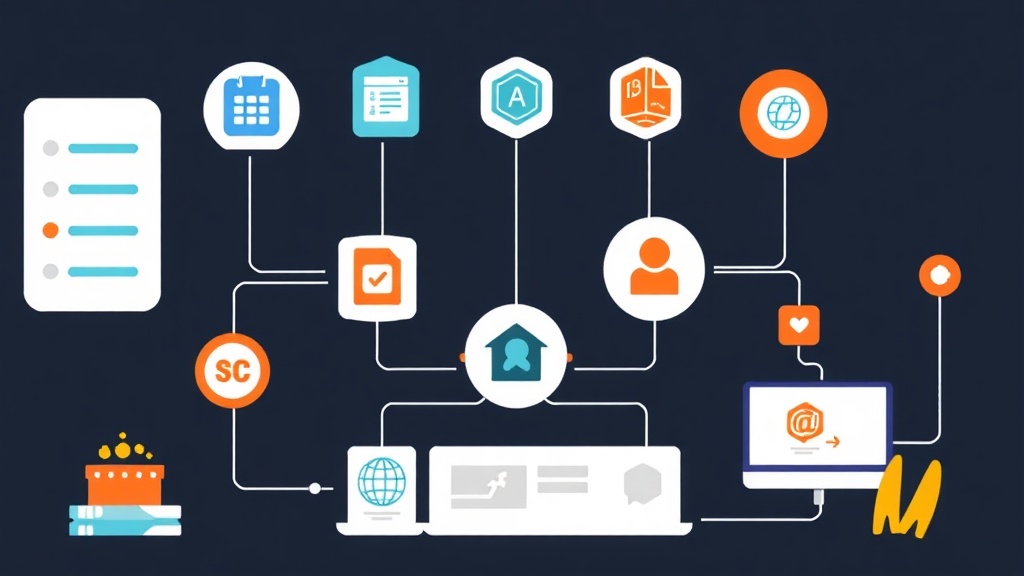
You need a heavy-duty deadbolt. This is where Single Sign-On (SSO) and Identity Providers (IdP) change the game. Instead of individual logins, you authenticate once at a central gatehouse that manages access to your entire digital estate. Moving to a centralized system is the definitive line between a messy hobby and a professional-grade home infrastructure.
Choosing Your Gatekeeper: Authentik vs. Authelia
In the self-hosting community, two heavyweights dominate the conversation. Choosing the right one depends on your hardware and how much you enjoy editing text files.
- Authelia: Think of this as the minimalist choice. It’s incredibly lean and runs perfectly on low-power hardware like a Raspberry Pi 4. However, it lacks a dedicated configuration UI; you’ll be doing almost all your heavy lifting inside YAML files.
- Authentik: This is the “all-in-one” powerhouse. It features a polished web interface, a built-in user database, and native support for modern protocols like OAuth2, OIDC, and SAML. Its “Outpost” system makes integration with reverse proxies remarkably smooth.
I generally recommend Authentik for most modern HomeLabs. The visual dashboard makes it much easier to map out how users, groups, and permissions actually flow. For this guide, we’ll deploy Authentik using Docker Compose.
How the ‘Handshake’ Actually Works
The process is a quick three-way conversation. You try to visit stats.yourdomain.com. Your reverse proxy (Nginx Proxy Manager or Traefik) stops you and asks Authentik, “Does this person have a valid ticket?” If you aren’t logged in, you’re kicked over to the Authentik portal. Once you provide your credentials and a TOTP code, Authentik hands you a digital “hall pass” and sends you back to your app.
Hands-on Practice: Deploying Authentik
You’ll need Docker and Docker Compose ready to go. You should also have a domain name or a local DNS setup (like Pi-hole or AdGuard Home) pointing to your server’s internal IP.
Step 1: Environment Preparation
Authentik is a sophisticated stack. It requires the core server, a background worker, a PostgreSQL database, and a Redis instance for caching. Start by creating a dedicated workspace:
mkdir ~/authentik && cd ~/authentikNext, generate your unique security keys. Don’t skip this—using default keys is an invitation for trouble. Authentik provides a quick way to populate your .env file:
echo "PG_PASS=$(openssl rand -base64 36 | tr -d '\n')" >> .env
echo "AUTHENTIK_SECRET_KEY=$(openssl rand -base64 36 | tr -d '\n')" >> .env
Step 2: The Docker Compose Configuration
Create your docker-compose.yml. This configuration is streamlined to focus on the essential services required to get you up and running:
version: '3.4'

services:
  postgresql:
    image: docker.io/library/postgres:15-alpine
    restart: unless-stopped
    healthcheck:
      test: ["CMD-SHELL", "pg_isready -d $${POSTGRES_DB} -U $${POSTGRES_USER}"]
      start_period: 20s
      interval: 30s
      retry: 5
    volumes:
      - ./database:/var/lib/postgresql/data
    environment:
      POSTGRES_PASSWORD: ${PG_PASS}
      POSTGRES_USER: ${PG_USER:-authentik}
      POSTGRES_DB: ${POSTGRES_DB:-authentik}
    env_file: [.env]

  redis:
    image: docker.io/library/redis:alpine
    command: --save 60 1 --loglevel warning
    restart: unless-stopped
    healthcheck:
      test: ["CMD-SHELL", "redis-cli ping | grep PONG"]
    volumes:
      - ./redis:/data

  server:
    image: ghcr.io/goauthentik/server:2024.8.3
    restart: unless-stopped
    command: server
    environment:
      AUTHENTIK_REDIS__HOST: redis
      AUTHENTIK_POSTGRESQL__HOST: postgresql
      AUTHENTIK_POSTGRESQL__USER: ${PG_USER:-authentik}
      AUTHENTIK_POSTGRESQL__NAME: ${POSTGRES_DB:-authentik}
      AUTHENTIK_POSTGRESQL__PASSWORD: ${PG_PASS}
    volumes:
      - ./media:/media
      - ./custom-templates:/templates
    env_file: [.env]
    ports:
      - "9000:9000"
      - "9443:9443"
    depends_on: [postgresql, redis]

  worker:
    image: ghcr.io/goauthentik/server:2024.8.3
    restart: unless-stopped
    command: worker
    user: root
    volumes:
      - /var/run/docker.sock:/var/run/docker.sock
      - ./media:/media
      - ./certs:/certs
    env_file: [.env]
    depends_on: [postgresql, redis]
Fire up the stack with docker-compose up -d. Give the database about 60 seconds to initialize before trying to log in.
Step 3: First-Run Configuration
Head to http://<your-server-ip>:9000/if/flow/initial-setup/. This one-time URL allows you to create your admin account. Once you’re inside the dashboard, don’t let the dozens of menu items overwhelm you. Your first priority is security.
Navigate to Settings -> Flow and Stages -> Stages. Set up a TOTP Authenticator immediately. Linking Authentik to an app like Ente Auth or Bitwarden ensures that even a leaked master password won’t grant access to your server.
Step 4: Securing a “Dumb” App with Forward Auth
Many great tools like Homer or Dashy have no built-in security. We can use Authentik’s “Forward Auth” to act as a bouncer for these applications.
- Create a Provider: Under Applications -> Providers, create a “Proxy Provider”. Set the internal URL of your app and select “Forward Auth (Single Application)”.
- Create an Application: Under Applications -> Applications, create a new entry and link it to the provider you just created.
- Update Your Proxy: If you use Nginx Proxy Manager, paste this snippet into the “Advanced” tab of your host configuration:
# Redirect for verification
auth_request /outpost.goauthentik.io/auth/nginx;
error_page 401 = @goauthentik_proxy_relogin;

location /outpost.goauthentik.io/ {
    proxy_pass http://<authentik-ip>:9000/outpost.goauthentik.io/;
    proxy_set_header Host $host;
}

location @goauthentik_proxy_relogin {
    return 302 $scheme://$host/outpost.goauthentik.io/start?rd=$request_uri;
}
Taking It Further
Once you’ve mastered the basics, look into OIDC (OpenID Connect). Professional-grade apps like Nextcloud or Portainer support OIDC natively. Instead of a “wall” in front of the app, OIDC allows the application to talk directly to Authentik. You’ll get a “Login with Authentik” button that handles everything seamlessly.
You can also polish the User Interface. Upload custom SVG icons for your services and set a custom background for the login portal. It transforms a collection of random Docker containers into a cohesive, branded private cloud.
Final Thoughts
Centralizing your authentication is the single biggest upgrade you can give your HomeLab. It saves you the daily headache of password management while providing enterprise-grade security features like Geo-blocking and detailed audit logs. It takes an hour to set up, but the peace of mind—knowing every single one of your apps is behind a modern MFA wall—is well worth the effort.