
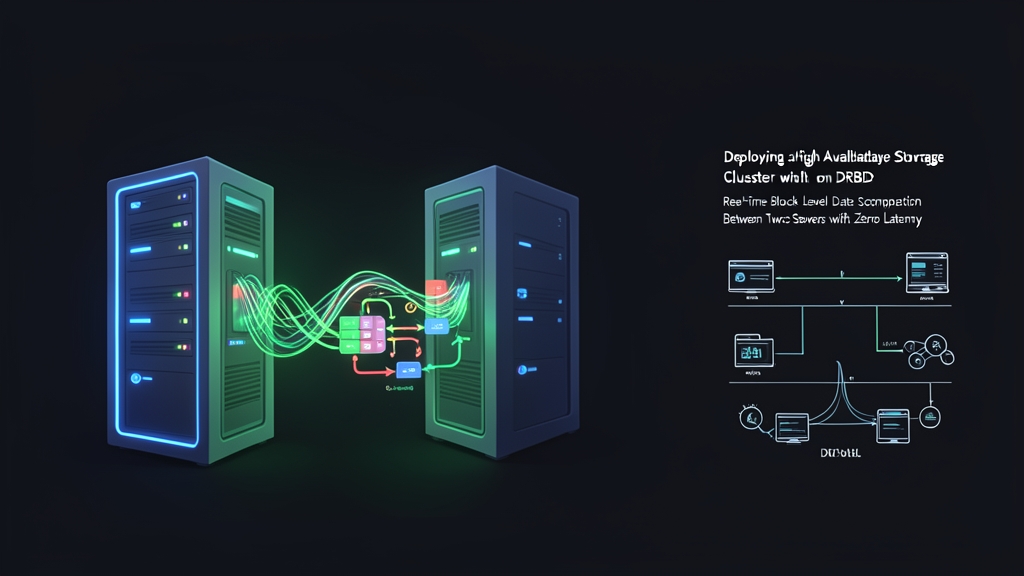
Context & Why: When a Single Disk Becomes a Liability
Running a database or file server on a single machine is a ticking clock. If that disk fails at 2 AM, your service goes down and recovery might take hours — or worse, some data never comes back. DRBD (Distributed Replicated Block Device) addresses this by mirroring a block device across two servers in real time, at the kernel level, before the filesystem even sees what happened.
Picture RAID-1, but stretched across a network instead of two drives in the same chassis. Every write on the primary node gets replicated to the secondary node synchronously. If the primary dies, you promote the secondary and your data is right there, fully consistent, ready to serve.
I’ve used this to back a PostgreSQL instance on my production Ubuntu 22.04 server with 4GB RAM. Setting up DRBD on that box significantly reduced the anxiety around disk failures — and once the configuration was dialed in, failover time dropped to under 30 seconds. It’s not glamorous, but it works reliably.
This guide walks through a two-node DRBD setup on Ubuntu 22.04. We won’t layer on Pacemaker here — just pure DRBD, which is the foundation you need to understand before adding cluster management on top.
Installation: Getting DRBD Running on Both Nodes
What You Need Before Starting
- Two Ubuntu 22.04 servers — we’ll call them
node1(192.168.1.10) andnode2(192.168.1.11) - A dedicated disk or partition on each node for DRBD — we’ll use
/dev/sdb - Both nodes reachable from each other, with port 7789 open between them
- Root access on both machines
Start by setting up hostnames on both nodes so they can resolve each other by name:
# Run on node1
hostnamectl set-hostname node1
echo "192.168.1.10 node1" >> /etc/hosts
echo "192.168.1.11 node2" >> /etc/hosts

# Run on node2
hostnamectl set-hostname node2
echo "192.168.1.10 node1" >> /etc/hosts
echo "192.168.1.11 node2" >> /etc/hosts
Installing DRBD Packages
Run these commands on both nodes:
apt update
apt install -y drbd-utils linux-modules-extra-$(uname -r)
Load the kernel module and make it persistent across reboots:
modprobe drbd
echo "drbd" >> /etc/modules
Confirm the module loaded correctly:
lsmod | grep drbd
# Expected output:
# drbd                  593920  0
# libcrc32c              16384  2 drbd,btrfs
If you see that output on both nodes, you’re ready to configure the resource.
Configuration: Wiring Up Your Storage Cluster
Preparing the Storage Device
On both nodes, make sure /dev/sdb is clean — no existing partitions, no filesystem signatures:
wipefs -a /dev/sdb
lsblk /dev/sdb
DRBD manages its own metadata area, so don’t partition the disk manually. Just hand it a raw block device and let DRBD carve out what it needs.
Creating the DRBD Resource File
Resources are configured in /etc/drbd.d/. Create this file on both nodes with identical content:
nano /etc/drbd.d/data.resPaste the following configuration:
resource data {
  protocol C;

  on node1 {
    device    /dev/drbd0;
    disk      /dev/sdb;
    address   192.168.1.10:7789;
    meta-disk internal;
  }

  on node2 {
    device    /dev/drbd0;
    disk      /dev/sdb;
    address   192.168.1.11:7789;
    meta-disk internal;
  }
}
Protocol C means synchronous replication — a write is only acknowledged after both nodes confirm it landed on disk. That’s what you want for data integrity. Protocol A (asynchronous) exists for geographically distant nodes where latency between sites matters more than consistency, but for most setups Protocol C is the right call.
meta-disk internal tells DRBD to store its metadata on the same device as the data, using the last few megabytes. This keeps things simple and means you don’t need a separate metadata disk.
Initializing and Starting the Resource
On both nodes, initialize the DRBD metadata on the disk:
drbdadm create-md dataDRBD will ask you to confirm. Type yes and press Enter. You’ll see it write the initial metadata block to the end of the device.
Bring the resource up on both nodes:
drbdadm up dataAt this point both nodes are in a Secondary state. DRBD doesn’t know yet whose disk is authoritative. The first time you set this up, you have to tell it explicitly — do this on node1 only:
drbdadm primary --force dataThis marks node1 as the source of truth and kicks off initial synchronization to node2 in the background. Now create a filesystem and mount it on node1:
mkfs.ext4 /dev/drbd0
mkdir -p /mnt/drbd
mount /dev/drbd0 /mnt/drbd
df -h /mnt/drbd
You can start using /mnt/drbd immediately — DRBD syncs to node2 in the background while your data is fully accessible on node1.
Verification & Monitoring: Confirming It Actually Works
Watching the Initial Sync
The classic way to check DRBD state:
cat /proc/drbdDuring the initial sync you’ll see something like this:
0: cs:SyncSource ro:Primary/Secondary ds:UpToDate/Inconsistent C r----s
    ns:1048576 nr:0 dw:0 dr:1049528 al:8 bm:0 lo:0 pe:1 ua:0 ap:0 ep:1
        [==>.................] sync'ed: 10.1% (9216/10236)M
        finish: 0:04:12 speed: 36,528 (28,152) K/sec
The ds:UpToDate/Inconsistent tells you node1 is current, node2 is still catching up. Watch it in real time until both show UpToDate:
watch -n 2 "cat /proc/drbd"Once sync completes, the modern status command gives a cleaner summary:
drbdadm status datadata role:Primary
disk:UpToDate
node2 role:Secondary
peer-disk:UpToDateBoth disks showing UpToDate means replication is healthy and your cluster is fully protected.
Testing Failover Manually
Reading about failover is one thing — actually running through it is how you build confidence in the setup. Simulate node1 going down by demoting it gracefully.
On node1:
umount /mnt/drbd
drbdadm secondary data
On node2, promote and mount:
drbdadm primary data
mkdir -p /mnt/drbd
mount /dev/drbd0 /mnt/drbd
ls /mnt/drbd
Any files you wrote on node1 should appear here. If they do, your replication is functioning correctly and your failover path works. To switch back, reverse the process: unmount on node2, set it to secondary, promote node1, and remount there.
Ongoing Monitoring
For a live terminal dashboard, install drbdmon:
apt install -y drbdmon
drbdmon
It shows connection state, disk state, and sync progress for all your DRBD resources in one view. Far easier to read than /proc/drbd once you have multiple resources running.
A simple cron entry to alert you if the connection between nodes drops:
# Add to crontab: crontab -e
*/5 * * * * drbdadm status data | grep -q "Connected" || echo "DRBD connection lost on $(hostname)" | mail -s "DRBD Alert" [email protected]
You can also enable the DRBD systemd service so the resource comes up automatically after a reboot:
systemctl enable drbd
systemctl start drbd
Where to Go From Here
What we’ve built is the storage layer of a high-availability stack. DRBD handles synchronous replication and gives you a manually-promoted failover path. For automatic failover — where node2 promotes itself without anyone touching a keyboard when node1 dies — you pair this setup with Pacemaker and Corosync. That adds complexity, but once you’re solid on DRBD internals (which you now are), that next step becomes much more approachable.
For small production environments, manual DRBD failover is often exactly the right amount of infrastructure. You get data protection and a clear recovery procedure without the operational overhead of a full cluster stack.