The Frustrating Reality of Remote Management
Managing a HomeLab usually starts with a single server and a simple SSH connection. But as your hobby grows, so does the chaos. Before you know it, you’re juggling a Windows VM for specialized tools, three Linux containers, and a couple of Raspberry Pis. Your desktop becomes a graveyard of open windows: PuTTY for your terminal, Microsoft Remote Desktop for Windows, and a clunky VNC client for that legacy file server.
This fragmented workflow is more than just a nuisance; it’s a security headache. Accessing these machines from outside your house typically requires two bad options. You either open multiple ports on your router—practically begging for a brute-force attack—or you struggle to keep a VPN client configured on every phone and tablet you own. We’ve all been there, hunched over a laptop in a coffee shop, realizing the local Wi-Fi blocks every port except 80 and 443.
Why Your Browser Can’t Talk to Your Servers
The technical hurdle is protocol incompatibility. RDP, SSH, and VNC are native protocols designed for specific software, not web browsers. To bridge this gap, you need a gateway that can translate these complex streams into HTML5 and JavaScript in real-time.
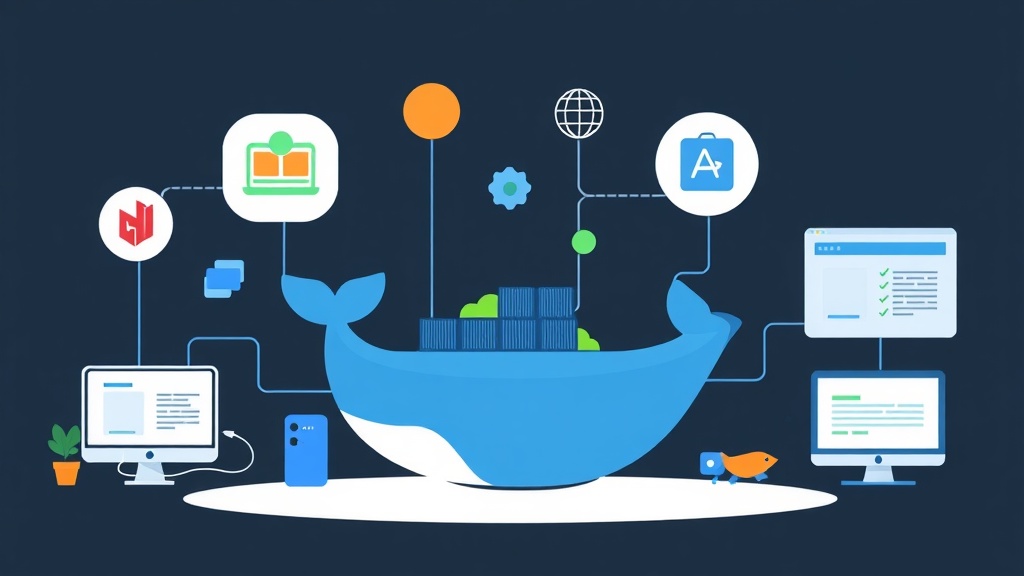
Mastering this setup transforms your HomeLab. It turns a collection of isolated boxes into a cohesive, private cloud. This is where Apache Guacamole shines. It acts as a clientless gateway, meaning the only thing you need to control your entire infrastructure is a modern web browser.
Comparing Your Remote Access Options
Before diving into the configuration, let’s look at how Guacamole compares to the usual suspects.
1. The VPN + Native Client Method
You tunnel into your network via WireGuard or OpenVPN and then launch your local apps. While secure, it’s a hassle. You have to install and configure VPN profiles on every device, which isn’t always possible on locked-down work computers.
2. Port Forwarding (The Disaster Waiting to Happen)
Opening port 3389 or 22 directly to the internet is a massive risk. Automated bots scan for these ports 24/7. In a modern HomeLab environment, this approach is essentially an open invitation for ransomware.
3. The Guacamole Way (True Clientless Access)
Guacamole sits in the middle. It lives inside your network, communicates with your servers locally, and streams the visual output to your browser over a single HTTPS connection. No plugins, no extra software—just a URL and your credentials.
The Pros and Cons
- Pros:
- Access your lab from any device, including tablets or Chromebooks.
- Centralize all your credentials in one encrypted database.
- Add Multi-Factor Authentication (MFA) to protocols that don’t natively support it.
- Record sessions to a file—perfect for auditing what you changed at 2 AM.
- Cons:
- Input lag: You might notice a 50-100ms delay compared to native apps, though it’s negligible on fast connections.
- Resource usage: Expect to allocate at least 2GB of RAM to the container stack if you plan on running multiple concurrent HD sessions.
Architecture Overview
While you could install Guacamole directly on Linux, you’d have to battle a mountain of dependencies and manual compilation. Using Docker is much cleaner. Our stack uses three specific containers:
- guacd: The heavy lifter. This proxy daemon handles the actual RDP, SSH, and VNC translation.
- guacamole: The Java-based web frontend that serves the interface to your browser.
- postgres: The brain. This database stores your users, connection settings, and permissions.
Step-by-Step Deployment Guide
Organizing your files first will save you a headache later. Start by creating a dedicated project folder.
1. Prepare the Environment
mkdir ~/guacamole && cd ~/guacamole
mkdir init
2. Generate the Database Schema
Guacamole doesn’t create its own database tables automatically. We need to use the Guacamole image itself to generate a setup script. Run this command to create the initialization file:
docker run --rm guacamole/guacamole /opt/guacamole/bin/initdb.sh --postgres > ./init/initdb.sql3. Configure Docker Compose
Create a docker-compose.yml file in your directory. Make sure to choose a strong, unique password for the POSTGRES_PASSWORD field.
services:
  guaco-db:
    image: postgres:15-alpine
    container_name: guaco-db
    restart: always
    environment:
      POSTGRES_DB: guacamole_db
      POSTGRES_USER: guacamole_user
      POSTGRES_PASSWORD: your_strong_password
    volumes:
      - ./init:/docker-entrypoint-initdb.d
      - ./data:/var/lib/postgresql/data

  guacd:
    image: guacamole/guacd
    container_name: guacd
    restart: always

  guacamole:
    image: guacamole/guacamole
    container_name: guacamole
    restart: always
    ports:
      - "8080:8080"
    environment:
      GUACD_HOSTNAME: guacd
      POSTGRES_HOSTNAME: guaco-db
      POSTGRES_DATABASE: guacamole_db
      POSTGRES_USER: guacamole_user
      POSTGRES_PASSWORD: your_strong_password
    depends_on:
      - guaco-db
      - guacd
4. Fire Up the Stack
Launch the containers with a single command:
docker compose up -dGive the system about 30 seconds to breathe while the database initializes. Once ready, navigate to http://[YOUR-SERVER-IP]:8080/guacamole/.
5. Secure the Default Account
Log in using the default credentials: guacadmin / guacadmin. Your very first task is to navigate to Settings > Users, create a new admin user with a complex password, and delete the original guacadmin account. Leaving the default credentials active is a massive security hole.
Configuring Your First Connection
Head to Settings > Connections > New Connection to link your first machine.
Windows (RDP) Settings:
- Protocol: RDP
- Hostname: The IP of your Windows box.
- Port: 3389
- Security mode: NLA (Network Level Authentication).
- Ignore server certificate: Check this if you haven’t installed custom SSL certs on your Windows machine.
Linux (SSH) Settings:
- Protocol: SSH
- Hostname: The IP of your Linux server.
- Port: 22
- Authentication: Enter your username and password, or paste your private key for better security.
Pro Tips for a Better Experience
Standard setups work, but these tweaks make the experience feel “production-grade.”
Use a Reverse Proxy
Don’t expose port 8080 directly. Put Guacamole behind Nginx Proxy Manager or Traefik. This allows you to use a clean domain like remote.lab.com and secures your traffic with a free Let’s Encrypt SSL certificate.
Enable MFA Immediately
Since Guacamole is the keys to your kingdom, one password isn’t enough. Map the guacamole/extensions volume and drop in the TOTP extension. This forces a 6-digit code check from apps like Google Authenticator before anyone gets inside.
Kill the Lag
If the interface feels sluggish, edit your RDP connection settings. Disabling “desktop wallpaper” and “menu animations” can reduce bandwidth usage by up to 30%, making the remote session feel much snappier over slower Wi-Fi.
Setting up Guacamole was a turning point for my HomeLab. It removed the friction of switching between devices and made my servers accessible from anywhere without the drama of VPN toggles. Follow this Docker approach, and you’ll have a professional-grade remote gateway that scales as you add more gear.