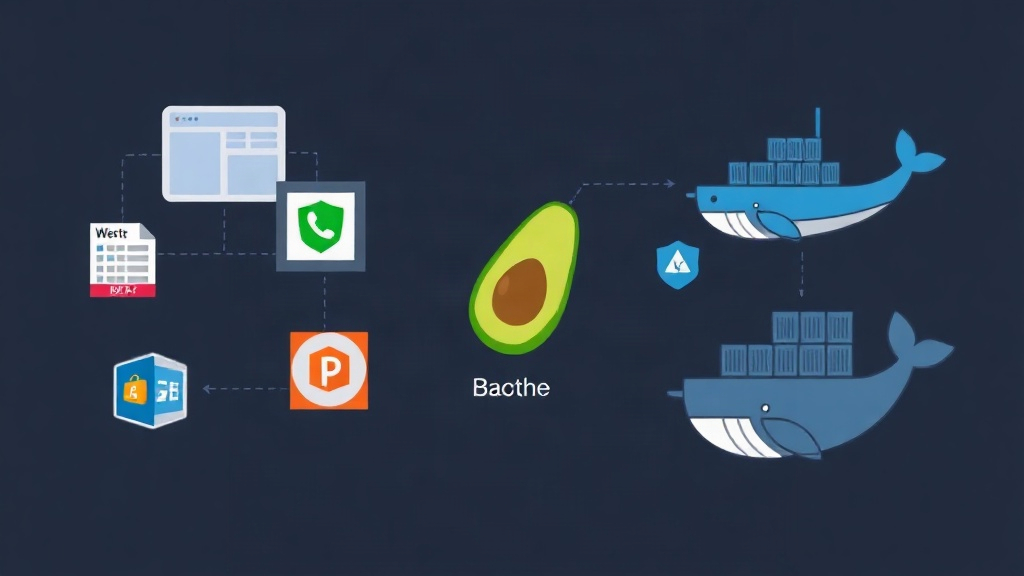
The Midnight Alert: Why Traditional Bastions Broke for Us
At 2:14 AM on a Tuesday, our PagerDuty alarm tripped. An internet-facing jump box was grinding to a halt under a flood of 45,000 failed SSH authentication attempts per minute. Our /var/log/auth.log had ballooned past 38 GB in under four hours, filling the root partition and taking down three background jobs. That incident forced us to completely rethink remote access across our 34 cloud instances.
Traditional bastion hosts create persistent operational drag. Engineers constantly juggle private keys on personal laptops. They battle brittle OpenSSH config files with endless ProxyJump directives.
Meanwhile, desktop VPN clients drop connections whenever someone switches Wi-Fi networks. On the Windows side, exposing RDP on port 3389 to the public internet invites automated ransomware scans within minutes. We needed a single access gateway that hides all internal management ports, enforces multi-factor authentication, and works inside any modern browser without local agents or plugins.
How Apache Guacamole Handles Clientless Access
Apache Guacamole operates as a clientless remote desktop gateway. Instead of running native RDP or SSH clients on an engineer’s laptop, the session runs inside an HTML5 web app. The server translates raw remote desktop protocols into an optimized stream of canvas updates and DOM events over standard HTTPS (port 443) and WebSockets.
Three main components power the stack:
- guacd (Guacamole Proxy Daemon): A lightweight native C daemon that opens upstream SSH, RDP, or VNC connections to your private servers. It translates native graphics and terminal buffers into Guacamole protocol instructions.
- guacamole-client: A Java servlet running on Apache Tomcat. It renders the administrative dashboard, verifies user credentials, and proxies stream data to
guacd. - PostgreSQL + TOTP Extension: Stores encrypted connection parameters, user permissions, and audit logs while requiring a standard 6-digit Time-based One-Time Password (TOTP) on login.
An Nginx reverse proxy sits in front, handling TLS termination. External traffic only ever touches an HTTPS endpoint protected by 2FA. Meanwhile, upstream SSH (port 22) and RDP (port 3389) remain locked inside an isolated Docker bridge network or private AWS/GCP subnet.
Deployment Guide: Docker, PostgreSQL, and TOTP
Compiling Guacamole from source on bare metal means tracking down C libraries, building Cairo graphics dependencies, and wrestling with Tomcat XML files. Docker Compose turns this into a clean, reproducible setup. Here is the configuration running across our production environments.
1. Directory Setup and Database Initialization
Create the directory structure and generate the PostgreSQL database schema directly from the official image:
mkdir -p /opt/guacamole/{init,data}
cd /opt/guacamole

# Generate the official PostgreSQL schema file
docker run --rm guacamole/guacamole:1.5.5 \
  /opt/guacamole/bin/initdb.sh --postgresql > ./init/01-initdb.sql
2. Assembling docker-compose.yml
Create docker-compose.yml in /opt/guacamole to wire together the proxy daemon, database, web interface, and reverse proxy:
services:
  guacd:
    image: guacamole/guacd:1.5.5
    container_name: guacamole-daemon
    restart: always
    networks:
      - guac-network

  postgres:
    image: postgres:15-alpine
    container_name: guacamole-db
    restart: always
    environment:
      POSTGRES_DB: guacamole_db
      POSTGRES_USER: guacamole_user
      POSTGRES_PASSWORD: StrongProductionPasswordGoesHere!
    volumes:
      - ./init:/docker-entrypoint-initdb.d:ro
      - ./data/postgres:/var/lib/postgresql/data
    networks:
      - guac-network

  guacamole:
    image: guacamole/guacamole:1.5.5
    container_name: guacamole-web
    restart: always
    depends_on:
      - guacd
      - postgres
    environment:
      GUACD_HOSTNAME: guacd
      GUACD_PORT: 4822
      POSTGRESQL_HOSTNAME: postgres
      POSTGRESQL_DATABASE: guacamole_db
      POSTGRESQL_USER: guacamole_user
      POSTGRESQL_PASSWORD: StrongProductionPasswordGoesHere!
      # TOTP 2FA configuration
      TOTP_ENABLED: "true"
      TOTP_ISSUER: "ITFromZero-Gateway"
      TOTP_DIGITS: 6
      TOTP_PERIOD: 30
      TOTP_MODE: "sha1"
    networks:
      - guac-network

  nginx:
    image: nginx:alpine
    container_name: guacamole-nginx
    restart: always
    ports:
      - "80:80"
      - "443:443"
    volumes:
      - ./nginx.conf:/etc/nginx/conf.d/default.conf:ro
      - ./certs:/etc/nginx/certs:ro
    depends_on:
      - guacamole
    networks:
      - guac-network

networks:
  guac-network:
    driver: bridge
3. Configuring Nginx for WebSockets
Guacamole needs WebSockets for low-latency keystrokes and smooth cursor tracking. Save this configuration as nginx.conf:
server {
    listen 80;
    server_name bastion.example.com;
    return 301 https://$host$request_uri;
}

server {
    listen 443 ssl http2;
    server_name bastion.example.com;

    ssl_certificate /etc/nginx/certs/fullchain.pem;
    ssl_certificate_key /etc/nginx/certs/privkey.pem;
    ssl_protocols TLSv1.2 TLSv1.3;
    ssl_ciphers HIGH:!aNULL:!MD5;

    location / {
        proxy_pass http://guacamole:8080/guacamole/;
        proxy_buffering off;
        proxy_http_version 1.1;
        proxy_set_header X-Forwarded-For $proxy_add_x_forwarded_for;
        proxy_set_header Upgrade $http_upgrade;
        proxy_set_header Connection $http_connection;
        access_log off;
    }
}
4. Starting the Stack and Enforcing 2FA
Bring the containers up in detached mode:
docker compose up -d
docker compose logs -f guacamole
Open https://bastion.example.com in your browser. The default administrative login is guacadmin / guacadmin.
- Scan the enrollment QR code using an authenticator app like Bitwarden, 1Password, or Aegis.
- Head straight to Settings > Users > guacadmin, update the default password, and provision individual named accounts for each engineer.
- Disable the
guacadminaccount once you verify that your personal admin credentials and TOTP work properly.
5. Adding SSH and RDP Target Hosts
Configuring internal nodes takes about 30 seconds per server:
- Linux nodes (SSH): Navigate to Settings > Connections > New Connection. Choose
SSH. Enter the private IP (such as10.0.1.15), port22, and your username. Paste the deployment private key directly into the web UI. Engineers can access the host immediately without holding copies of the raw private key on their devices. - Windows nodes (RDP): Add a connection using
RDP. Enter the internal IP and port3389. Check Ignore cert if you use internal self-signed certificates, and set the security mode to NLA (Network Level Authentication).
Real-World Operational Takeaways
Moving remote access behind Guacamole reduced our team’s onboarding time from two days of local setup to five minutes. New developers sign into the portal, complete 2FA, and get immediate terminal or desktop access. Nobody has to fiddle with local OpenSSH configurations or corporate VPN clients anymore.
Audit logging is another huge win. Guacamole includes built-in session recording that writes compressed session playback files to disk. You get exact screen and keystroke replays for production changes without installing intrusive endpoint monitoring agents on target servers.
Keep an eye on memory usage under load. Each active SSH connection consumes only about 15 MB of RAM in guacd. In contrast, full 1080p RDP sessions consume roughly 120 MB to 200 MB each depending on color depth and display updates. Sizing the host VM with 4 GB of RAM comfortably supported our 18 concurrent sessions with sub-30ms keystroke latency. If you still have raw management ports exposed to the open internet, running this containerized gateway cuts your attack surface down in an afternoon.