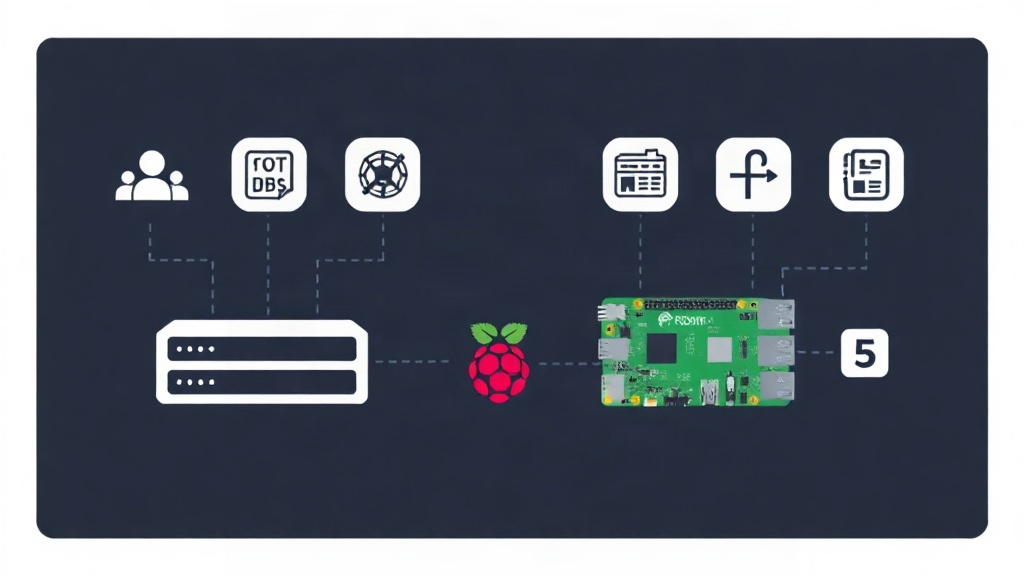
The 2-Node Problem: Why You Need a Tie-Breaker
Most people think a High Availability (HA) cluster requires at least three expensive servers. They are technically right, but their wallets might disagree. This requirement comes down to “Quorum”—the minimum number of votes needed for the cluster to make decisions. In a standard Proxmox setup, each node gets one vote.
If one node goes offline in a two-node setup, the survivor only holds 50% of the votes. Because Proxmox requires a strict majority (>50%), the surviving node loses quorum. It then freezes all virtual machines and stops HA services. This safety measure prevents a “split-brain” scenario where both nodes write to the same storage and corrupt your data.
You can fix this without buying a third full-sized server. A Quorum Device (QDevice) acts as a lightweight tie-breaker. I have run this setup in my lab for over six months. It has survived three power outages and two scheduled kernel updates without a single minute of downtime.
Prerequisites and Environment Setup
The Raspberry Pi doesn’t need much horsepower. An old Raspberry Pi 3B or even a $15 Raspberry Pi Zero 2 W is plenty. It only processes tiny 64-byte network packets to cast its vote. Before you start, ensure you have the following:
- A functional 2-node Proxmox VE cluster (e.g.,
pve-01andpve-02). - A Raspberry Pi running a clean install of Raspberry Pi OS or Debian.
- Static IP addresses for every device to prevent connection drops.
- SSH access with root or sudo permissions.
In this architecture, the Pi runs the corosync-qnetd server. Meanwhile, your Proxmox nodes run the corosync-qdevice agent to talk to it.
Step 1: Preparing the Raspberry Pi (The QNetd Server)
The Raspberry Pi hosts the corosync-qnetd daemon. This service sits quietly and waits for Proxmox nodes to ask for a vote. It uses less than 1% of the Pi’s CPU under normal conditions.
Log into your Pi and update the package list:
sudo apt update
sudo apt install corosync-qnetd -y
Check that the service is running properly:
systemctl status corosync-qnetdThe Pi is now ready. You don’t need to touch any configuration files here; the Proxmox nodes will handle the heavy lifting during the handshake.
Step 2: Preparing the Proxmox Nodes
Next, move over to your Proxmox nodes. You must install the agent on both pve-01 and pve-02. This package allows the servers to communicate with the Pi’s voting service.
Run these commands on both Proxmox servers:
apt update
apt install corosync-qdevice -y
Version matching is important here. If your Pi runs a very old version of Debian, the SSH handshake might fail. Stick to modern versions like Debian 11 or 12 for the best results.
Step 3: Configuring the QDevice Link
This is where the magic happens. You only need to run this command from one Proxmox node. It will automatically push the configuration to the rest of the cluster.
From pve-01, run the setup command. Replace the IP with your Raspberry Pi’s address:
pvecm qdevice setup 192.168.1.50Here is what happens behind the scenes:
- The node verifies the Pi is reachable on the network.
- It asks for the Pi’s root password to exchange secure SSH certificates.
- It updates the cluster configuration to include the Pi as a voting member.
- It restarts the Corosync service across the whole cluster.
If you get an “SSH host key verification” error, don’t panic. Simply SSH into the Pi manually once from the Proxmox terminal to accept the key, then try again.
Verification: Checking Your Math
Now, verify that the cluster recognizes three votes. Run this on any Proxmox node:
pvecm statusCheck the Quorum information section. Your output should look like this:
Quorum information
------------------
Nodes:            2
Quorum:           2
Votes:            3
Total votes:      3
Look at the Total votes. Even though you only have two servers, you have three votes. If pve-02 dies, pve-01 keeps 2 out of 3 votes (66%). Since 66% is a majority, your VMs stay online.
Hard-Earned Lessons for Long-Term Stability
Running a QDevice is a “set it and forget it” task, but only if you avoid common pitfalls. Here is what I learned after six months of production use.
1. Ethernet is Mandatory
Never use Wi-Fi for a QDevice. I tried it, and every time the microwave turned on, the latency spiked. Those spikes cause the cluster to think the Pi has disappeared. A cheap Ethernet cable ensures the 1-2ms latency required for stable voting.
2. Independent Power is Non-Negotiable
Do not plug the Pi into a USB port on your Proxmox server. If that server reboots, the Pi reboots too. You would lose two votes simultaneously, crashing the entire cluster. Use a dedicated power brick or a PoE hat connected to a UPS.
3. Maintenance is Safe
You can update and reboot the Raspberry Pi whenever you want, provided both Proxmox nodes are healthy. The cluster will temporarily drop to 2 out of 3 votes. Since 2 is still a majority, your VMs won’t even flinch.
4. Don’t Forget Storage
A QDevice only solves the voting problem. It does not magically sync your data. You still need shared storage like a NAS (NFS/iSCSI) or a replicated ZFS pool to move VMs between nodes instantly. The QDevice simply provides the “brain” to decide when that move should happen.
A Raspberry Pi QDevice is the most cost-effective way to turn a basic home lab into a resilient environment. It eliminates split-brain anxiety and lets you sleep better at night.