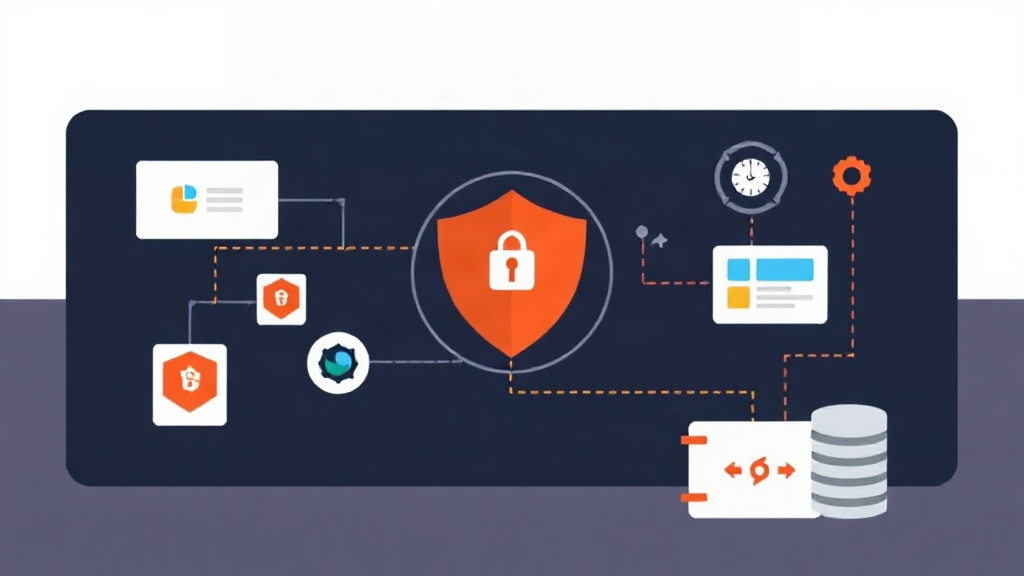
The Shift from VPNs to Identity-Based Access
VPNs are a blunt instrument. Managing remote access used to mean handing out credentials and praying nobody leaked their password. But as infrastructure grows to 500+ nodes, the “castle and moat” strategy collapses. Once a user is inside the VPN, they often have lateral movement across the entire subnet. I have spent too many nights auditing firewall logs trying to figure out which developer touched a production database at 3 AM.
Boundary flips the script. It focuses on who you are, not which network you’re sitting on. It grants access to specific targets—like a single Postgres instance on port 5432—without exposing the rest of the network. This is the heart of Zero Trust. Verify everything, trust no one, and grant only the permissions needed for the task at hand.
Comparing Access Strategies: VPN vs. Jump Hosts vs. Boundary
Before we touch the terminal, let’s look at how Boundary stacks up against the methods we’ve used for the last decade.
- VPN (Virtual Private Network): These grant access to an entire network segment. Restricting a user to a specific IP requires complex, brittle firewall rules that rarely stay updated.
- Jump Hosts (Bastions): These provide a single entry point. However, managing SSH keys for 100+ developers on a single bastion is a manual nightmare. You still face the “static credential” problem where keys live on laptops forever.
- HashiCorp Boundary: This acts as an identity-aware proxy. Users authenticate via OIDC (like Okta or GitHub). Boundary then tunnels the connection directly to the target. No static SSH keys or DB passwords ever touch the user’s machine.
The Trade-offs
The Good
- Granular Control: You can permit a junior dev to access the staging DB while blocking them from production, even if both servers sit on the same VLAN.
- Audit Trails: Boundary logs every connection attempt. This turns compliance audits from a week-long headache into a five-minute report.
- Dark Services: Your databases don’t need public IPs. They don’t even need to be reachable from your office network; they only need to talk to the Boundary Worker.
The Challenges
- Infrastructure Overhead: You’re adding more moving parts, including Controllers, Workers, and a dedicated database.
- Workflow Changes: Your team must use the Boundary CLI or Desktop app. It’s a small hurdle, but it requires buy-in.
The Architecture
For a resilient setup, you need to separate these three roles:
- The Controller: The brain. It manages the API, auth, and policies.
- The Worker: The muscle. It proxies the actual data between the user and the target resource.
- PostgreSQL: The state. This stores your configuration and session metadata.
Setting up the PostgreSQL backend requires a rock-solid master password. I usually generate a 32-character string using the Toolcraft password generator. It runs entirely in the browser, so your root credentials never travel over the wire. This keeps sensitive keys out of third-party server logs.
Step-by-Step Deployment
1. Install the Boundary Binary
Grab the official HashiCorp repository for your distribution. I’m using Ubuntu 22.04 for this example.
wget -O- https://apt.releases.hashicorp.com/gpg | sudo gpg --dearmor -o /usr/share/keyrings/hashicorp-archive-keyring.gpg
echo "deb [signed-by=/usr/share/keyrings/hashicorp-archive-keyring.gpg] https://apt.releases.hashicorp.com $(lsb_release -cs) main" | sudo tee /etc/apt/sources.list.d/hashicorp.list
sudo apt update && sudo apt install boundary
2. Configure the Controller
Boundary uses HCL (HashiCorp Configuration Language). You need to define how the controller connects to the database. Create controller.hcl.
disable_mlock = true

controller {
  name = "boundary-controller-01"
  description = "Main Controller"
  database {
    url = "postgresql://boundary_user:your_secure_password@localhost:5432/boundary"
  }
}

listener "tcp" {
  address = "0.0.0.0:9200"
  purpose = "api"
  tls_disable = true # Use TLS in production!
}

kms "aead" {
  purpose   = "root"
  aead_type = "aes-gcm"
  key       = "s3cret_key_for_dev_only"
  key_id    = "global_root"
}
If you’re mapping out IP ranges for multiple workers, this Subnet Calculator helps visualize CIDR blocks. It’s a quick way to ensure your worker nodes have the correct network path to your targets.
3. Initialize the Database
With Postgres running, initialize the schema. This generates your first set of admin credentials.
boundary database init -config controller.hclPro tip: Copy the Login Name and Password from the output immediately. You won’t get a second chance to see them.
4. Fire Up the Service
For a production environment, you’d use a systemd unit file. For now, run it directly to check for errors:
boundary server -config controller.hcl5. Deploy the Worker
The worker must reach both the controller and the target servers. Create worker.hcl:
disable_mlock = true

worker {
  name = "boundary-worker-01"
  public_addr = "1.2.3.4" # Your worker's reachable IP
  initial_upstreams = ["controller-ip:9201"]
}

listener "tcp" {
  address = "0.0.0.0:9202"
  purpose = "proxy"
  tls_disable = true
}
Just-In-Time (JIT) Access
Boundary shines when paired with HashiCorp Vault. Instead of static database passwords, Boundary requests temporary credentials that expire the moment a session ends. The user never even sees the password; Boundary injects it directly into the connection.
Example: Connecting to Postgres
- Define a Target in the Boundary UI pointing to your internal DB IP.
- Link a Credential Library to that target.
- Run
boundary connect postgres -target-id t_12345.
I use this Hash Generator to verify the integrity of my Boundary binaries. It’s also useful for creating checksums for deployment scripts. Since it’s client-side, I don’t have to worry about my file metadata leaking to the web.
Field-Tested Best Practices
- Enforce TLS: I disabled it here for speed, but production traffic must be encrypted. Boundary handles identity data; don’t let it travel in plain text.
- Offload User Management: Don’t create users manually. Connect Boundary to your OIDC provider so access is revoked automatically when an employee leaves.
- Watch Latency: All traffic flows through the worker. Place workers in the same cloud region as your targets to keep database queries snappy. Aim for sub-10ms latency where possible.
- Terraform Everything: Don’t click around the UI. Use the Boundary Terraform provider to manage your targets and roles as code.
Ditching static keys and open VPN tunnels drastically shrinks your attack surface. The initial setup takes effort, but the visibility and control you gain over your infrastructure are worth it.