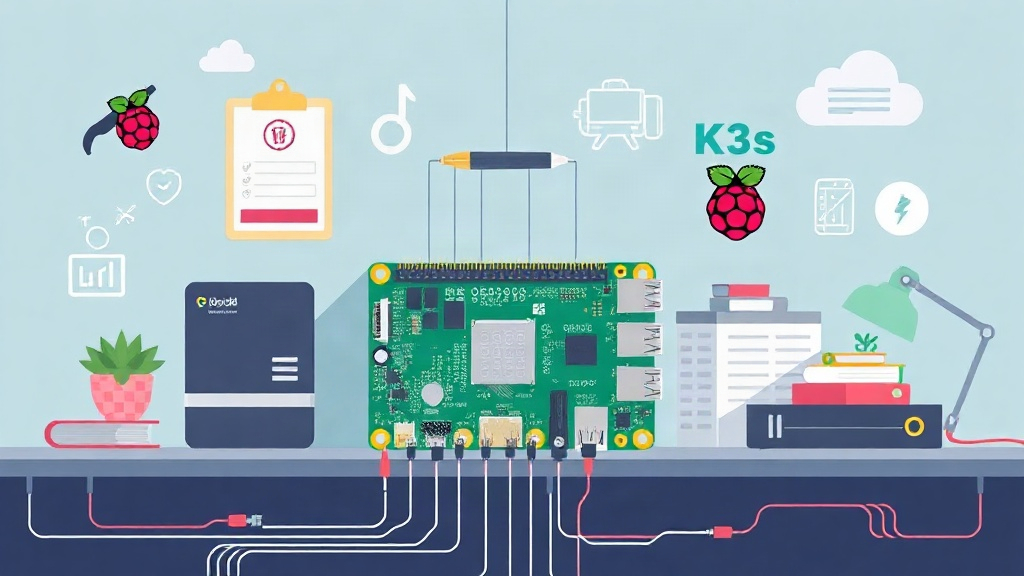
The 2 AM Realization: Why Virtualization Isn’t Enough
It was 2 AM, and my production environment was failing. A race condition in the distributed storage layer was causing nodes to drop, but I couldn’t reproduce it on my workstation. High-end virtualization masks the hardware latencies and networking quirks that trigger these failures. I realized that to truly master high availability, I needed physical hardware. I needed a cluster I could physically unplug to watch the software scramble.
Managing a multi-node cluster shifts your perspective on networking and resource constraints. You don’t need a rack of enterprise servers to learn these lessons. I built a 4-node Raspberry Pi cluster for $144, and it taught me more about Kubernetes than any cloud certification ever could. Here is how you can do it too.
The $150 Bill of Materials
To stay under budget, I chose the Raspberry Pi Zero 2 W. It packs a quad-core processor into a tiny footprint. While 512MB of RAM is tight, it forces you to learn resource optimization. Here is the cost breakdown:
- 4x Raspberry Pi Zero 2 W: ~$60 ($15 each at MSRP)
- 4x 32GB MicroSD Cards (SanDisk Ultra): ~$24
- 1x 6-Port USB Charging Station (60W): ~$25
- 4x Micro-USB Cables (Short 6-inch): ~$10
- 1x USB 2.0 Hub + 128GB Flash Drive: ~$25
- Total: ~$144
Note: This setup uses 2.4GHz WiFi to save on expensive PoE hats and switches. It’s perfect for learning K8s architecture, though you’ll want to keep the nodes near your router to minimize packet loss.
Installation: From Bare Metal to K3s
Efficiency is key when working with limited RAM. I use Raspberry Pi OS Lite (64-bit) to keep the background overhead below 50MB. Avoid desktop environments at all costs.
1. Preparing the OS
Flash your SD cards using Raspberry Pi Imager. Use the pre-configuration menu to set unique hostnames (node-01 through node-04) and enable SSH. Before booting, you must enable cgroups for K3s to manage resources correctly. Add the following to the end of /boot/cmdline.txt:
cgroup_enable=cpuset cgroup_enable=memory cgroup_memory=1Boot the nodes and assign static IPs in your router. Static IPs prevent the cluster from collapsing when a DHCP lease expires during a deployment.
2. Installing K3s on the Control Plane (node-01)
K3s is a lightweight Kubernetes distribution designed for the edge. I disable Traefik and the metrics server to save roughly 80MB of RAM for my own apps.
curl -sfL https://get.k3s.io | INSTALL_K3S_EXEC="--disable traefik --disable metrics-server --write-kubeconfig-mode 644" sh -s -Once the script finishes, retrieve your node token. This string allows worker nodes to join your cluster securely:
sudo cat /var/lib/rancher/k3s/server/node-token3. Joining the Worker Nodes
Run the installation script on the remaining three nodes. Point them to your control plane’s IP and use the token you just saved:
curl -sfL https://get.k3s.io | K3S_URL=https://<MASTER_IP>:6443 K3S_TOKEN=<YOUR_TOKEN> sh -Run kubectl get nodes from node-01. If all four nodes report a “Ready” status, your cluster is officially live.
Configuration: Solving the Shared Storage Headache
Kubernetes pods are ephemeral. If a pod restarts on a different node, its data vanishes unless you have shared storage. Since we don’t have a dedicated SAN, we’ll turn the 128GB USB drive on node-01 into an NFS server.
1. Setting up the NFS Server
Plug the USB drive into node-01 and export it to the network:
sudo apt-get install nfs-kernel-server -y
sudo mkdir -p /mnt/cluster_storage
# Add to /etc/exports
/mnt/cluster_storage *(rw,sync,no_subtree_check,no_root_squash)
Apply the configuration with sudo exportfs -ra.
2. Automating Storage with a Provisioner
Manually creating Persistent Volumes is tedious. Instead, use the NFS Subdir External Provisioner. It automatically carves out folders on your USB drive whenever an app requests storage. Install it via Helm:
helm repo add nfs-subdir-external-provisioner https://kubernetes-sigs.github.io/nfs-subdir-external-provisioner/
helm install nfs-provisioner nfs-subdir-external-provisioner/nfs-subdir-external-provisioner \
    --set nfs.server=<MASTER_IP> \
    --set nfs.path=/mnt/cluster_storage \
    --set storageClass.name=nfs-client \
    --set storageClass.defaultClass=true
Now, any deployment requesting a PersistentVolumeClaim will get space on that USB drive instantly. This makes running databases or stateful apps much easier.
Verification: Keeping the Lights On
A cluster is only useful if it stays running. With only 512MB of RAM, you must be aggressive with monitoring. I avoid heavy tools like Prometheus and instead use k9s for a terminal-based UI.
1. Deploying a Test Workload
Verify the scheduler and storage by deploying a 3-replica Nginx instance. Use a test-nginx.yaml file:
apiVersion: v1
kind: PersistentVolumeClaim
metadata:
  name: nginx-pvc
spec:
  accessModes:
    - ReadWriteMany
  resources:
    requests:
      storage: 1Gi
---
apiVersion: apps/v1
kind: Deployment
metadata:
  name: nginx-deployment
spec:
  replicas: 3
  selector:
    matchLabels:
      app: nginx
  template:
    metadata:
      labels:
        app: nginx
    spec:
      containers:
      - name: nginx
        image: nginx:alpine
        volumeMounts:
        - name: storage
          mountPath: /usr/share/nginx/html
      volumes:
      - name: storage
        persistentVolumeClaim:
          claimName: nginx-pvc
Run kubectl apply -f test-nginx.yaml. If the status transitions to Running, your storage logic is solid.
2. Real-time Troubleshooting
When nodes fail—and they will—run kubectl get events -w. On these small Pis, the most common error is OOMKilled (Out of Memory). If a node starts “flapping” (switching between Ready and NotReady), check the load immediately:
kubectl top nodesIf node-03 is red-lining, add a Taint to keep heavy pods off it. This physical lab provides a visceral experience. You can see the LEDs on the Pi blink frantically right before the SSH connection drops. It is a great way to learn the actual limits of your system.
Final Thoughts
This cluster isn’t about raw power; it’s a playground where mistakes cost nothing but time. You will learn to optimize container images and debug networking issues that simply don’t exist in a virtual environment. For less than $150, you’ve built a miniature version of the infrastructure that powers the modern web. Go ahead and break something.