Securing Your Data Against the Real World
Most of us start our HomeLab journey with a single server or a NAS tucked under a desk. We configure RAID, run local backups to an external drive, and sleep soundly. But RAID isn’t a backup. If a pipe bursts, the kitchen catches fire, or a burglar clears out your office, local redundancy is useless. To survive a physical site disaster, you need your data somewhere else.
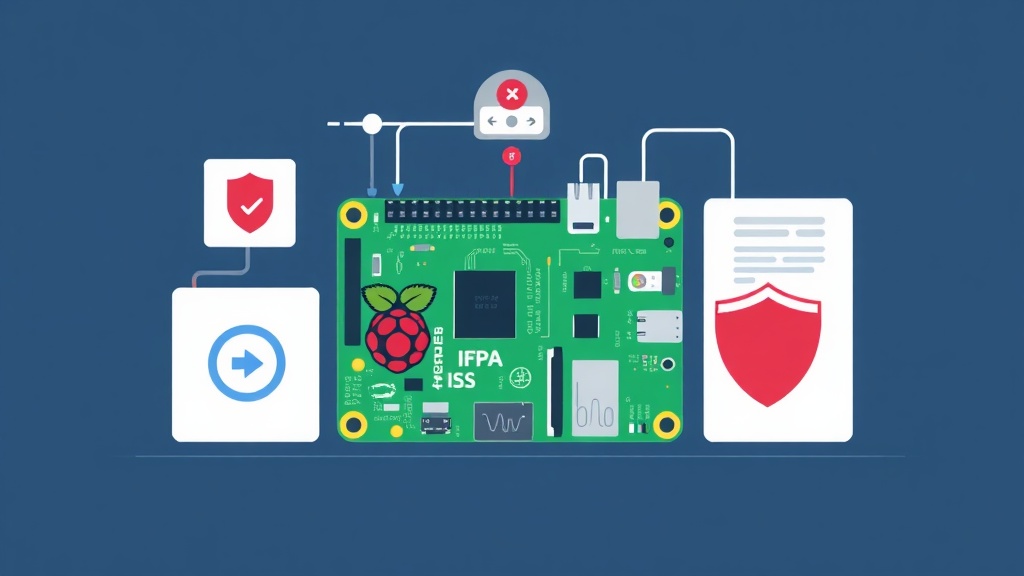
I wanted a solution that was low-power (pulling under 10W), fully encrypted, and didn’t involve paying $20 a month to cloud providers for several terabytes of storage. Instead, I built a dedicated backup node using a Raspberry Pi 4 and a 4TB external drive. I placed it at a friend’s house and linked it to my home via a secure WireGuard tunnel. This setup hasn’t missed a beat for over 14 months.
The Architecture
Here is how the 30,000-foot view looks:
- Site A (Source): Your main HomeLab. This could be a Proxmox node or a Synology NAS running a backup client.
- Site B (Target): A Raspberry Pi with an external HDD located at a different physical address.
- Connectivity: A WireGuard VPN tunnel creates a private “local” link between the two sites, even when both are stuck behind restrictive NAT.
- Software: We use
restic. It handles encryption and deduplication so you only send changed data blocks.
The workflow is straightforward. Site A initiates a connection to Site B via WireGuard. Once the tunnel is up, Site A runs a restic command. Data is encrypted on your local hardware and then piped through the tunnel to be stored safely at Site B.
Step-by-Step Implementation
Let’s get into the configuration. You will need two Raspberry Pis running a clean install of Raspberry Pi OS (64-bit recommended).
1. Setting up the WireGuard Tunnel
WireGuard is lean, fast, and significantly easier to audit than OpenVPN. It allows Site A to “see” Site B as a local IP address.
First, install the WireGuard tools on both devices:
sudo apt update && sudo apt install wireguard -yOn Site B (The Target), generate your keys and open the configuration file:
wg genkey | tee privatekey | wg pubkey > publickey
sudo nano /etc/wireguard/wg0.conf
Paste this configuration, ensuring you swap in your actual keys:
[Interface]
PrivateKey = <Site_B_Private_Key>
Address = 10.0.0.1/24
ListenPort = 51820

[Peer]
PublicKey = <Site_A_Public_Key>
AllowedIPs = 10.0.0.2/32
On Site A (The Source), create a matching config that points to Site B’s public IP or DDNS address:
[Interface]
PrivateKey = <Site_A_Private_Key>
Address = 10.0.0.2/24

[Peer]
PublicKey = <Site_B_Public_Key>
Endpoint = your-ddns-hostname.com:51820
AllowedIPs = 10.0.0.1/32
PersistentKeepalive = 25
Pro tip: You must forward UDP port 51820 on the router at Site B to the Raspberry Pi’s local IP.
2. Preparing the Storage Vault
Format your external drive as ext4 for maximum reliability on Linux. Mount it via /etc/fstab to ensure it reconnects automatically after a power outage.
# Setup a dedicated mount point
sudo mkdir -p /mnt/backup_vault
sudo chown -R pi:pi /mnt/backup_vault
3. Initializing Restic
Restic is a fantastic tool because it is a single binary that handles everything from deduplication to snapshots. Install it on Site A:
sudo apt install restic -yInitialize the remote repository over the tunnel. This command tells restic to use SFTP to talk to the Pi at 10.0.0.1:
restic -r sftp:[email protected]:/mnt/backup_vault/homelab initChoose a strong password and save it in a manager like Bitwarden. If you lose this, your backups are just expensive random noise.
Automation and Space Management
Manual backups are a recipe for failure. You will forget. Instead, use a script and a systemd timer to handle the heavy lifting at 3 AM while you sleep.
1. The Backup Script
Create /home/pi/backup_script.sh on Site A. This script handles the backup and prunes old data to save disk space:
#!/bin/bash
export RESTIC_REPOSITORY="sftp:[email protected]:/mnt/backup_vault/homelab"
export RESTIC_PASSWORD_FILE="/home/pi/.restic_pw"

# Back up specific directories
restic backup /home/pi/data /var/www/html --verbose

# Retention policy: keep 7 daily, 4 weekly, and 6 monthly snapshots
restic forget --keep-daily 7 --keep-weekly 4 --keep-monthly 6 --prune
2. Why Systemd Timers Beat Cron
While cron is the old standard, systemd timers are superior for backups. If your Pi is powered off during the scheduled time, Persistent=true ensures the job runs immediately when it boots back up.
Create /etc/systemd/system/offsite-backup.timer:
[Unit]
Description=Run offsite backup daily at 3 AM

[Timer]
OnCalendar=*-*-* 03:00:00
Persistent=true

[Install]
WantedBy=timers.target
Hard-Won Lessons from the Field
Power is Everything
Raspberry Pis are notoriously sensitive to voltage drops. If you plug a 2.5″ HDD directly into the USB port, the Pi might crash when the drive spins up. Use the official Raspberry Pi 15W power supply. For 3.5″ drives, always use a powered enclosure with its own wall plug.
Monitoring via Healthchecks.io
A silent backup failure is a nightmare. I add a simple curl command to the end of my script that pings Healthchecks.io. If the service doesn’t hear from my Pi for 24 hours, I get an alert on my phone. This has saved me twice when a router update broke the WireGuard tunnel.
The “Sneakernet” First Sync
If you have 500GB of data and a 20Mbps upload speed at home, that first sync will take over 60 hours. Don’t do it over the internet. Bring the “offsite” Pi to your house, run the initial backup over your Gigabit LAN, and then move it to its permanent home. Restic only sends the incremental changes thereafter, which usually takes minutes.
For the price of a few Raspberry Pis and some electricity, you now have a professional-grade disaster recovery plan. It’s a small investment for the peace of mind that comes with knowing your data is safe from literal fire and brimstone.