Rethinking Web Security: The Unified vs. Fragmented Approach
After my server got hit by SSH brute-force attacks at midnight, I always prioritize security from initial setup. That experience taught me that security isn’t something you bolt on later; it needs to be the foundation. Most of us start with a basic Nginx container, then realize we need SSL, so we add Certbot.
Then we worry about SQL injections, so we try to compile ModSecurity. Then we see thousands of 404 scans in the logs, so we install Fail2Ban on the host and try to map logs across Docker volumes. It becomes a fragile house of cards very quickly.
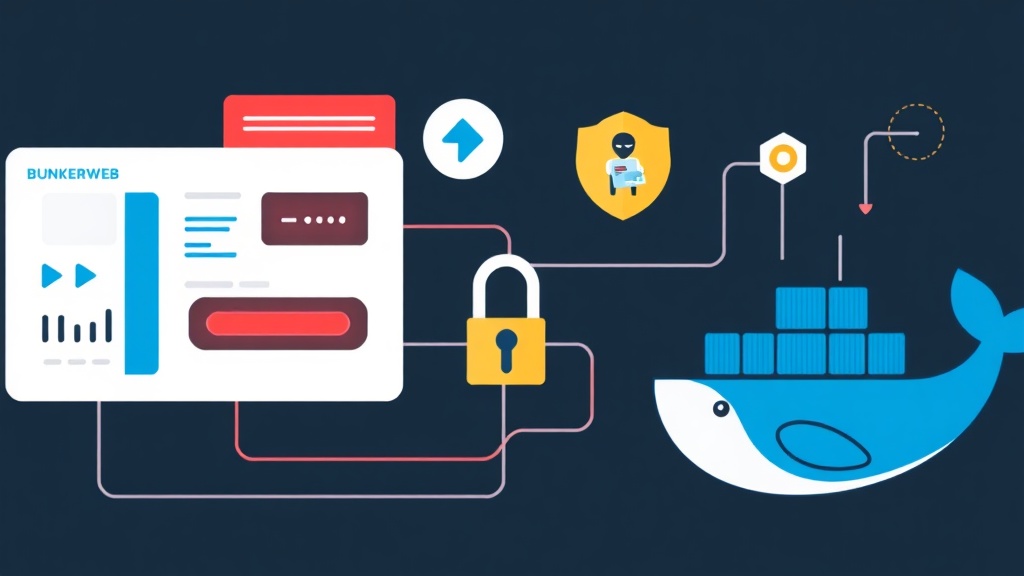
The fragmented approach works if you have a dedicated SecOps team, but for those of us managing multiple projects or small-to-medium infrastructures, it’s a maintenance nightmare. This is where the concept of a “security-first gateway” comes in. Instead of managing five different tools, we use a single, hardened web server that has these features baked into its core logic. BunkerWeb takes Nginx and wraps it in a management layer that automates the tedious parts of security configuration.
Why BunkerWeb? Pros and Cons from the Trenches
I’ve spent years configuring traditional WAFs (Web Application Firewalls), and while they are highly customizable, the learning curve is steep. BunkerWeb sits in a sweet spot between “push-button security” and “total control.”
The Upside
- Automated Hardening: It applies sane defaults for Nginx security headers (HSTS, CSP, X-Frame-Options) out of the box.
- Native Docker Integration: It can automatically discover other containers and configure routing/protection based on Docker labels.
- Unified Configuration: WAF rules, Fail2Ban thresholds, and Let’s Encrypt settings are all handled via environment variables.
- Modern WAF: It uses a combination of signature-based detection (ModSecurity/Core Rule Set) and behavioral analysis.
The Trade-offs
- Resource Overhead: Because it runs several background processes (like a local database for state and Python-based logic), it consumes more RAM than a bare-bones Nginx image.
- Abstractions: Troubleshooting can occasionally be tricky because you’re interacting with the BunkerWeb layer rather than the raw Nginx config files directly.
My Recommended Setup: The Docker Orchestration Pattern
There are several ways to deploy BunkerWeb, but I’ve found that using the Docker Autoconf method is the most scalable. In this setup, BunkerWeb runs as a standalone container with access to the Docker socket. When you spin up a new application container, you just add a few labels, and BunkerWeb automatically generates the reverse proxy config, requests an SSL certificate, and enables WAF protection.
This “sidecar-less” approach keeps your application containers clean. Your app doesn’t need to know about SSL or security headers; it just focuses on serving the code, while BunkerWeb acts as the hardened shield at the edge of your network.
Step-by-Step Implementation: Building Your Hardened Gateway
I recommend starting with a dedicated directory for your security gateway. This keeps your infrastructure-level configurations separate from your application code.
1. Initial Docker Compose Configuration
Create a docker-compose.yml file. We will define two services: the BunkerWeb core and the Autoconf helper. The helper is what monitors the Docker socket for new containers.
version: "3.8"

services:
  bunkerweb:
    image: bunkerze/bunkerweb:1.5.8
    ports:
      - "80:8080"
      - "443:8443"
    volumes:
      - bw_data:/data
    environment:
      - API_WHITELIST_IP=127.0.0.1/32 172.18.0.0/16
      - HTTP_PORT=8080
      - HTTPS_PORT=8443
      - USE_CLIENT_IP=yes
      - USE_REAL_IP=yes
      - REAL_IP_FROM=172.18.0.0/16
      - REAL_IP_HEADER=X-Forwarded-For

  bw-autoconf:
    image: bunkerze/bunkerweb-autoconf:1.5.8
    volumes:
      - /var/run/docker.sock:/var/run/docker.sock:ro
    environment:
      - DATABASE_URL=sqlite:////data/db.sqlite3
    volumes:
      - bw_data:/data

volumes:
  bw_data:
One trick I’ve learned: always specify the API_WHITELIST_IP to include your Docker network range. This allows the autoconf service to communicate with the main instance securely.
2. Enabling Core Security Features
BunkerWeb comes with many features disabled by default to prevent breaking apps. For a production-ready setup, I always enable the WAF and the bad bot blocker. You can add these to the environment section of the bunkerweb service:
    environment:
      # ... previous variables ...
      - USE_WAF=yes
      - USE_ANTIBOT=yes
      - USE_LIMIT_REQ=yes
      - LIMIT_REQ_RATE=10r/s
      - USE_GZIP=yes
      - SERVER_TOKENS=off
By setting SERVER_TOKENS=off, you prevent Nginx from leaking its version number in error pages—a simple but vital step in reducing your attack surface.
3. Deploying a Protected Application
Now, let’s see how easy it is to add a web application. Suppose you have a simple Node.js app. You don’t modify the gateway config. Instead, you add labels to your app’s docker-compose.yml:
services:
  my-app:
    image: node:alpine
    # ... app config ...
    labels:
      - "bunkerweb.SERVER_NAME=example.com"
      - "bunkerweb.USE_LETS_ENCRYPT=yes"
      - "bunkerweb.USE_REVERSE_PROXY=yes"
      - "bunkerweb.REVERSE_PROXY_URL=/"
      - "bunkerweb.REVERSE_PROXY_HOST=http://my-app:3000"
networks:
  default:
    external:
      name: bunkerweb_network
BunkerWeb detects these labels, triggers the Let’s Encrypt DNS or HTTP challenge, and starts routing traffic. If someone tries a SQL injection against example.com, BunkerWeb’s WAF will intercept it before it ever reaches your Node.js container.
Post-Deployment: Monitoring and Maintenance
Automation is great, but blind trust is dangerous. I suggest checking the logs regularly to see what the WAF is catching. You can view the BunkerWeb logs using:
docker compose logs -f bunkerwebIf you find that legitimate traffic is being blocked (false positives), you can tune the WAF rules using the WAF_RESOURCES environment variable or by whitelisting specific rule IDs. In my experience, the default Core Rule Set (CRS) is quite aggressive, so you might need to disable specific rules for complex apps like WordPress or Nextcloud.
Another tip: keep an eye on the Fail2Ban status. BunkerWeb keeps a list of banned IPs in its internal database. If you accidentally lock yourself out, you’ll need to exec into the container and use the bwcli tool to unban your IP. It’s a bit of a hassle, but it’s a small price to pay for a server that doesn’t get overwhelmed by bots while you’re sleeping.
Security is a continuous process. While BunkerWeb handles the heavy lifting of WAF and SSL, you still need to keep your host OS updated and your Docker images patched. But with this setup, you’ve at least closed the most common front-door vulnerabilities with a single, maintainable solution.