Taking Back Control of Your Conversations
Think about your daily chat logs. WhatsApp, Telegram, and Discord are convenient, but they’re essentially black boxes where you don’t actually own your data. For a HomeLab enthusiast or a DevOps engineer, this dependency is a massive red flag. I’ve always argued that our most sensitive data—private conversations—belongs on hardware we own and audit.
Deploying a federated communication system is a core skill for any modern architect. It isn’t just a privacy play. It’s a deep dive into how distributed systems manage identity, state, and security across the open web. Matrix is more than just a chat app. It is a battle-tested open standard that rivals Silicon Valley’s biggest platforms in both features and encryption.
The Stack: Synapse and Element
Before we touch the terminal, let’s look at the components. The Matrix protocol functions much like email. You have a server (the Homeserver) and a client (the app). Unlike Slack, where everyone is trapped on one corporate server, Matrix lets you host your own instance while still chatting with users on other servers via ‘federation.’
- Synapse: This is the engine. Written in Python with high-performance Rust components, it handles the heavy lifting like database management, E2EE key exchange, and room syncing.
- Element: This is your interface. While mobile and desktop apps exist, we are self-hosting the web version. This ensures you can access your secure chats from any browser, anywhere, without touching the official Element.io servers.
Prerequisites: What You’ll Need
Hardware requirements are modest, but don’t skimp on RAM. I recommend at least 2GB of memory for a smooth experience.
- A Linux environment (Ubuntu 22.04 or Debian 12 work perfectly).
- Docker and Docker Compose (v2.20+ recommended).
- A domain name like
matrix.yourdomain.com. Matrix uses DNS records to find other servers. - A reverse proxy such as Nginx Proxy Manager or Traefik. Since End-to-End Encryption (E2EE) requires HTTPS, you’ll need valid SSL certificates.
Step 1: Organizing the Workspace
Messy directories lead to broken backups. I keep my Docker stacks in /opt to keep things clean.
mkdir -p /opt/matrix/data
cd /opt/matrix
Step 2: Generating the Configuration
Synapse requires a boilerplate configuration to start. We use the Synapse image itself to generate this file. Choose your server name carefully. It becomes your identity (e.g., @user:chat.domain.com). Changing this later is a nightmare that usually involves a full database wipe.
docker run -it --rm \
    -v /opt/matrix/data:/data \
    -e SYNAPSE_SERVER_NAME=chat.yourdomain.com \
    -e SYNAPSE_REPORT_STATS=no \
    matrixdotorg/synapse:latest generate
This creates homeserver.yaml in your data folder. We’ll tweak this in the next step to swap the database.
Step 3: Moving to PostgreSQL
By default, Synapse uses SQLite. It’s fine for a quick demo, but it crawls once your database hits a few hundred megabytes. If you plan to have more than 2 or 3 users, PostgreSQL is mandatory. It handles concurrent writes and large room histories far more efficiently.
Open /opt/matrix/data/homeserver.yaml. Find the database section, comment out the SQLite lines, and prepare for Postgres. While you’re there, copy the registration_shared_secret. You’ll need it to manually create users later.
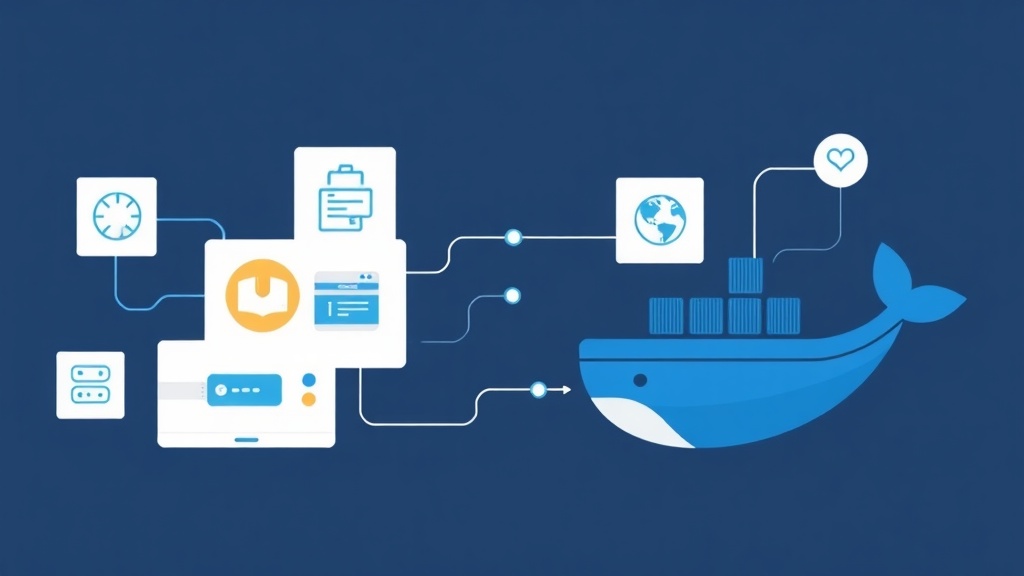
Step 4: The Docker Compose File
This docker-compose.yml ties the engine, the database, and the frontend together. I’ve included specific Postgres arguments to ensure character encoding doesn’t break your chat history.
version: '3.8'

services:
  db:
    image: postgres:15-alpine
    restart: always
    environment:
      POSTGRES_USER: synapse
      POSTGRES_PASSWORD: your_strong_password_here
      POSTGRES_DB: synapse
      POSTGRES_INITDB_ARGS: "--encoding=UTF-8 --lc-collate=C --lc-ctype=C"
    volumes:
      - ./postgresdata:/var/lib/postgresql/data

  synapse:
    image: matrixdotorg/synapse:latest
    restart: always
    volumes:
      - ./data:/data
    depends_on:
      - db
    environment:
      - SYNAPSE_CONFIG_PATH=/data/homeserver.yaml
    ports:
      - 8008:8008

  element:
    image: vectorim/element-web:latest
    restart: always
    volumes:
      - ./element-config.json:/app/config.json
    ports:
      - 8080:80
Update your homeserver.yaml to point to the db service using the credentials you just set.
Step 5: Launch and Validation
Time to go live. I always tail the logs on the first boot to catch any hidden database connection errors.
docker-compose up -d && docker-compose logs -f synapseLook for the message “Synapse now listening on port 8008.” Once you see that, point your reverse proxy to 8008 (for Synapse) and 8080 (for Element).
Step 6: Creating Your Admin User
Since public registration should stay disabled for security, you must register your first user via the CLI. This is the part most people trip over.
docker exec -it matrix_synapse_1 register_new_matrix_user \
    -c /data/homeserver.yaml http://localhost:8008
The script will prompt you for a password. Make sure you hit ‘yes’ when it asks if the user should be an admin. You now have full control over your server.
Hard-Earned Maintenance Tips
Self-hosting is a long-term commitment. Here is how to keep the server from falling over.
Watch Your Storage
Matrix stores every meme and video sent in a room. If you join a large public room like #matrix:matrix.org, your data folder can easily swell to 10GB+ in a single month. Set up a cron job to run the media repo cleaner tool weekly.
Database Backups are Life
Files are easy to replace; databases are not. Use pg_dump to back up your Postgres container nightly. If you lose your database or the signing keys in your data folder, your server identity is effectively dead on the Matrix network.
The Bottom Line
Building your own messaging hub is a massive leap toward digital sovereignty. It’s a great feeling knowing your family’s messages aren’t being scraped for ad keywords. While the DNS and reverse proxy setup can be tricky, the stability of Synapse on Docker is rock solid once configured. Next, look into “bridges” to link your server to Telegram or Signal, keeping all your chats under one secure roof.