The Port 80 Conflict: Why Your Docker Setup Eventually Hits a Wall
We’ve all been there. You start with one Docker container, map port 8080 to 80, and everything works. Then you add a second project, a third service, or perhaps a private analytics dashboard. Suddenly, you’re stuck. You can’t map two containers to port 80 on a single IP address. You end up memorizing weird URLs like your-ip:8081 and your-ip:8082 just to access your own tools.
Then comes the SSL nightmare. Managing Let’s Encrypt certificates manually with Certbot and cron jobs for five different containers is a sure way to break things. I’ve personally lost hours of sleep because a certificate expired after a tiny syntax error in a config file went unnoticed. This manual grind is the single biggest hurdle to scaling your home lab or production environment.
The Problem: Static Configs in a Dynamic Container World
The issue is simple: we are using static tools for dynamic environments. Traditional proxies like Nginx or HAProxy were built for the old days of “pet” servers—machines with IP addresses that stayed the same for years. In Docker, containers are ephemeral. They spin up, die, and change internal IP addresses every time you run an update.
If you stick with a traditional proxy, you have to manually edit a configuration file every time you deploy a new service. You have to tell the proxy exactly where the new app lives (e.g., 172.18.0.5). This manual step is where deployment delays and configuration drift happen. It turns a 5-minute task into a 30-minute troubleshooting session.
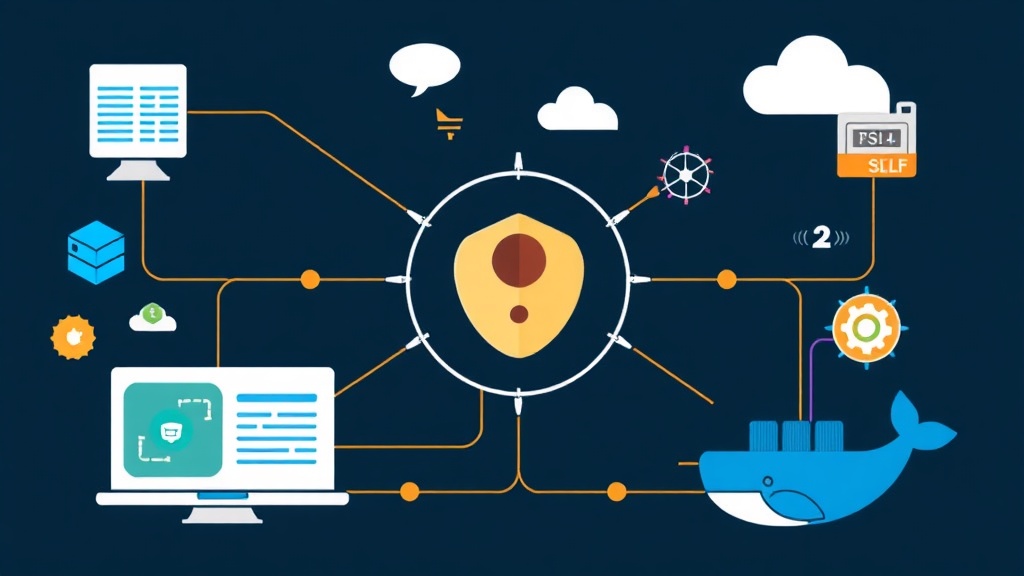
Comparing the Solutions: Nginx vs. Traefik
When looking for a way out of this mess, three main options usually appear on the radar:
- Manual Nginx/HAProxy: These are high-performance beasts. However, they require manual config reloads and external sidecars for SSL. They are built for stability, not for the fast-moving world of containers.
- Nginx Proxy Manager: This offers a clean web interface. It’s great for beginners, but it still requires manual clicks for every new service. It is difficult to manage via version control (GitOps).
- Traefik Proxy: This is a “cloud-native” proxy. Instead of a static list of backends, it watches the Docker socket. When a container starts, Traefik notices it instantly. If the container has the right labels, Traefik creates the routes and fetches an SSL certificate without you lifting a finger.
The Better Way: Service Discovery with Traefik
Traefik is the logical choice for Docker because it treats configuration as metadata. In practice, this means you can deploy a fully secured, production-ready web service by adding just six or seven lines to your docker-compose.yml. It moves the complexity away from the proxy and into the application deployment itself.
Step 1: Preparing the Infrastructure
First, we need a shared network so the proxy can talk to your apps. We also need a dedicated file with strict permissions to store your SSL keys.
# Create the shared proxy network
docker network create proxy-net

# Create the SSL storage file and lock down permissions
touch acme.json
chmod 600 acme.json
Step 2: Launching the Traefik Core
This Docker Compose file sets up the “brain” of your routing. It opens ports 80 and 443 and gives Traefik read-only access to the Docker socket so it can monitor your containers.
version: "3.8"

services:
  traefik:
    image: traefik:v2.10
    container_name: traefik
    restart: always
    security_opt:
      - no-new-privileges:true
    networks:
      - proxy-net
    ports:
      - 80:80
      - 443:443
    volumes:
      - /etc/localtime:/etc/localtime:ro
      - /var/run/docker.sock:/var/run/docker.sock:ro
      - ./acme.json:/acme.json
    command:
      - "--api.dashboard=true"
      - "--providers.docker=true"
      - "--providers.docker.exposedbydefault=false"
      - "--entrypoints.web.address=:80"
      - "--entrypoints.websecure.address=:443"
      - "--certificatesresolvers.myresolver.acme.httpchallenge=true"
      - "--certificatesresolvers.myresolver.acme.httpchallenge.entrypoint=web"
      - "--certificatesresolvers.myresolver.acme.email=admin@yourdomain.com"
      - "--certificatesresolvers.myresolver.acme.storage=/acme.json"
    labels:
      - "traefik.enable=true"
      - "traefik.http.routers.dashboard.rule=Host(`traefik.yourdomain.com`)"
      - "traefik.http.routers.dashboard.service=api@internal"
      - "traefik.http.routers.dashboard.entrypoints=websecure"
      - "traefik.http.routers.dashboard.tls.certresolver=myresolver"
Swap out the email and domain placeholders with your actual info. Once this is running, Traefik will handle the Let’s Encrypt handshake automatically via the HTTP-01 challenge.
Step 3: Deploying an App with Zero Manual Config
This is where it gets interesting. To put a new app online with HTTPS, you don’t touch Traefik. You just label your application. Here is a simple “Whoami” service as an example:
services:
  webapp:
    image: traefik/whoami
    container_name: web-app
    networks:
      - proxy-net
    labels:
      - "traefik.enable=true"
      - "traefik.http.routers.webapp.rule=Host(`app.yourdomain.com`)"
      - "traefik.http.routers.webapp.entrypoints=websecure"
      - "traefik.http.routers.webapp.tls.certresolver=myresolver"
When you run docker-compose up -d, Traefik detects the new container. It sees the app.yourdomain.com rule, requests a certificate, and starts routing traffic. This usually happens in under 10 seconds.
Adding Control with Middleware
Traefik does more than just move traffic; it can modify it on the fly. Middleware allows you to add features like Basic Auth or rate limiting without changing a single line of your application code. For instance, to protect a sensitive dashboard with a password, you can add these labels:
# Use htpasswd to generate the hash
- "traefik.http.middlewares.auth.basicauth.users=admin:$$apr1$$..."
- "traefik.http.routers.dashboard.middlewares=auth"
This is perfect for adding a quick layer of security to internal tools that don’t have built-in login systems.
Maintenance and Best Practices
Keep your Traefik configuration in its own directory. I recommend a structure where Traefik lives in /opt/traefik and your other apps live in their own respective folders. This isolation prevents a typo in one app’s compose file from bringing down your entire proxy.
A common mistake is forgetting to open ports 80 and 443 in your cloud firewall (like an AWS Security Group or UFW). If port 80 is blocked, Let’s Encrypt cannot verify your domain, and your SSL certificates will never generate. Always double-check your DNS A-records before spinning up a new service.
The New Workflow
- Spin up the global
proxy-netnetwork. - Run Traefik once and let it watch the Docker socket.
- Deploy apps with
traefik.enable=truelabels whenever you need them. - Walk away while Traefik handles the SSL and routing.
This setup transforms your infrastructure from a brittle collection of files into a self-healing system. It saves hours of debugging and ensures that every service you launch is secure by default from the very first second it goes live.