It’s 2 AM and Your Nginx Config Is Broken
You’ve been there. A new service just went live, the client is awake in a different timezone, and you’re staring at a 502 Bad Gateway that wasn’t there an hour ago. You crack open /etc/nginx/sites-available/, start comparing virtual host blocks, and realize you accidentally overwrote a working config while adding the new one.
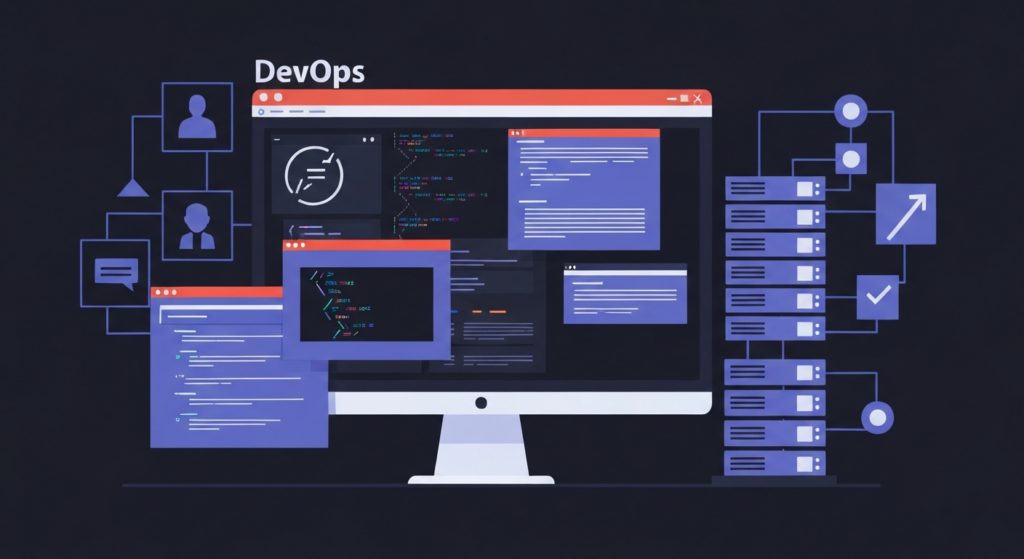
I’ve been in this exact situation more times than I’d like to admit. Managing multiple reverse proxy configs by hand — handling SSL certs, port routing, subdomain mapping — is error-prone even when you’re well-rested. That’s why I started using Nginx Proxy Manager, and it quietly became one of the most indispensable tools in my stack.
Why Raw Nginx Config Becomes a Liability
The real problem isn’t Nginx itself — it’s the operational overhead that compounds over time. A couple of config files are manageable when you’re running one service. Once you hit 5, 10, or 20 services behind a reverse proxy, the cracks start to show:
- Let’s Encrypt certs expire every 90 days. Certbot renewals need manual setup or cron automation — and failures are silent until users start seeing cert errors in their browsers.
- New team members can’t safely touch the nginx config without risking other services.
- There’s no audit trail — you don’t know who changed what or when.
- Testing a config change means running
nginx -tand hoping you caught everything before reloading.
The config files aren’t the real enemy. What’s missing is a safe, structured interface for managing them — especially in a team or multi-service environment.
Solutions Compared: How People Usually Solve This
Option 1: Hand-written Nginx configs
The classic approach. Full control, no abstraction layer, maximum flexibility. The downside: everything I described above. Works fine solo, becomes painful at scale.
Option 2: Traefik
Traefik is popular in Docker-heavy stacks. It auto-discovers services via Docker labels and handles SSL automatically. The catch: you have to think in Traefik’s mental model — middlewares, routers, entrypoints. The config is YAML or TOML, and debugging it when something goes wrong is not fun. It’s also a better fit for greenfield Docker Compose or Kubernetes setups. If you’re managing existing bare-metal services, it can feel like fitting a square peg in a round hole.
Option 3: Caddy
Caddy is clean and ships with automatic HTTPS out of the box. The Caddyfile syntax is dramatically simpler than nginx — a basic reverse proxy is literally three lines. Starting fresh with simple routing? Caddy is worth a look. That said, it lacks a management UI, and advanced routing scenarios push you into its plugin ecosystem fast.
Option 4: Nginx Proxy Manager (NPM)
NPM runs as a Docker container and wraps Nginx with a clean web UI. You add proxy hosts through a browser interface. SSL certs are issued via Let’s Encrypt and renewed automatically. The underlying nginx configs are generated for you. It covers 90% of real-world scenarios — routing subdomains, enforcing HTTPS, managing access controls — without touching a single config file.
Setting Up Nginx Proxy Manager
Prerequisites
- A VPS or server with Docker and Docker Compose installed
- Ports 80, 443, and 81 open in your firewall
- A domain with DNS records pointing to your server
Step 1: Create the Docker Compose file
Create a directory for NPM and drop in a docker-compose.yml:
mkdir -p ~/nginx-proxy-manager && cd ~/nginx-proxy-managerversion: '3.8'
services:
app:
image: 'jc21/nginx-proxy-manager:latest'
restart: unless-stopped
ports:
- '80:80'
- '443:443'
- '81:81'
volumes:
- ./data:/data
- ./letsencrypt:/etc/letsencryptPort 81 is the admin web UI. Ports 80 and 443 handle actual traffic. The volumes section persists your proxy configs and SSL certs across container restarts. Skip it and a container update wipes your entire setup.
Step 2: Start the container
docker compose up -d
docker compose logs -f appWatch the logs. First boot takes around 10–15 seconds to initialize the SQLite database. Once you see the ready message, you’re good to go.
Step 3: Log into the admin panel
Open http://your-server-ip:81 in your browser. Default credentials:
- Email:
[email protected] - Password:
changeme
You’ll be prompted to change these on first login. Do it immediately — and firewall port 81 from public access once your admin user is set up.
Step 4: Add your first proxy host
Go to Proxy Hosts → Add Proxy Host. Fill in:
- Domain Names: e.g.,
app.yourdomain.com - Scheme:
httporhttpsdepending on your upstream service - Forward Hostname/IP: the internal IP or container name of your service
- Forward Port: the port your service listens on
Switch to the SSL tab. Select Request a new SSL Certificate, check Force SSL and HTTP/2 Support, enter your email for Let’s Encrypt, and save. NPM handles cert issuance and auto-renewal — no certbot cron jobs required.
Step 5: Handling services on the same Docker network
Got services running in Docker on the same host? Put both containers on a shared network so NPM can reach them by container name rather than IP:
version: '3.8'
services:
  app:
    image: 'jc21/nginx-proxy-manager:latest'
    restart: unless-stopped
    ports:
      - '80:80'
      - '443:443'
      - '81:81'
    volumes:
      - ./data:/data
      - ./letsencrypt:/etc/letsencrypt
networks:
- proxy
networks:
proxy:
name: proxy
driver: bridgeThen in your other service’s Compose file, declare the network as external:
networks:
  proxy:
    external: true
Use the container name as the forward hostname in NPM’s proxy host config. The service’s port stays internal — nothing exposed to the host.
Step 6: Restrict access with Access Lists
NPM supports basic auth and IP whitelisting through Access Lists. For internal-only services — Grafana dashboards, Portainer, admin panels — create an access list under Access Lists, add your IP ranges or HTTP credentials, and attach it to the proxy host. You get a clean HTTPS subdomain without accidentally exposing internal tools to the open internet.
Things Worth Keeping an Eye On
NPM isn’t perfect. The container runs as root internally — worth knowing if your security posture is strict. The SQLite database (or MariaDB if you configure it) stores all your proxy config, so back it up. The ./data volume is what you want to snapshot before any upgrades.
Need custom nginx directives, rate limiting, or specific header manipulation? NPM’s Advanced tab lets you inject raw nginx config snippets per proxy host. It won’t give you everything raw nginx can do, but it handles most edge cases without abandoning the UI entirely.
Running 10+ services on a VPS and still editing config files by hand? That’s time you’re not getting back. The hours saved not debugging ssl_certificate paths at 2 AM add up faster than you’d expect.
Quick Reference
- Admin UI:
http://server-ip:81 - Default login:
[email protected]/changeme - SSL certs stored in:
./letsencrypt - Proxy configs stored in:
./data - Update NPM:
docker compose pull && docker compose up -d
Already running Nginx by hand with more than three or four services? Give NPM a weekend test run on a staging server. Set it up alongside your existing stack. Chances are it handles 95% of what you need with a fraction of the maintenance overhead.